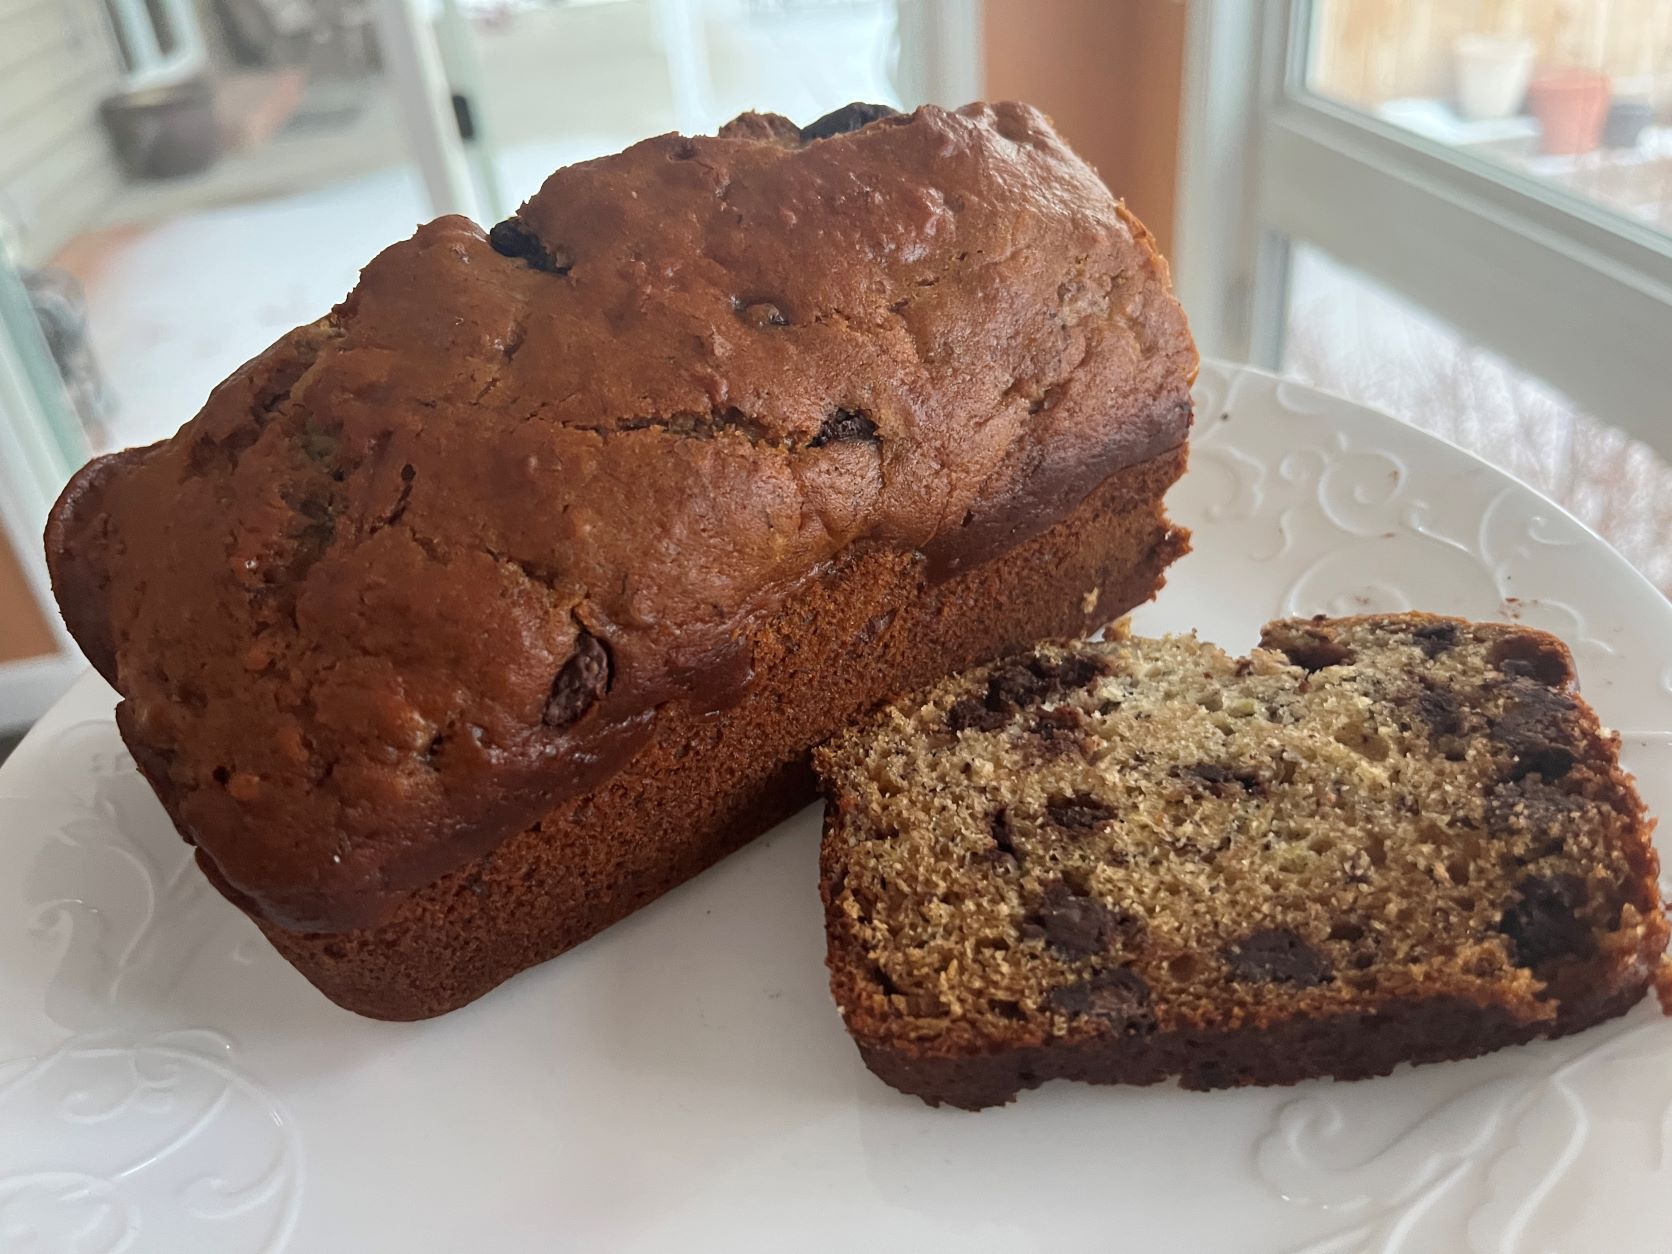
The holidays are a fun time to experiment with new recipes. This eggnog bread sounded interesting and I had a Guava Rum on hand to use in the recipe. It was quite delicious and if you want to take it to the next level, serve with a scoop of vanilla bean ice cream!
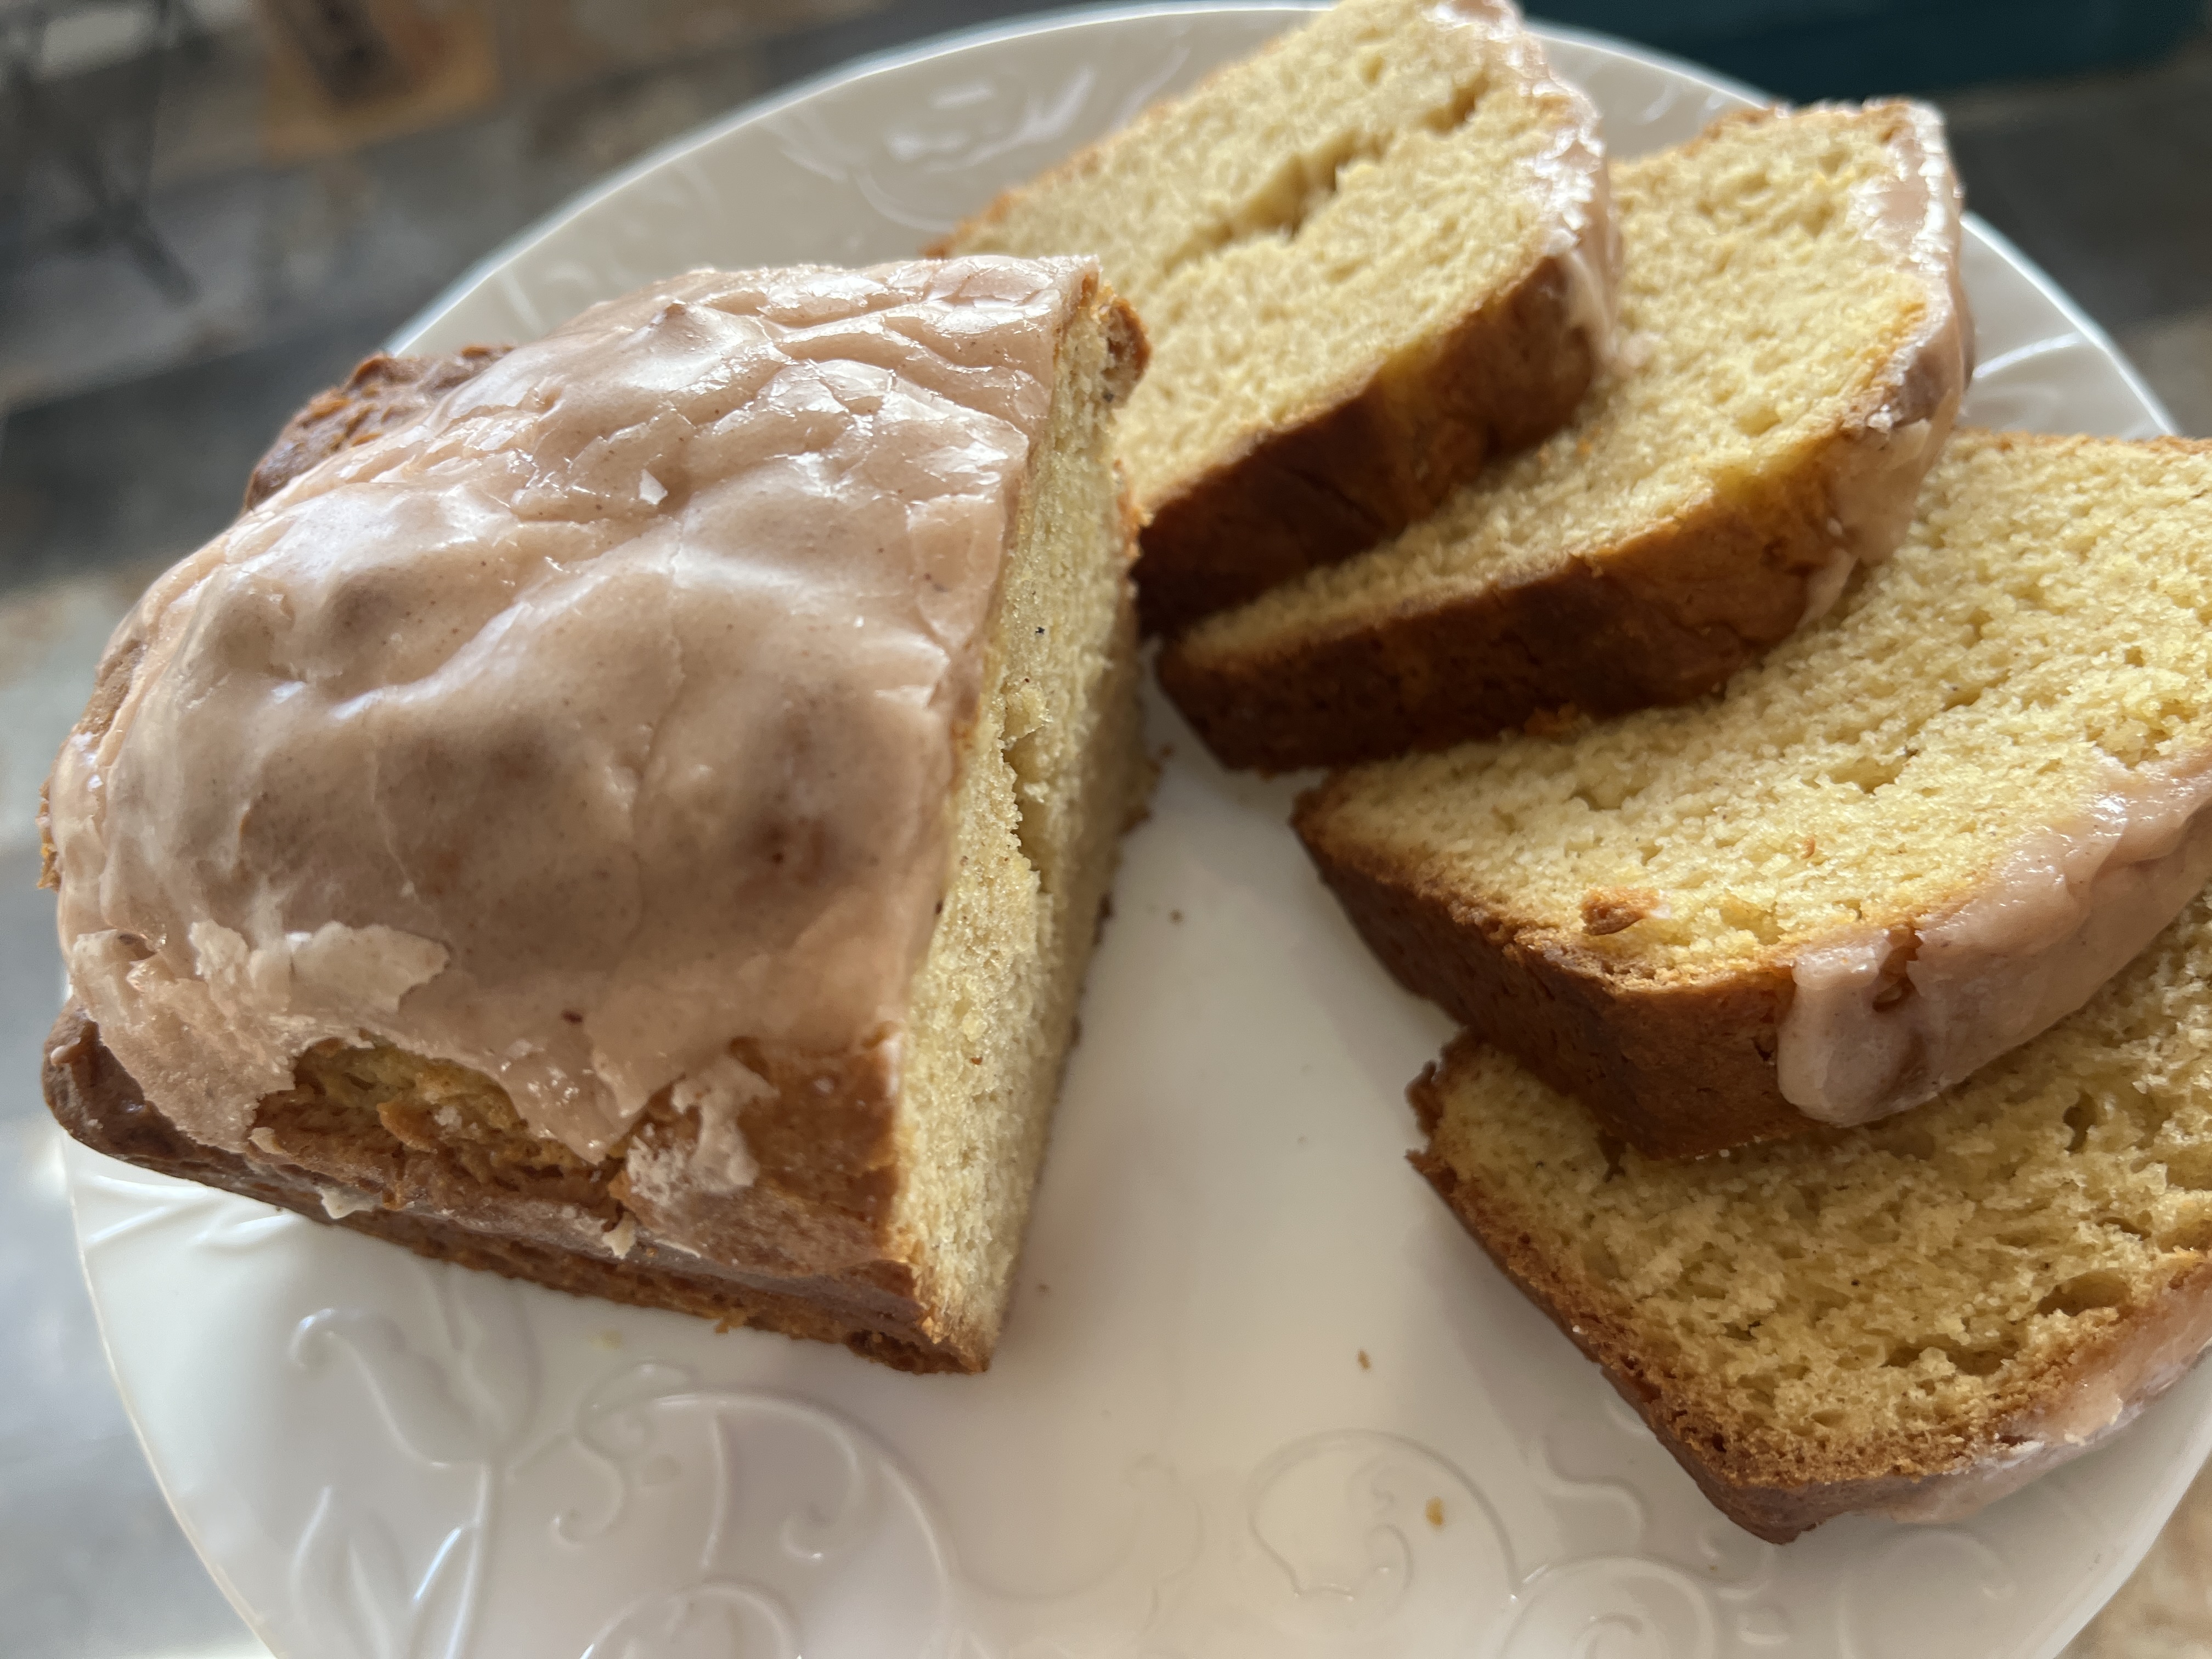
Eggnog Bread with Rum Glaze
Ingredients:
- Bread Ingredients:
- 2 large eggs
- 1 1/2 cups full-fat eggnog
- 2 teaspoons spiced rum
- 1 cup granulated sugar
- 1 teaspoon vanilla extract
- 1/2 cup salted butter softened
- 2 1/4 cup all-purpose flour
- 1 3.4 oz. box instant French vanilla pudding mix
- 2 teaspoon baking powder
- 1/4 teaspoon kosher salt
- 1/2 teaspoon ground nutmeg
- 1/2 teaspoon ground cinnamon
- Glaze Ingredients:
- 1 cup powdered sugar sifted
- 2 teaspoon full-fat eggnog
- 2 tablespoon spiced rum
- 1/4 teaspoon ground nutmeg
- 1/4 teaspoon ground cinnamon
Instructions:
- Preheat oven to 350 degrees and spray your 9 x 5 inch bread pan or mini loaf pans with baking spray.
- In the bowl of a stand mixer, combine eggs, eggnog, spiced rum, granulated sugar, vanilla extract. and softened butter and beat until combined.
- In a medium bowl, combine flour, French vanilla pudding mix, baking powder, salt, nutmeg, and cinnamon and whisk until combined.
- Gradually pour the dry ingredients into the stand mixer on low speed and mix just until combined.
- Pour batter into the prepared bread pan and bake for 45-55 minutes for mini loafs or 65-70 minutes for a 9×5 loaf, or until a toothpick inserted into the center of the bread comes out clean.
- Allow bread to cool.
- Rum Glaze Directions:
- Whisk together all glaze ingredients until smooth.
- Drizzle over the bread.
Recipe from KitchenFunWithmythreesons