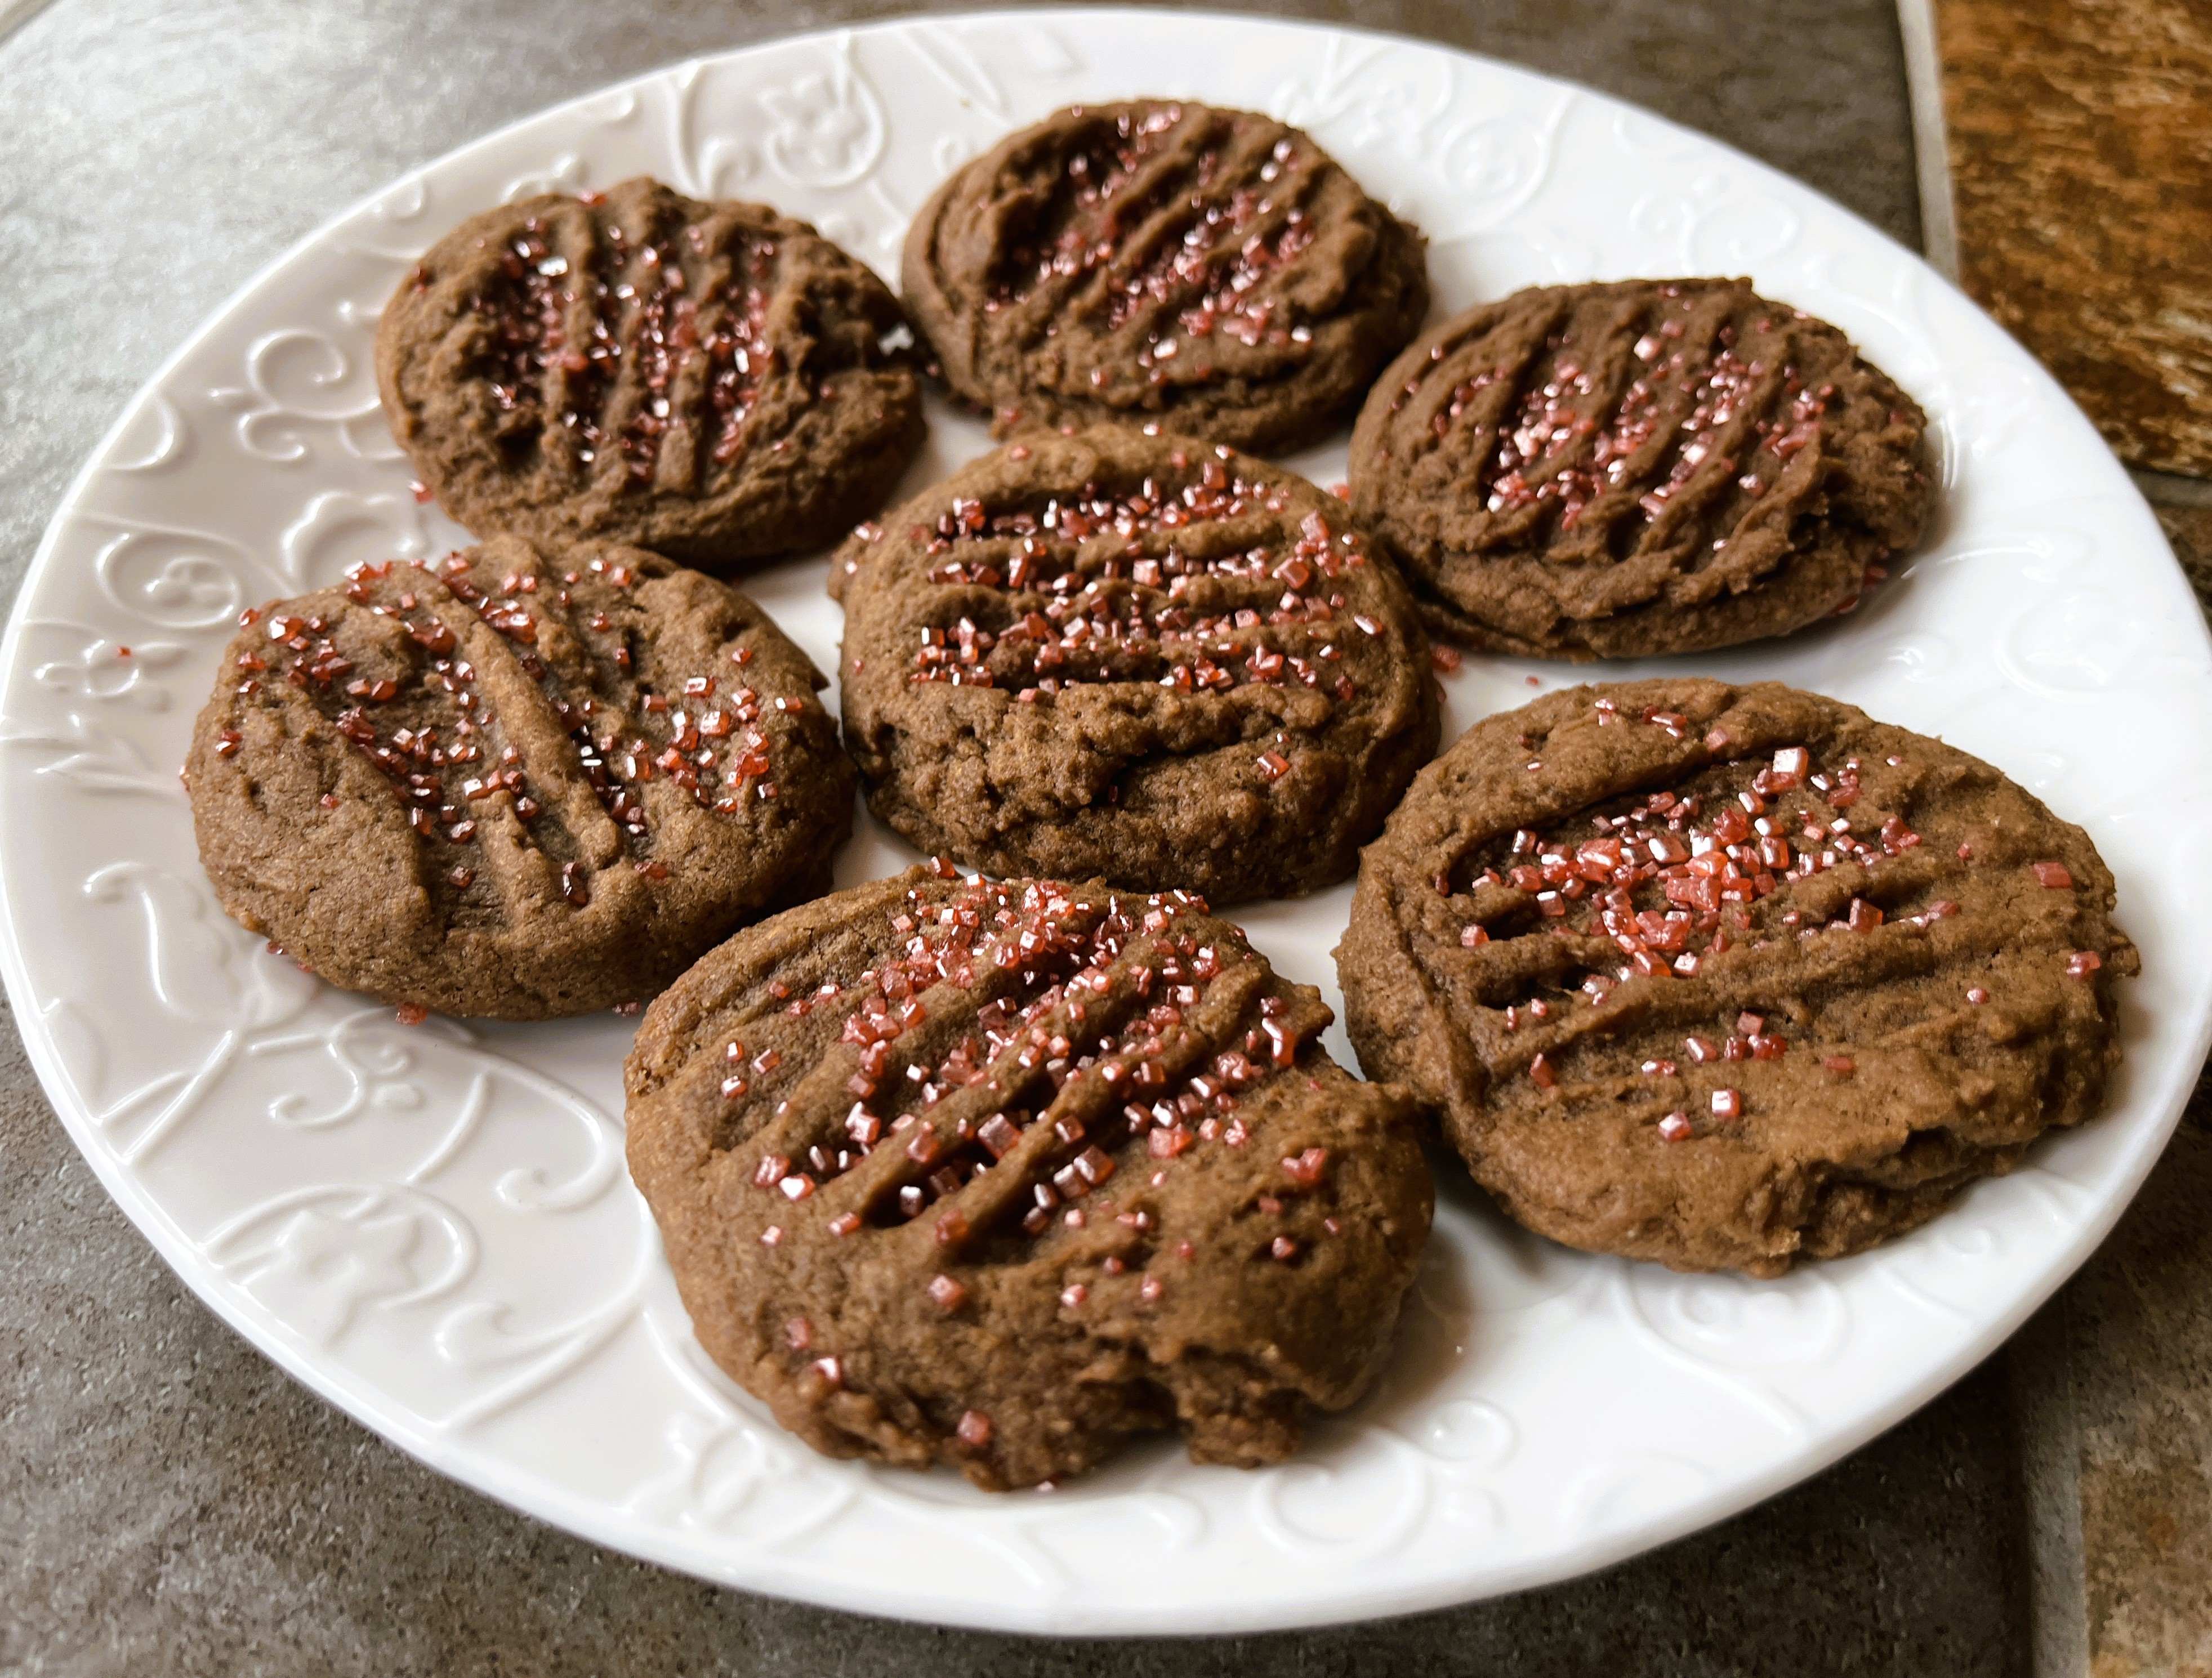
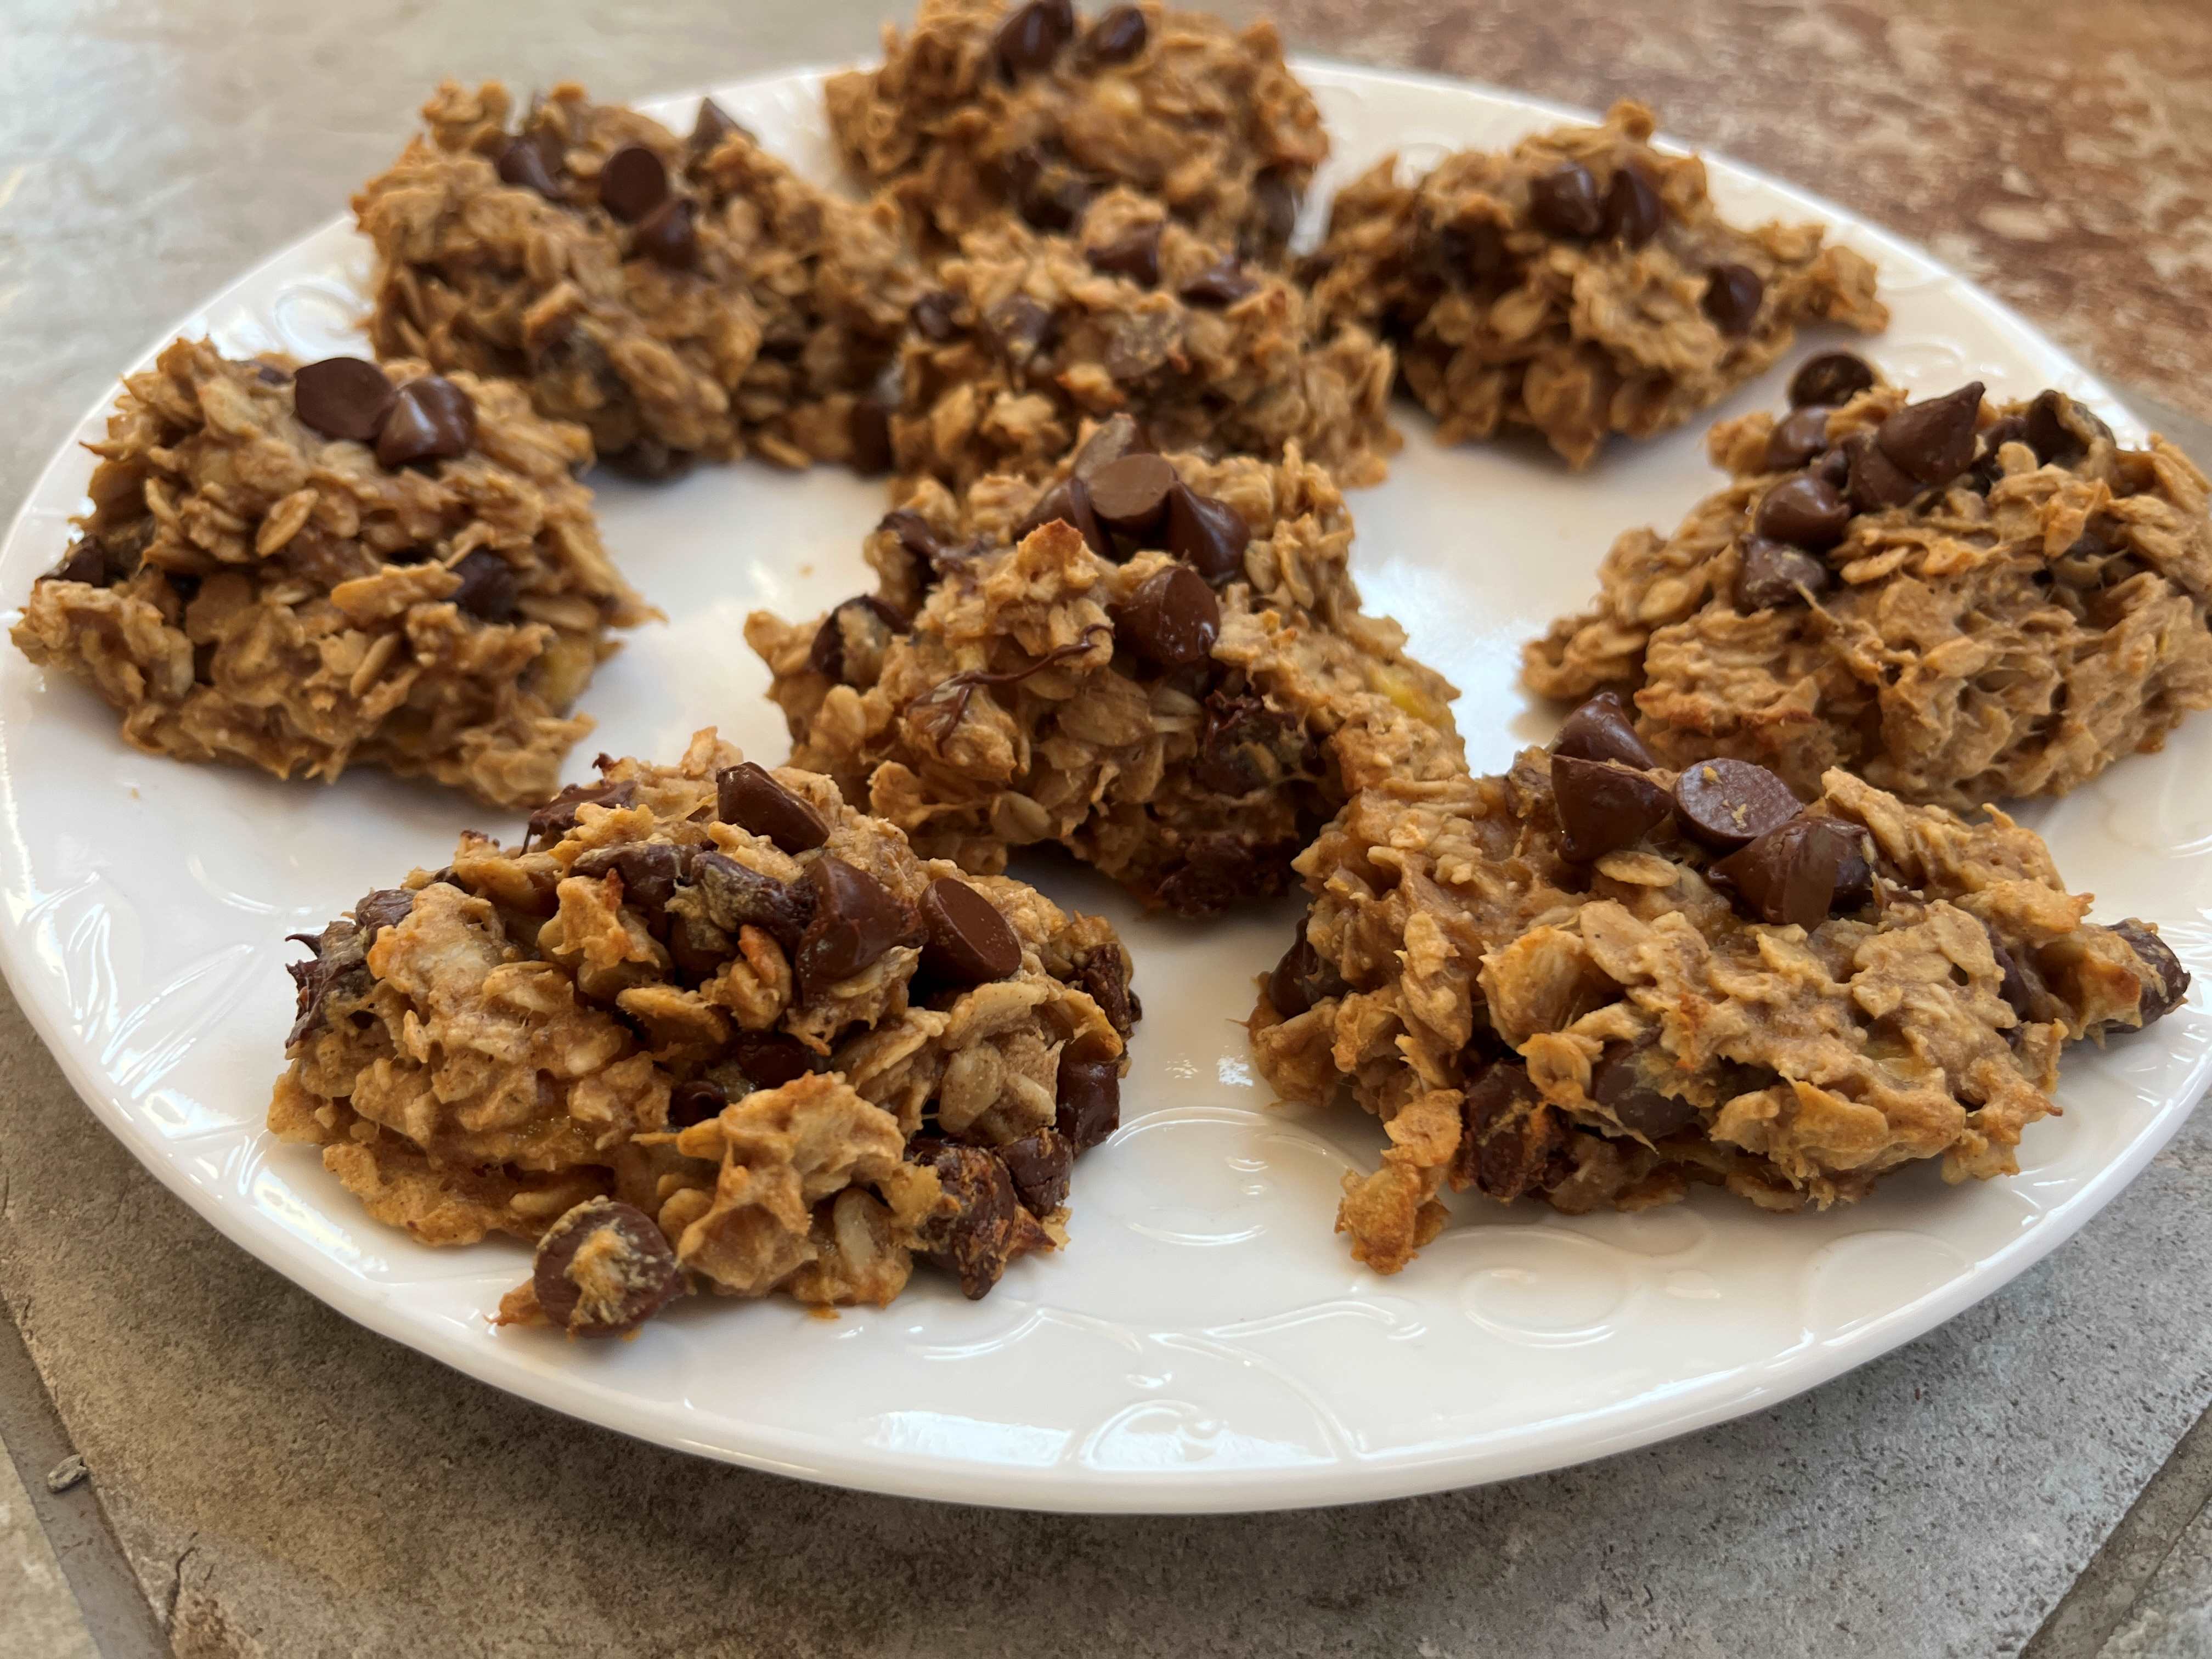
Who doesn’t love a no-bake cookie? This recipe reminds of the chocolate no-bake cookies my family has been making since I was a child. I like the peanut butter oats combination topped with chocolate. The family votes that the Preacher cookies are delicious!
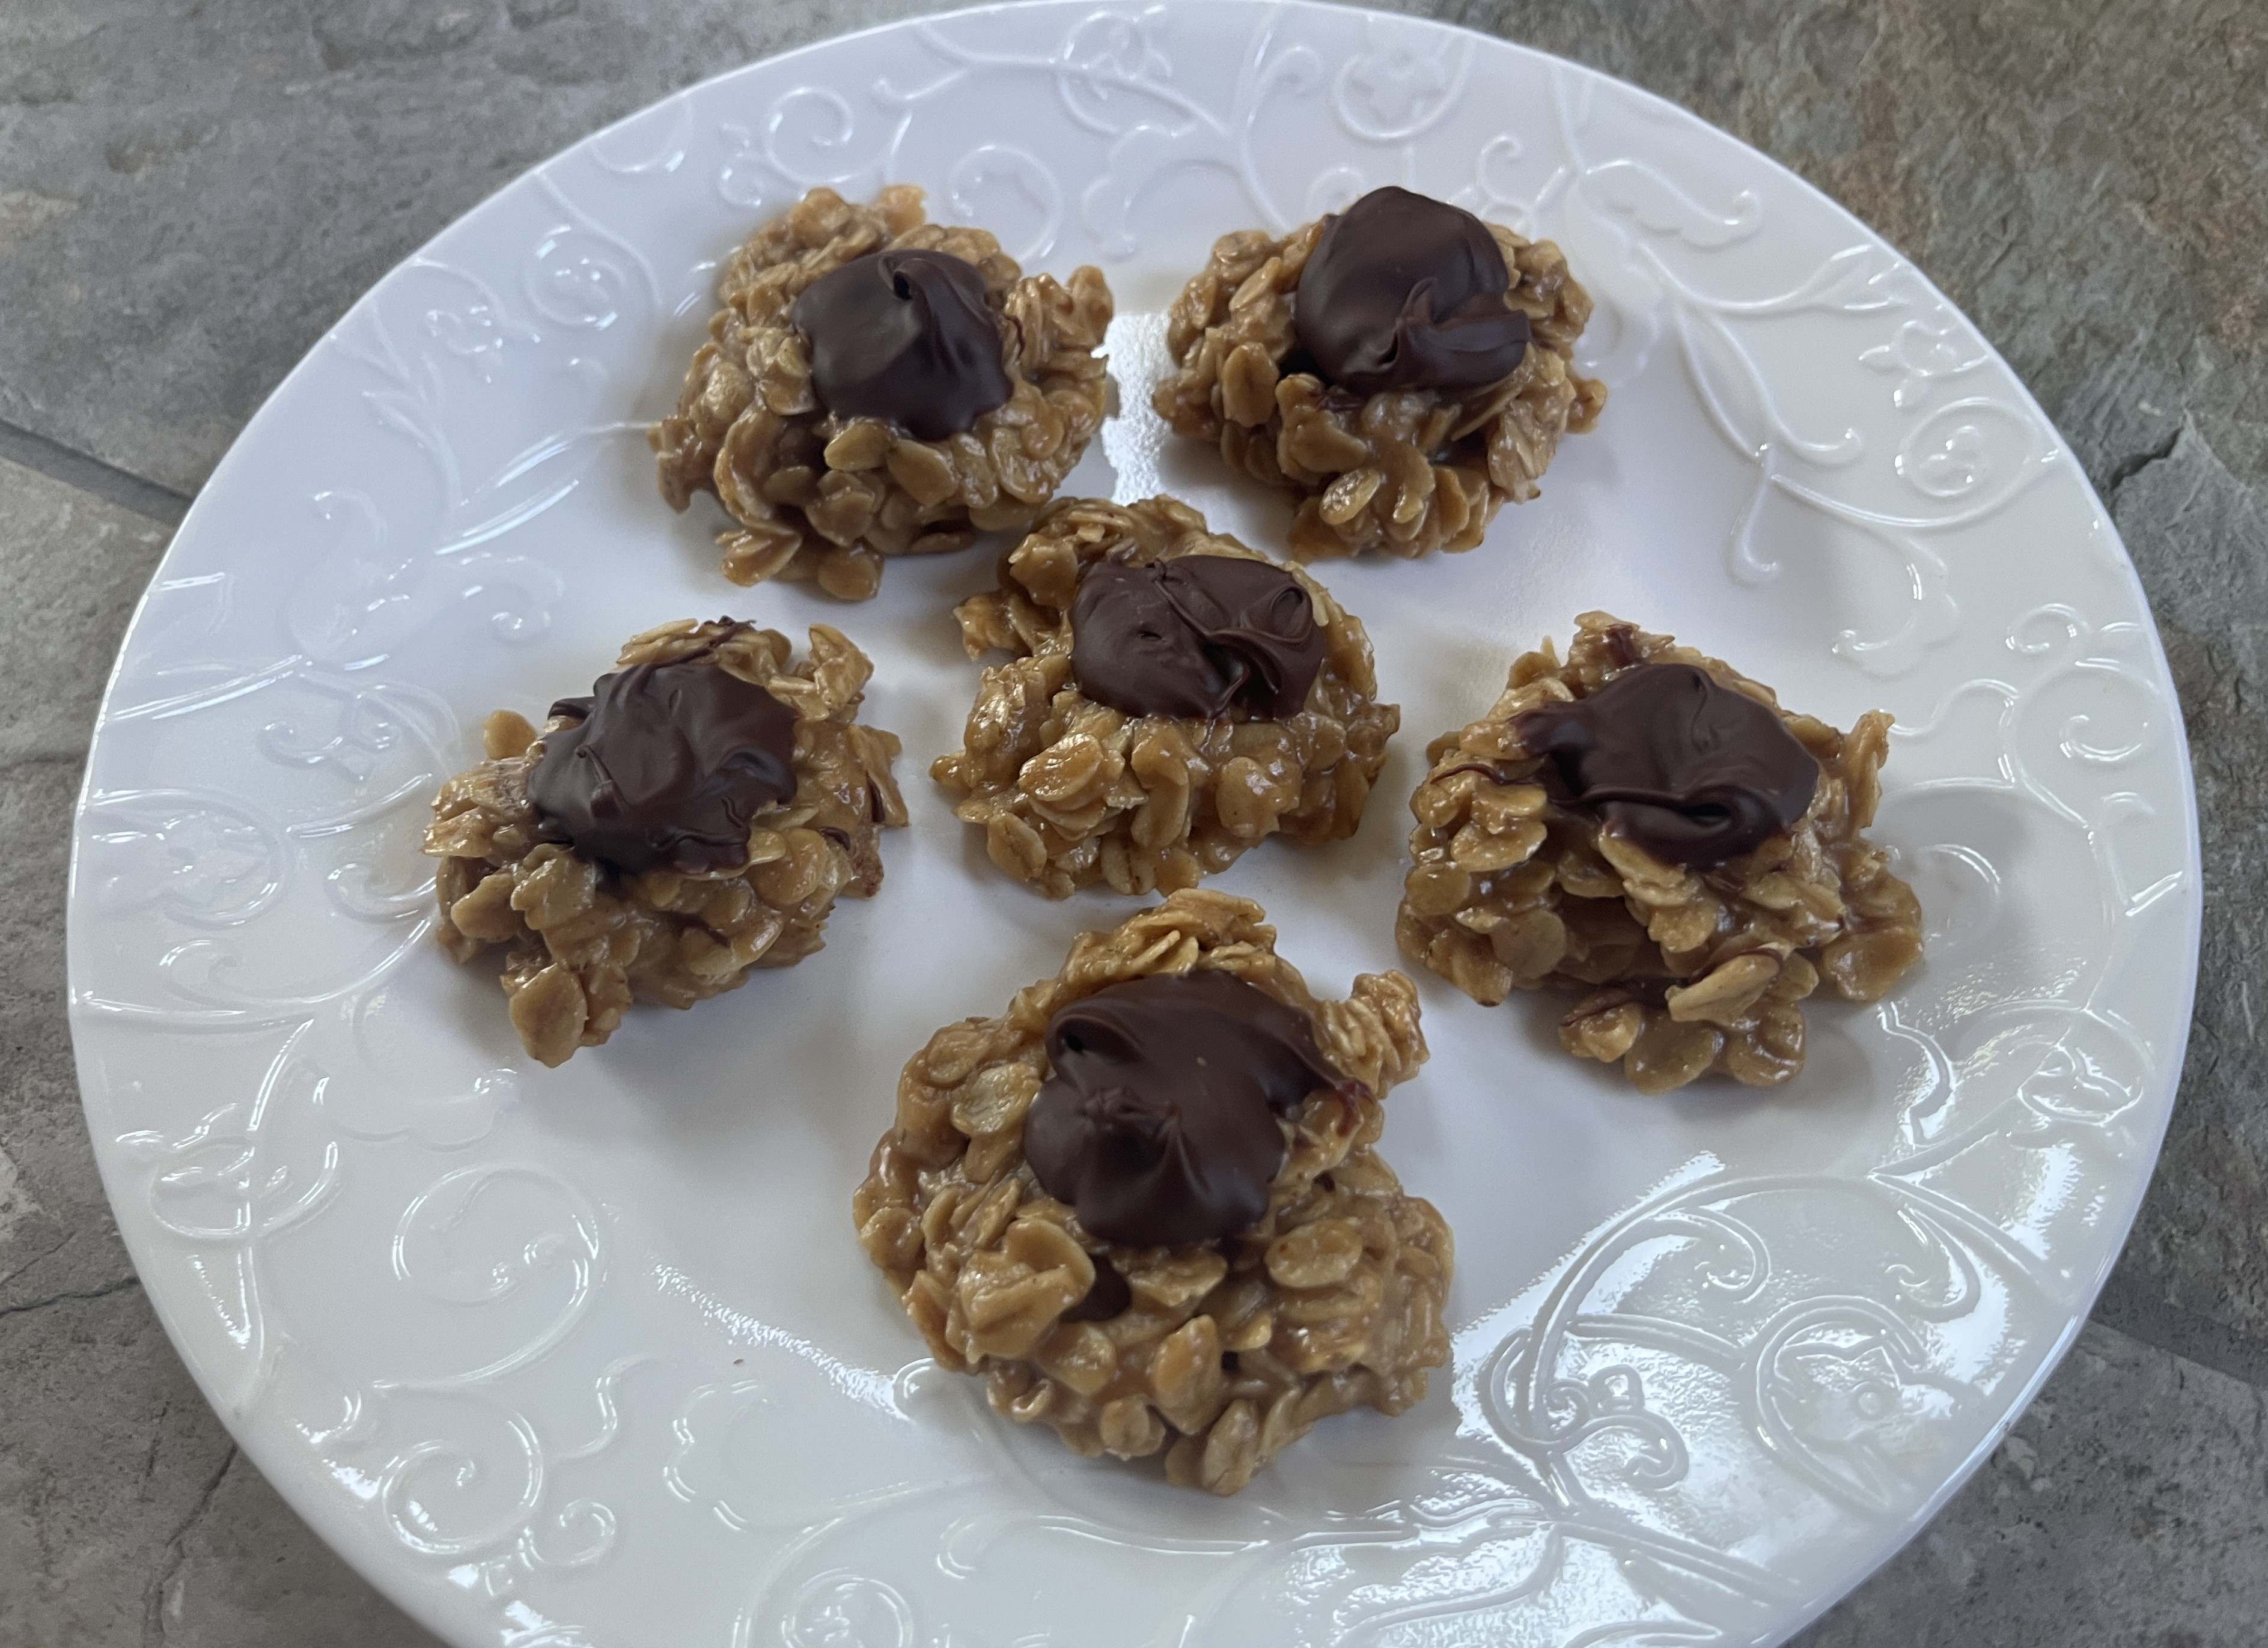
Preacher Cookies
INGREDIENTS:
- 3.5 cups quick-cooking oats, uncooked
- 1 cups sugar
- 1 cup peanut butter
- 1 stick + 1 tablespoon unsalted butter, divided
- ½ cup milk
- 1 teaspoon vanilla
- ½ cup chocolate chips
DIRECTIONS:
- Pour oats into a large bowl and set aside. Line a baking sheet with parchment paper. Note: A baking sheet isn’t “required” – a flat surface, like a countertop, works.
- Melt 1 stick butter in a saucepan on medium-high heat, stirring frequently to melt butter. Bring to a boil for 1 minute, then remove from heat. Add milk, sugar, and vanilla extract and stir to combine. Add peanut butter and stir until fully combined.
- Pour peanut butter mixture over reserved oats.
- Scoop 1 tablespoon full of batter onto baking sheet, pressing down to flatten.
- Melt chocolate chips with 1 tablespoon unsalted butter in a microwave safe dish, 20 second intervals on medium heat, stirring after each interval, until chocolate is completely melted.
- Use a spoon to drizzle chocolate over top of cookies. Cookies are ready to eat once chocolate has cooled and set. Or, chill in refrigerator for 1 hour. Transfer cookies to a serving platter, or store in an airtight container.
- NOTE: I keep the cookies refrigerated.
Recipe modified from 12Tomatoes