Strawberry Pretzel Salad was a popular dessert in the midwest, and so yummy. This recipe satisfied my craving for the decadent dessert. It’s not so sweet and full of protein. I could eat this for a cool summer lunch and be satisfied!
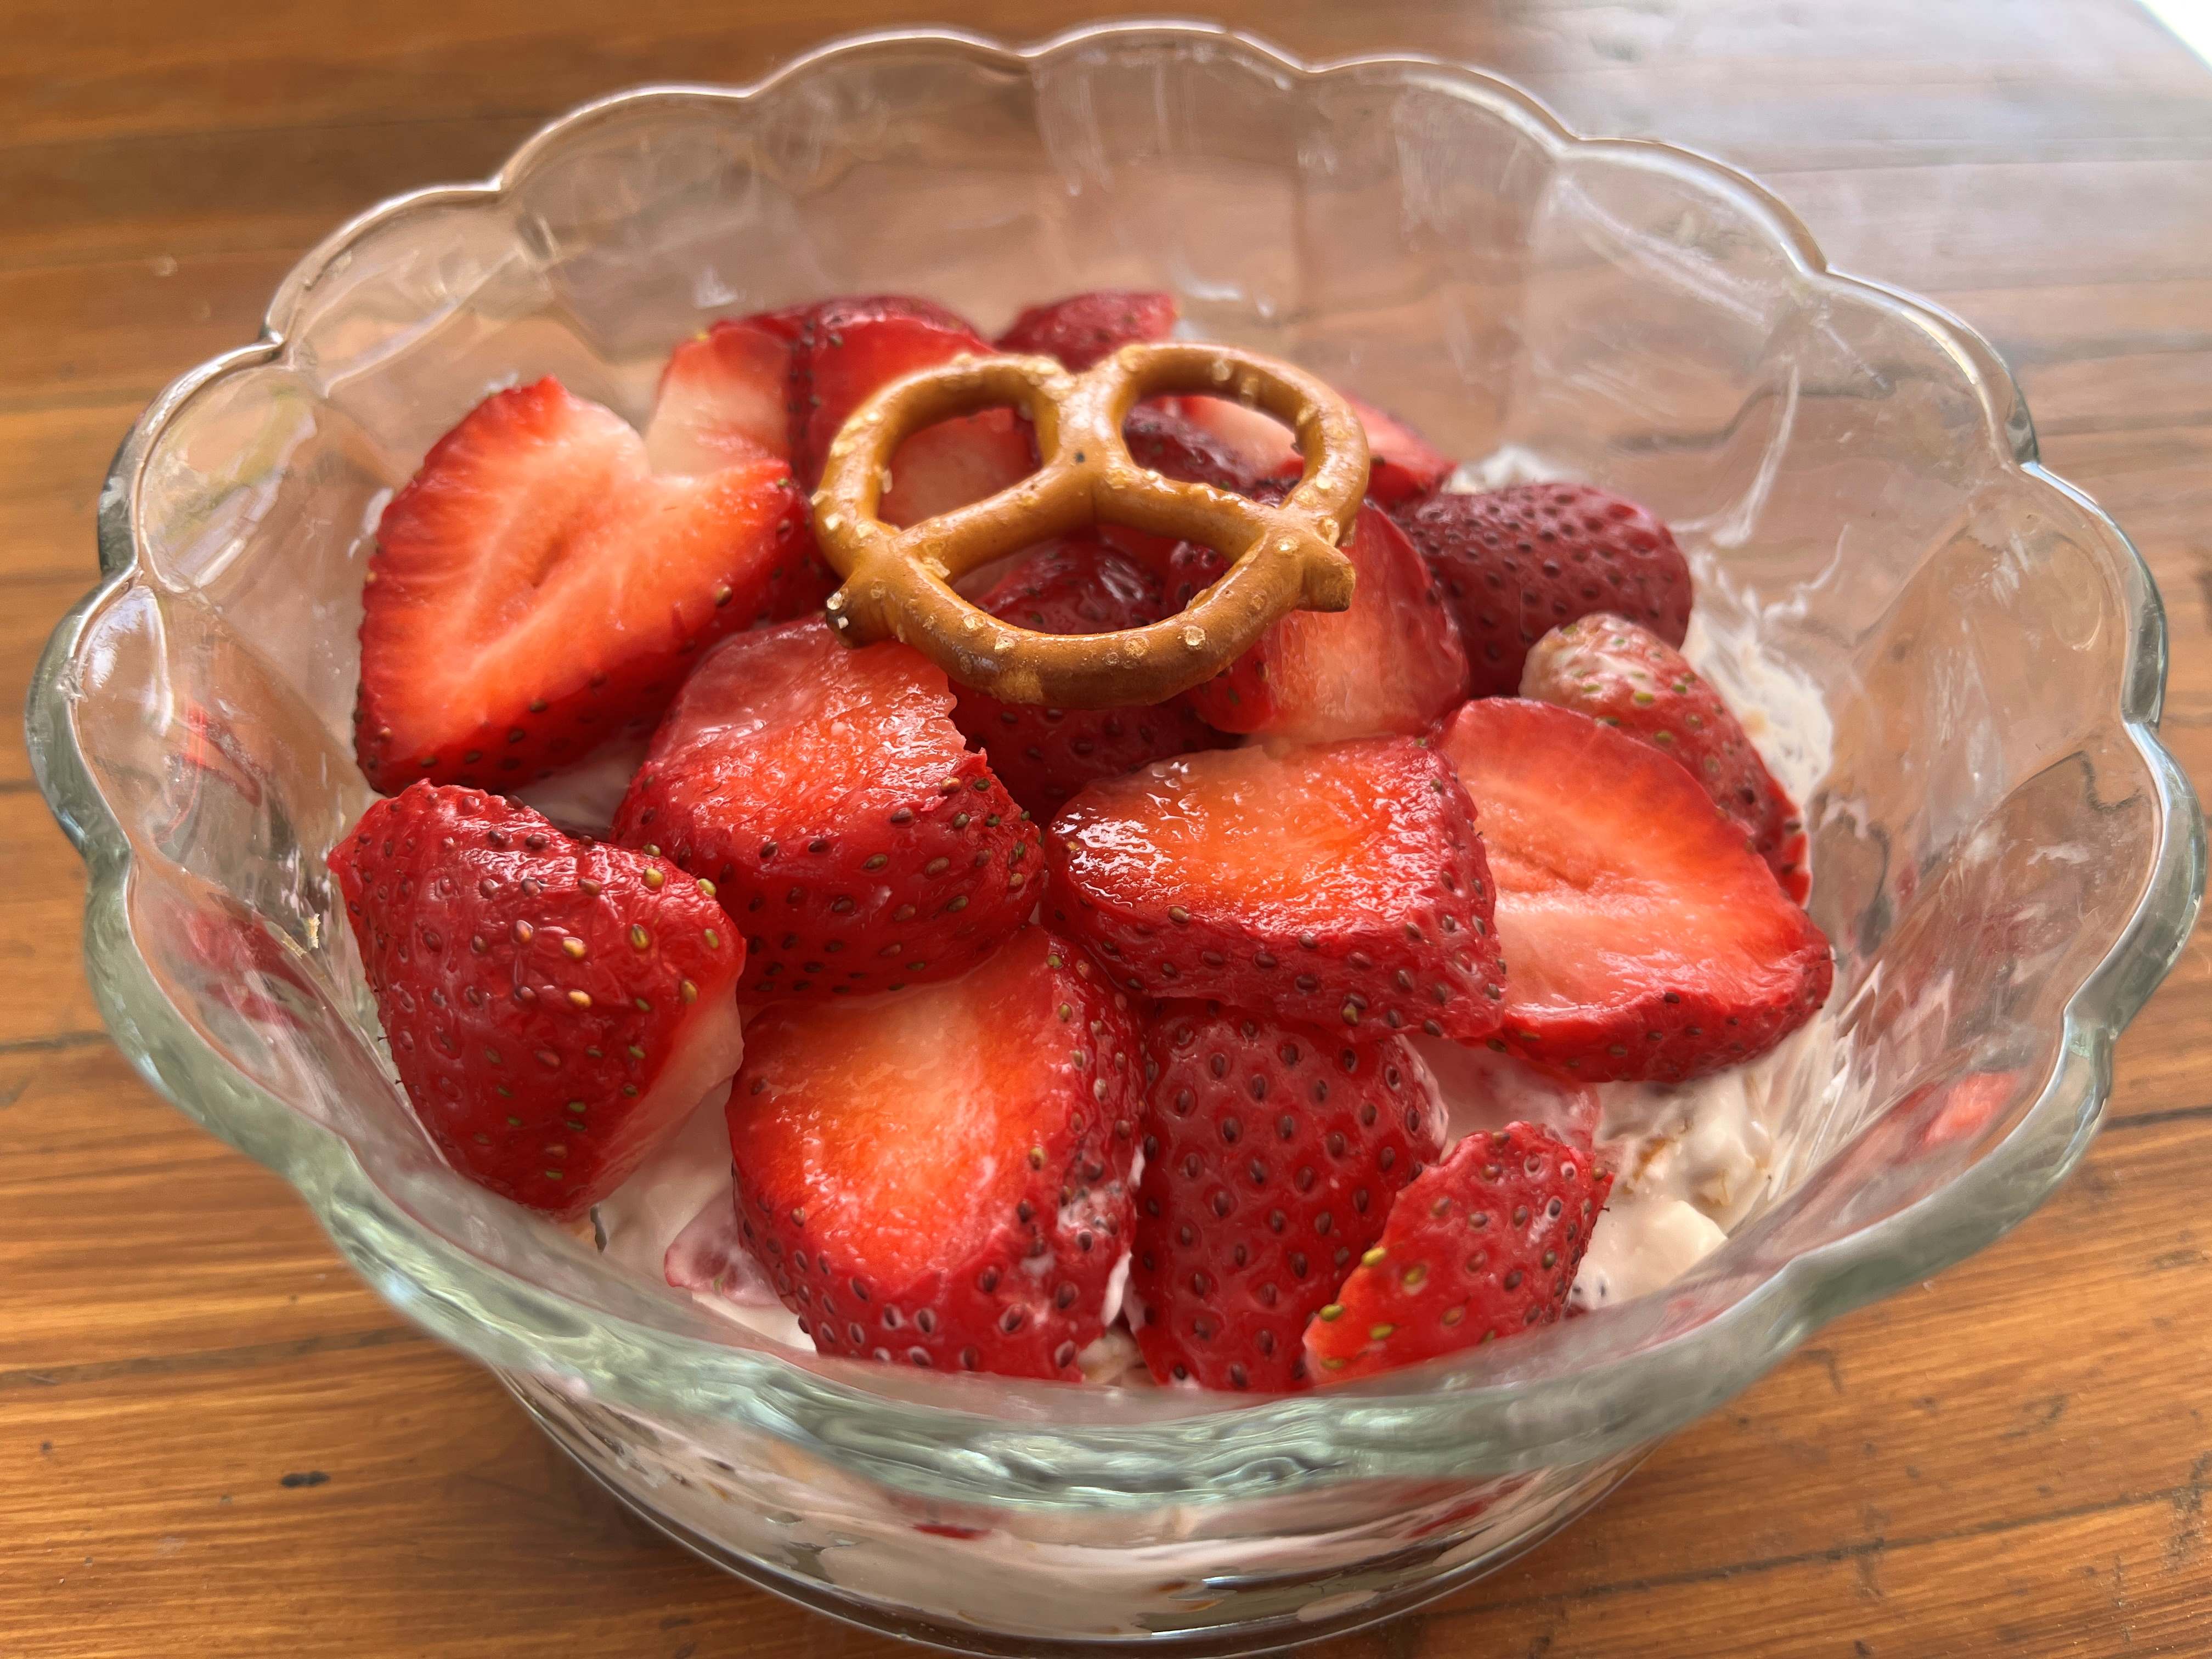
High Protein Strawberry Pretzel Salad Bowl
INGREDIENTS:
- 1/2 cup thawed frozen strawberries, chopped if needed
- 1/2 cup fresh strawberries, chopped (can also substitute with frozen)
- 1 small container low sugar vanilla Greek yogurt (I used 1/4 cup)
- 1 small container cottage cheese (I used 1/4 cup)
- 1/4 cup crushed/chopped pretzels
- 2 Tbsp. thawed cocowhip or whipped cream (I skipped)
DIRECTIONS:
- Add yogurt, cottage cheese, thawed frozen berries, pretzels and cocowhip into a bowl. Mix to combine, top with fresh strawberries and enjoy right away!
- P.S. I’ve also added 1 Tbsp. of strawberry chia jam to the mix for more sweetness and added strawberry flavor.
Recipe from Eatingbirdfood