Beverages · Czech Heritage and Dishes · Garden · Health · Home

Linden Flower Infusion and Tea

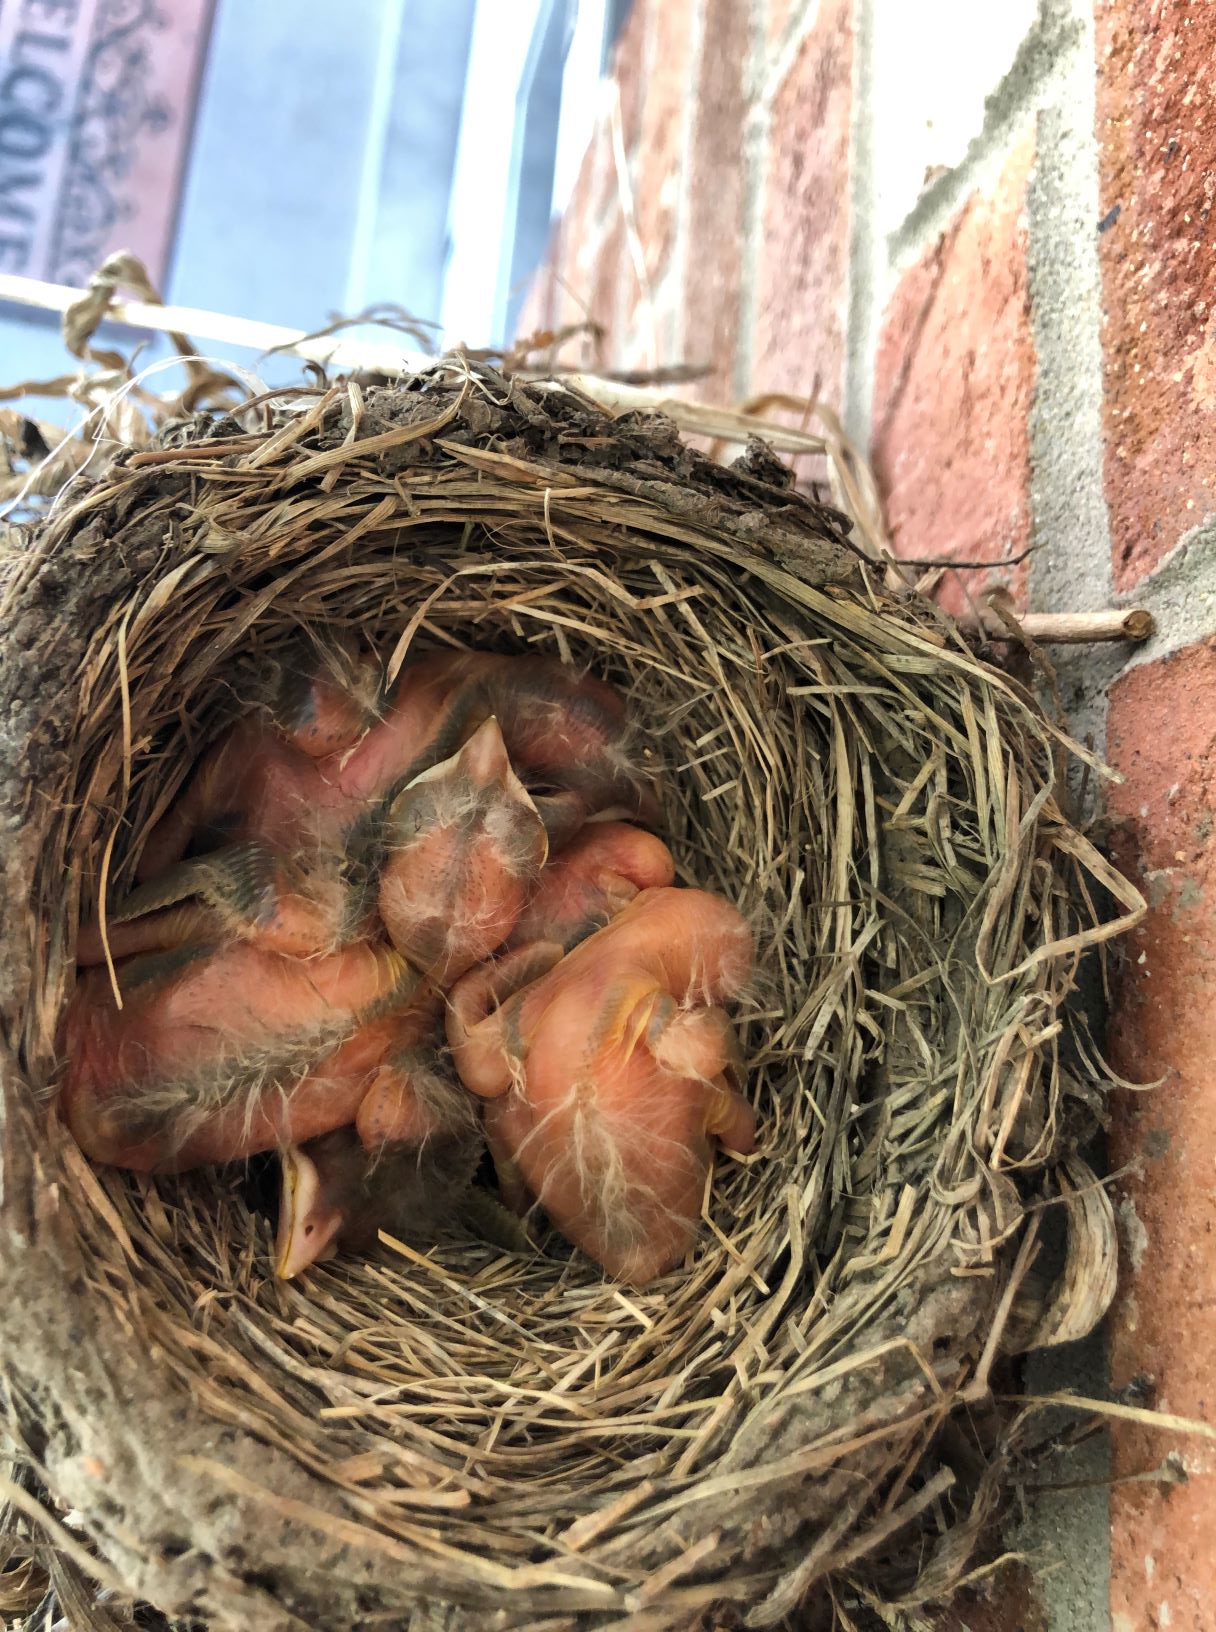
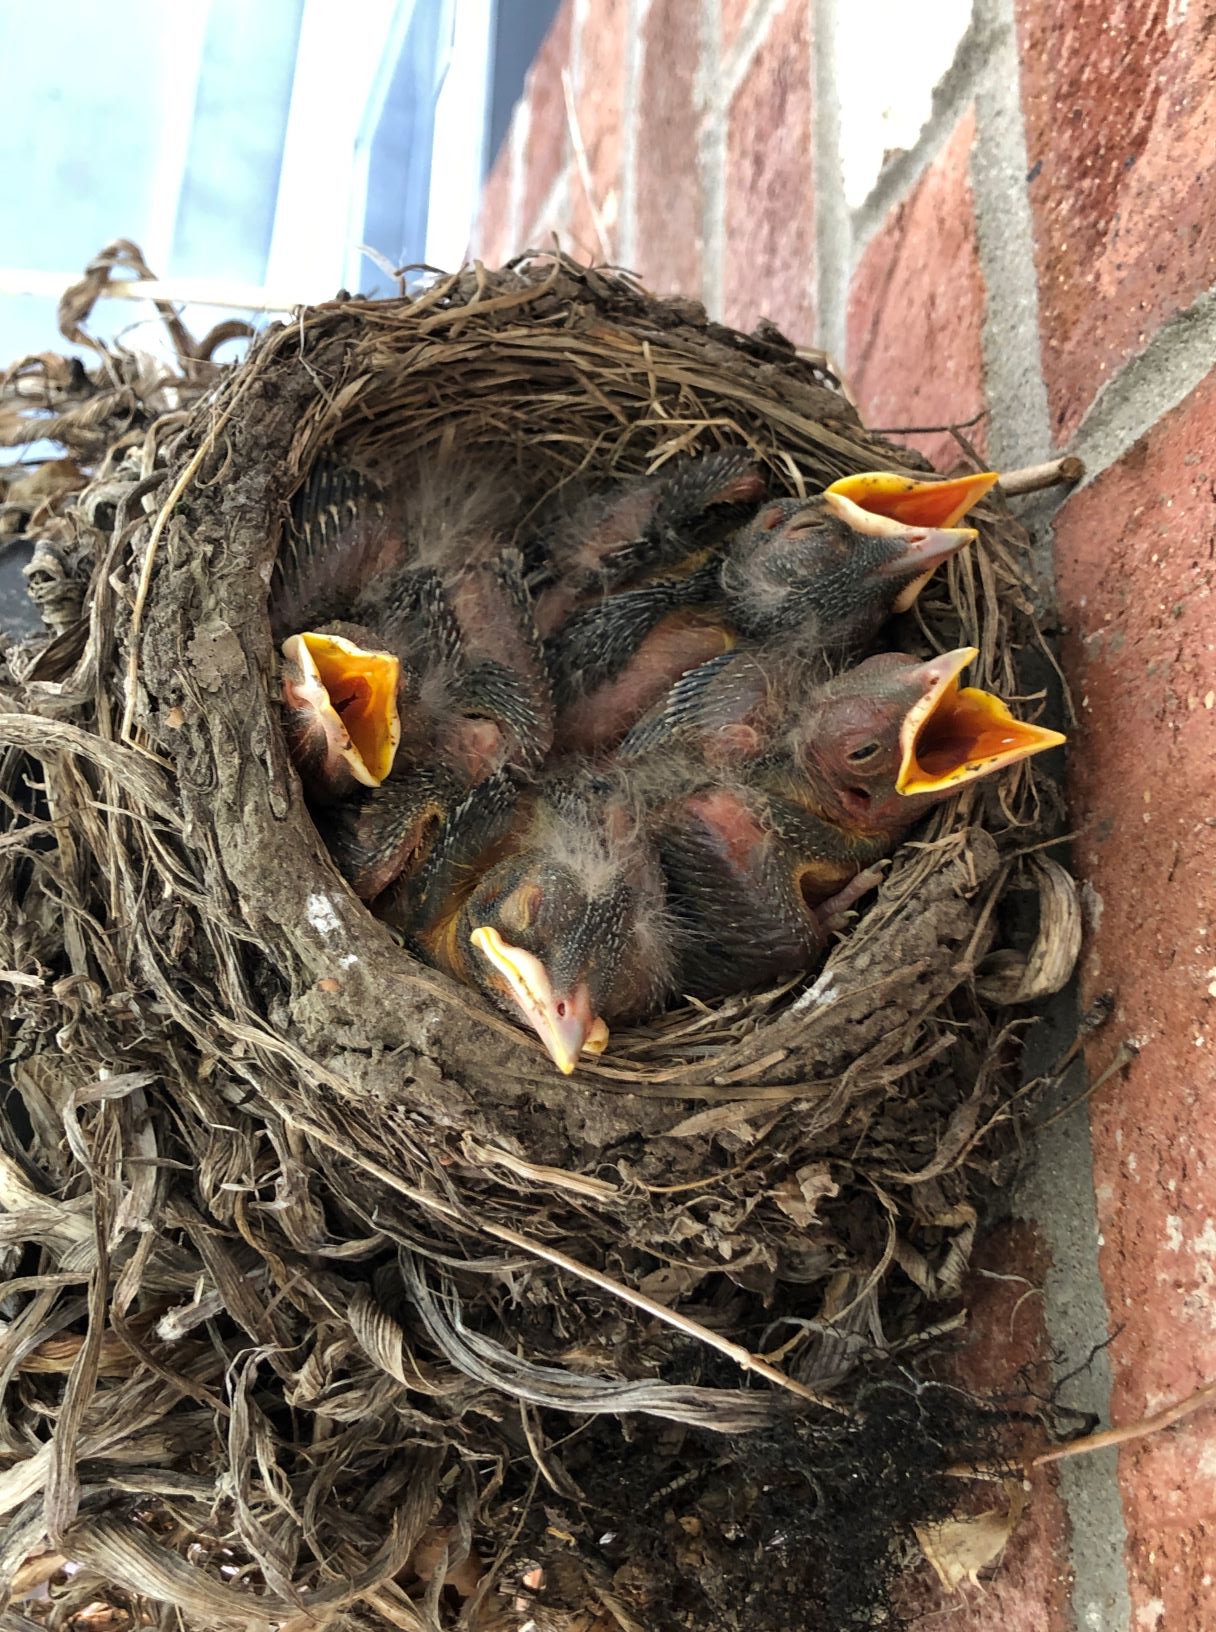
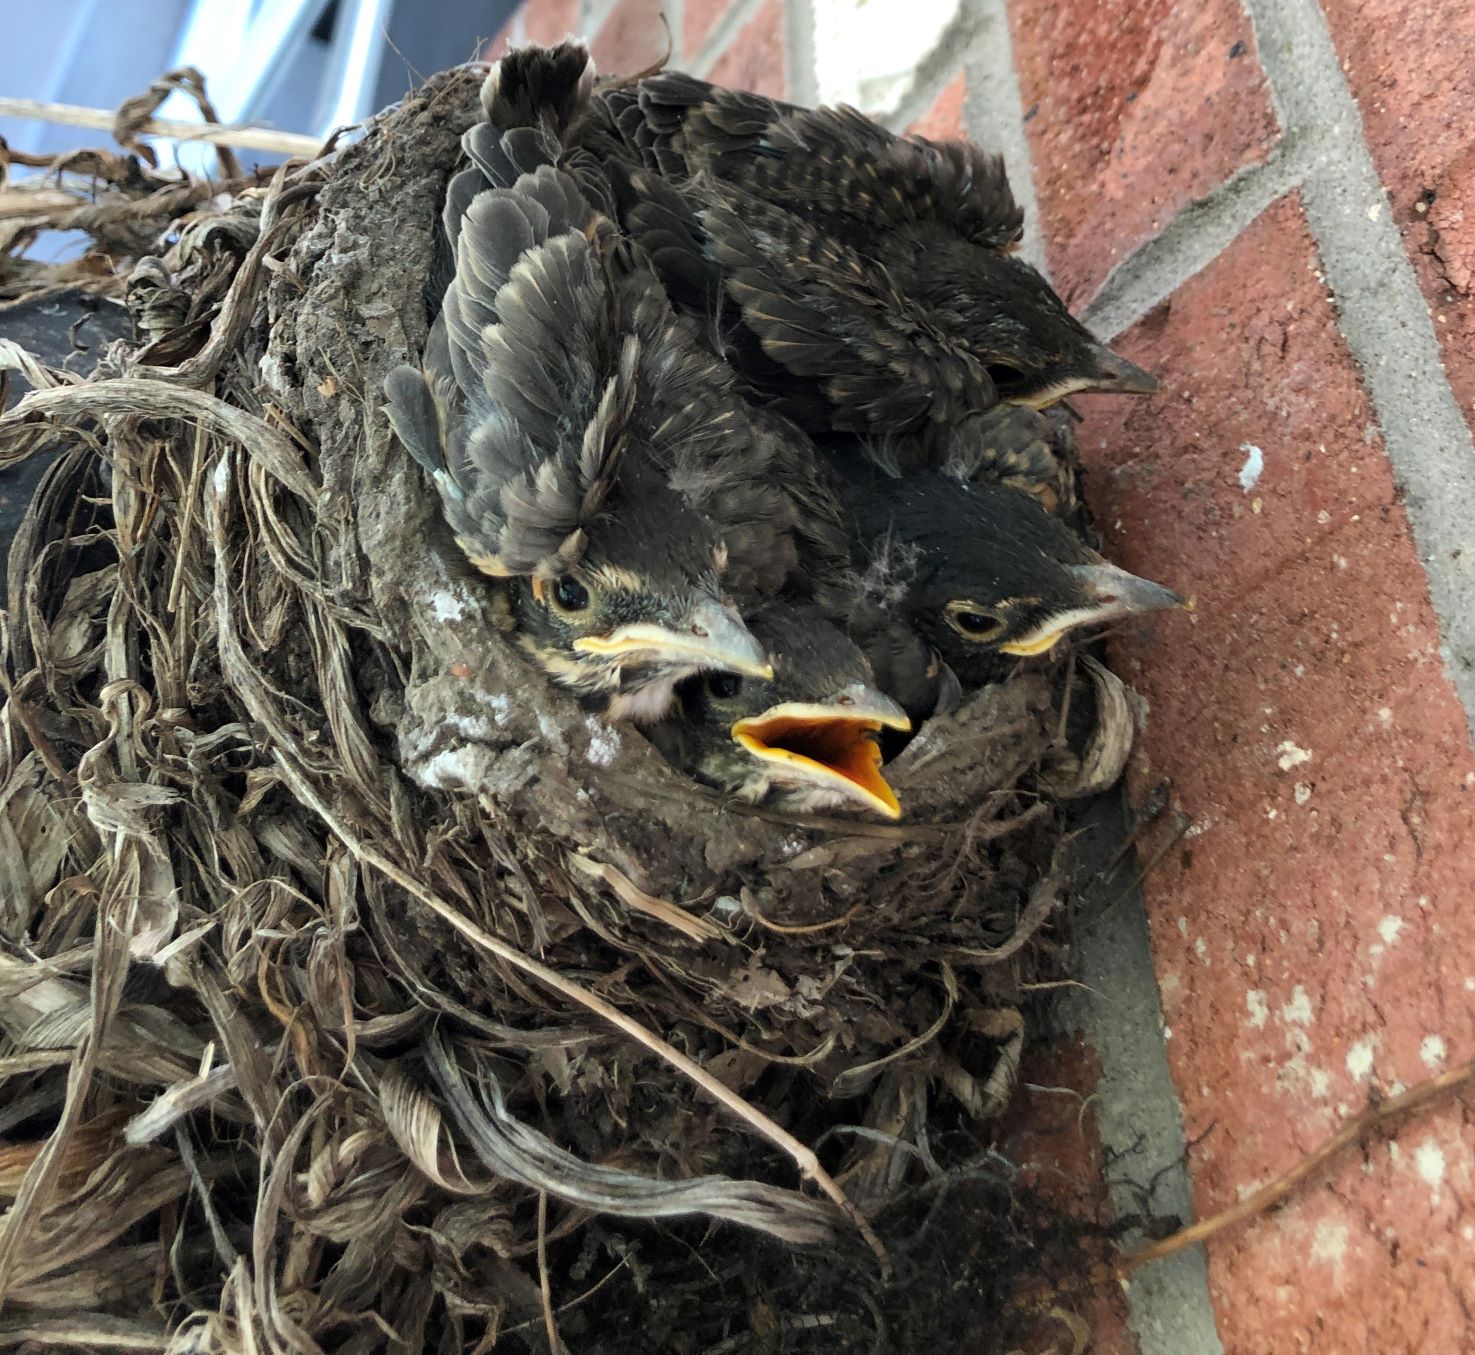
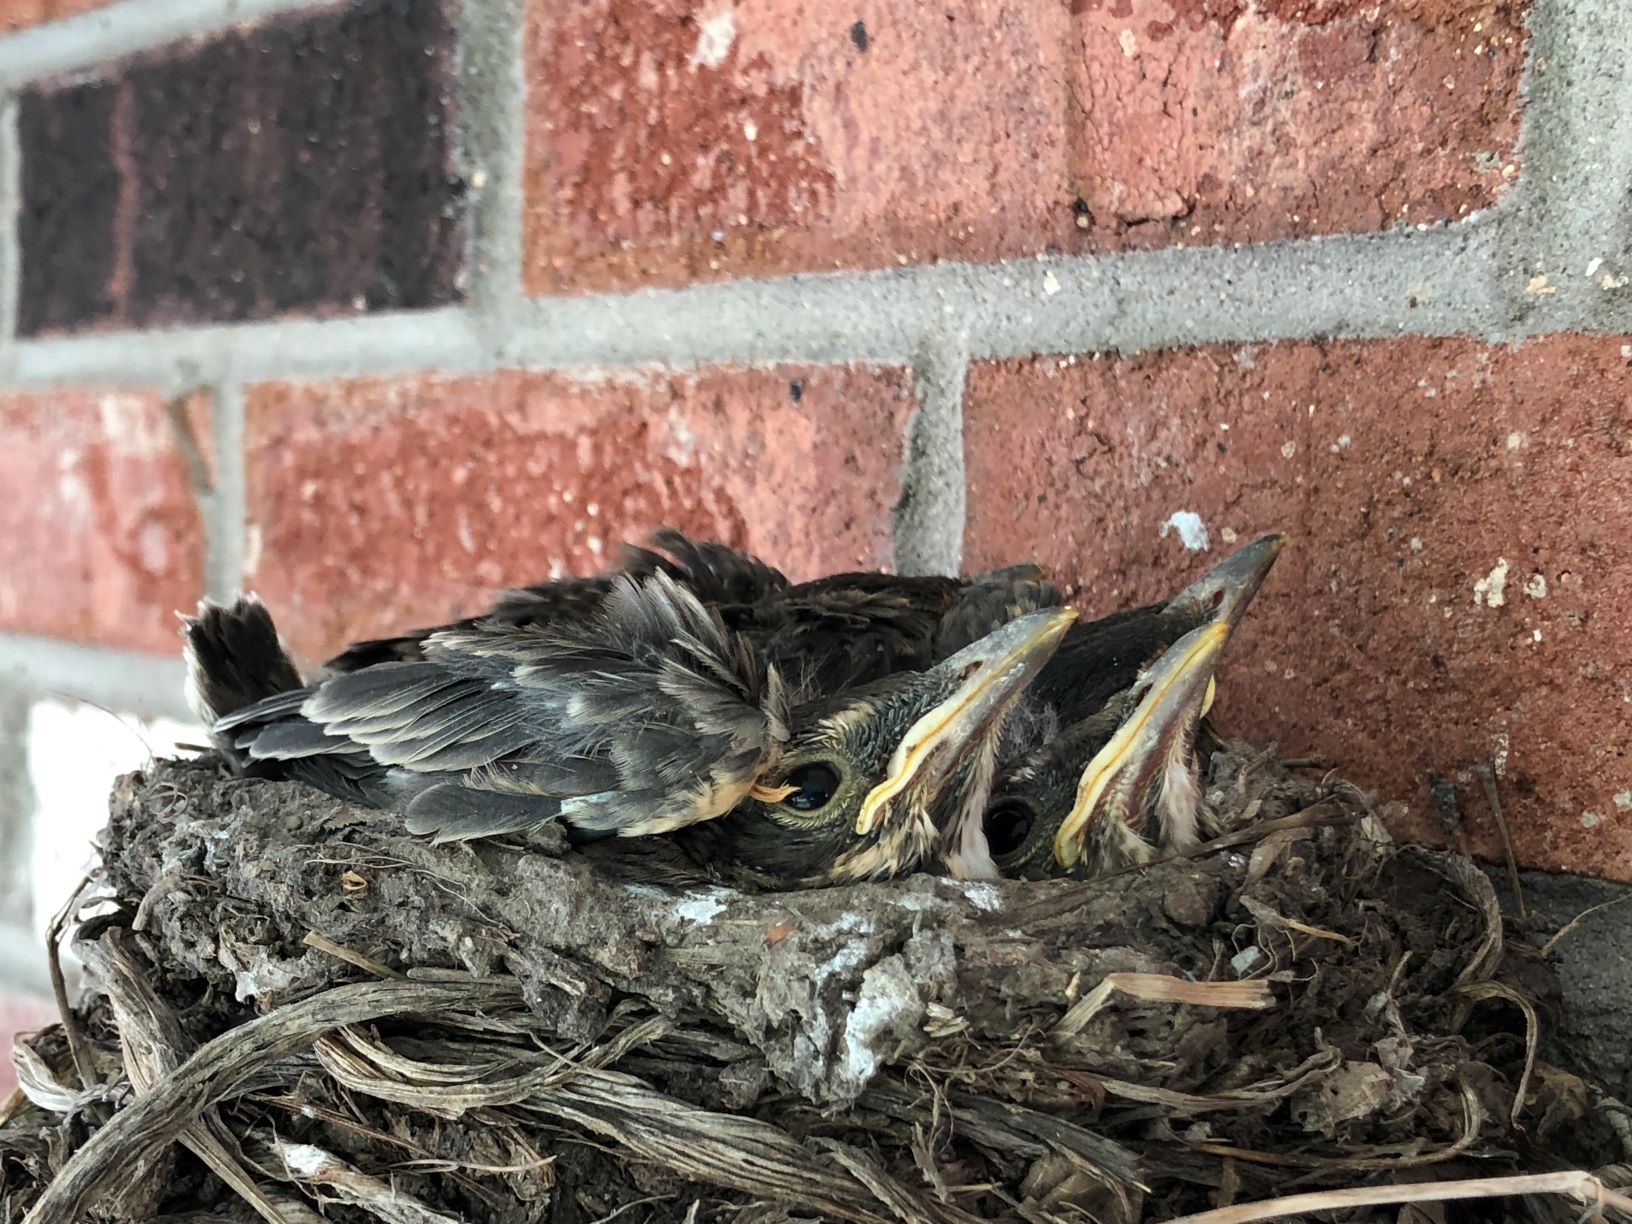
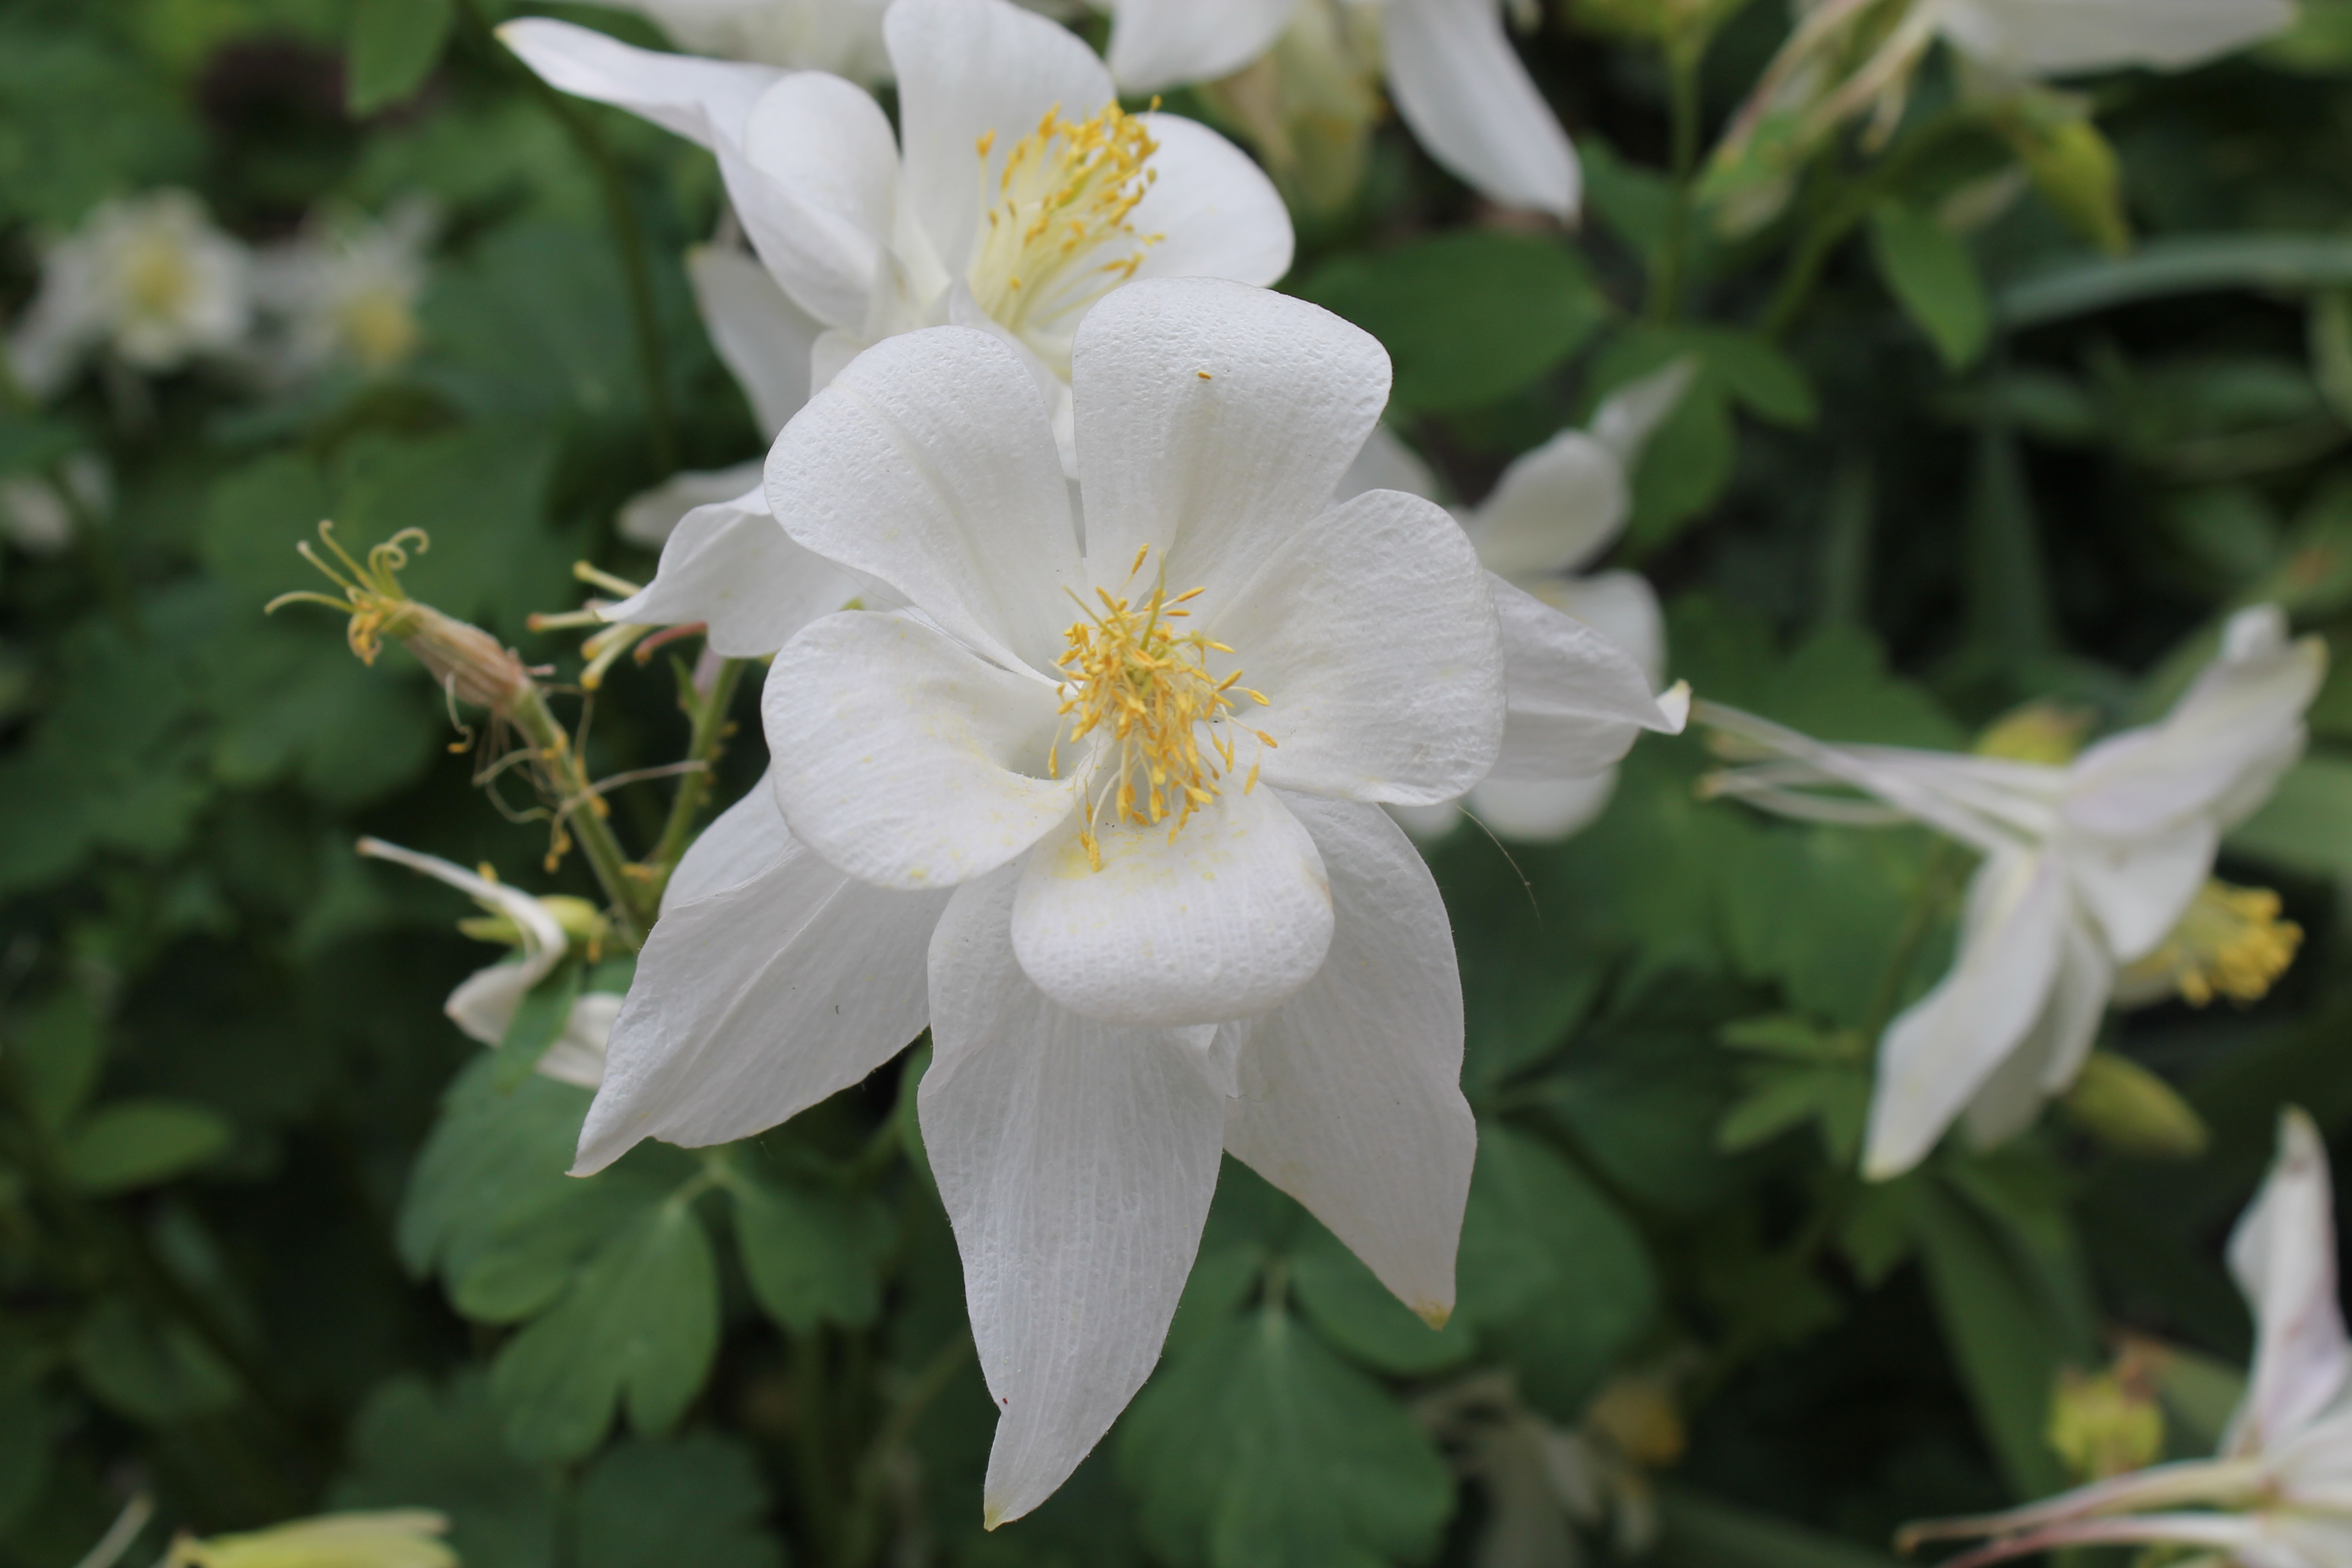
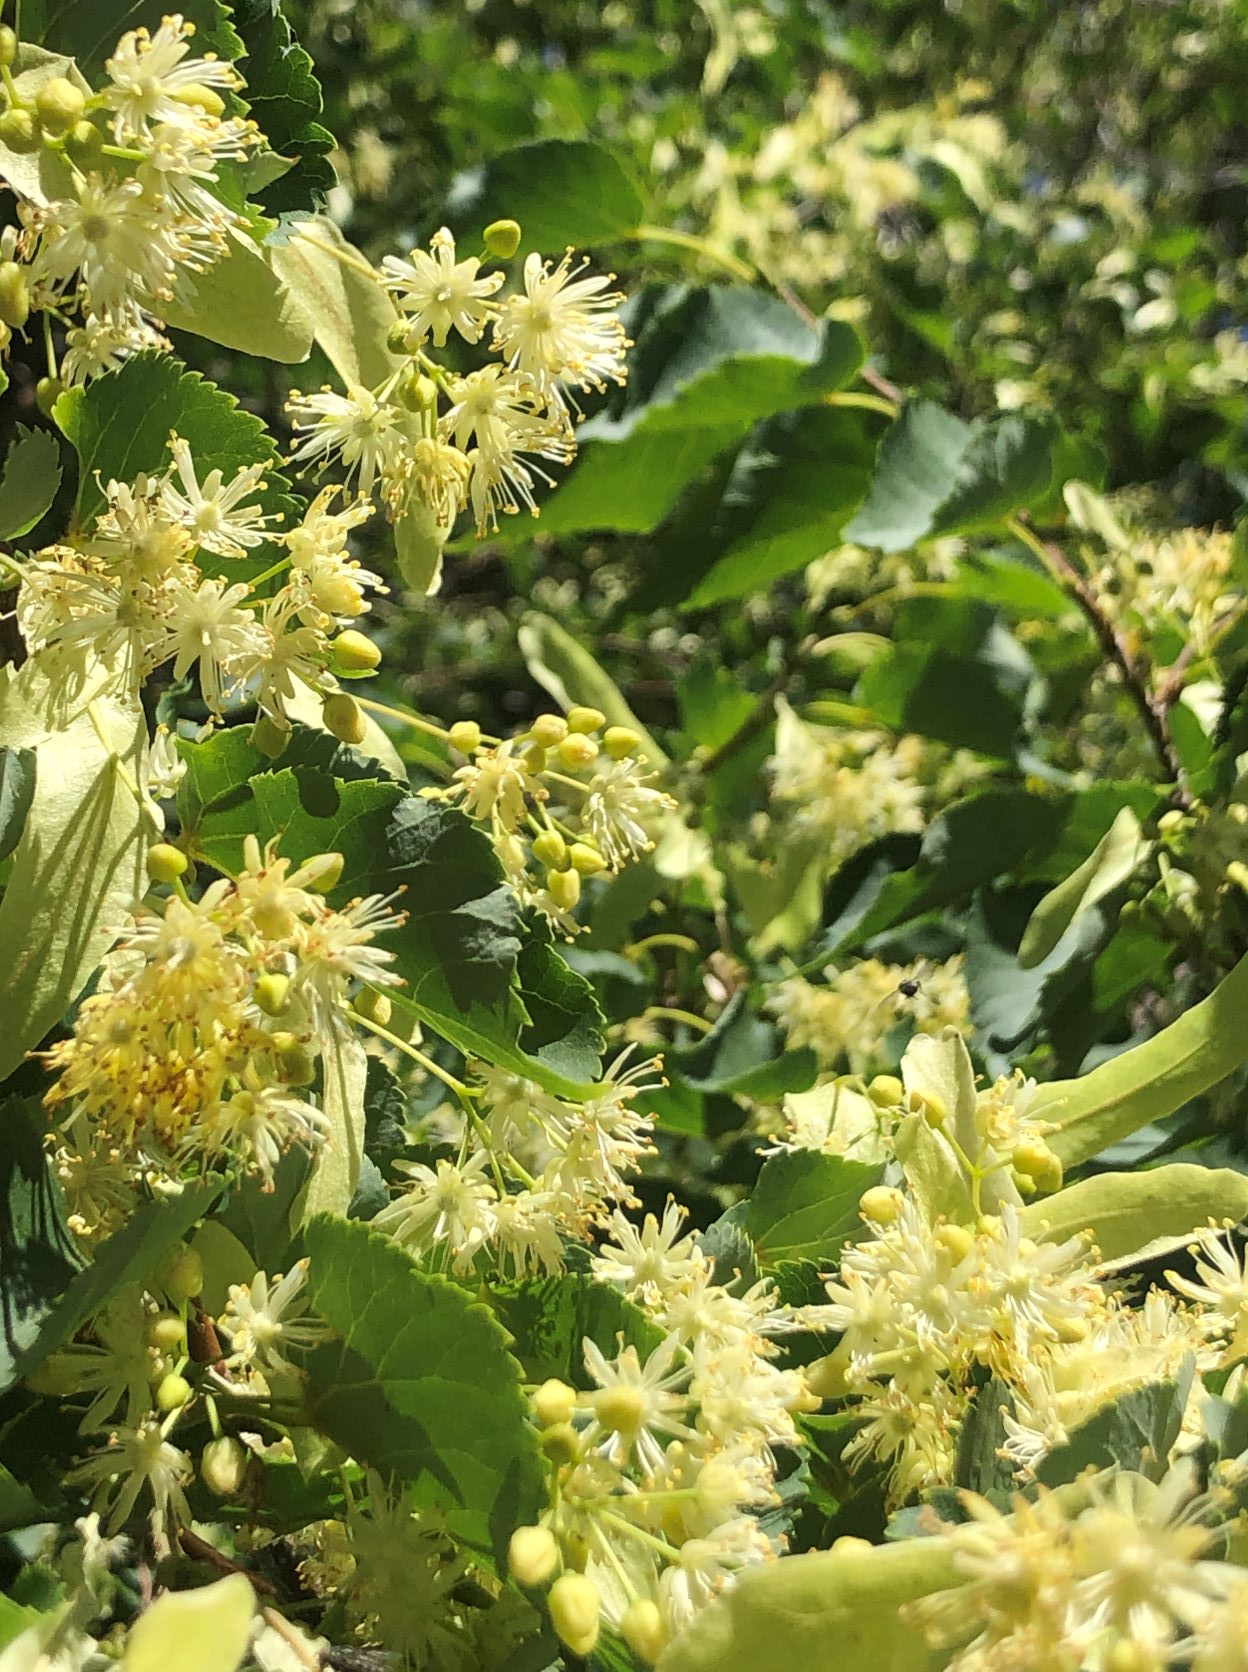
In 1988, we bought our home with a beautiful tree in the front yard. The Linden tree has provided beautiful shade for our front yard, a marvelous climbing tree for my children and grandchildren, amazing fragrance when the tree is in bloom, pollen for the honeybees, symbolic heart-shaped leaves, and now a wonderful source for a Linden infusion and tea.

I have felt a tremendous kinship to this beautiful tree for years. Little did I know that dried Linden leaves have medicinal beneficial. Benefits of the tea or infusions are reduced stress and anxiety and help with gut issues.

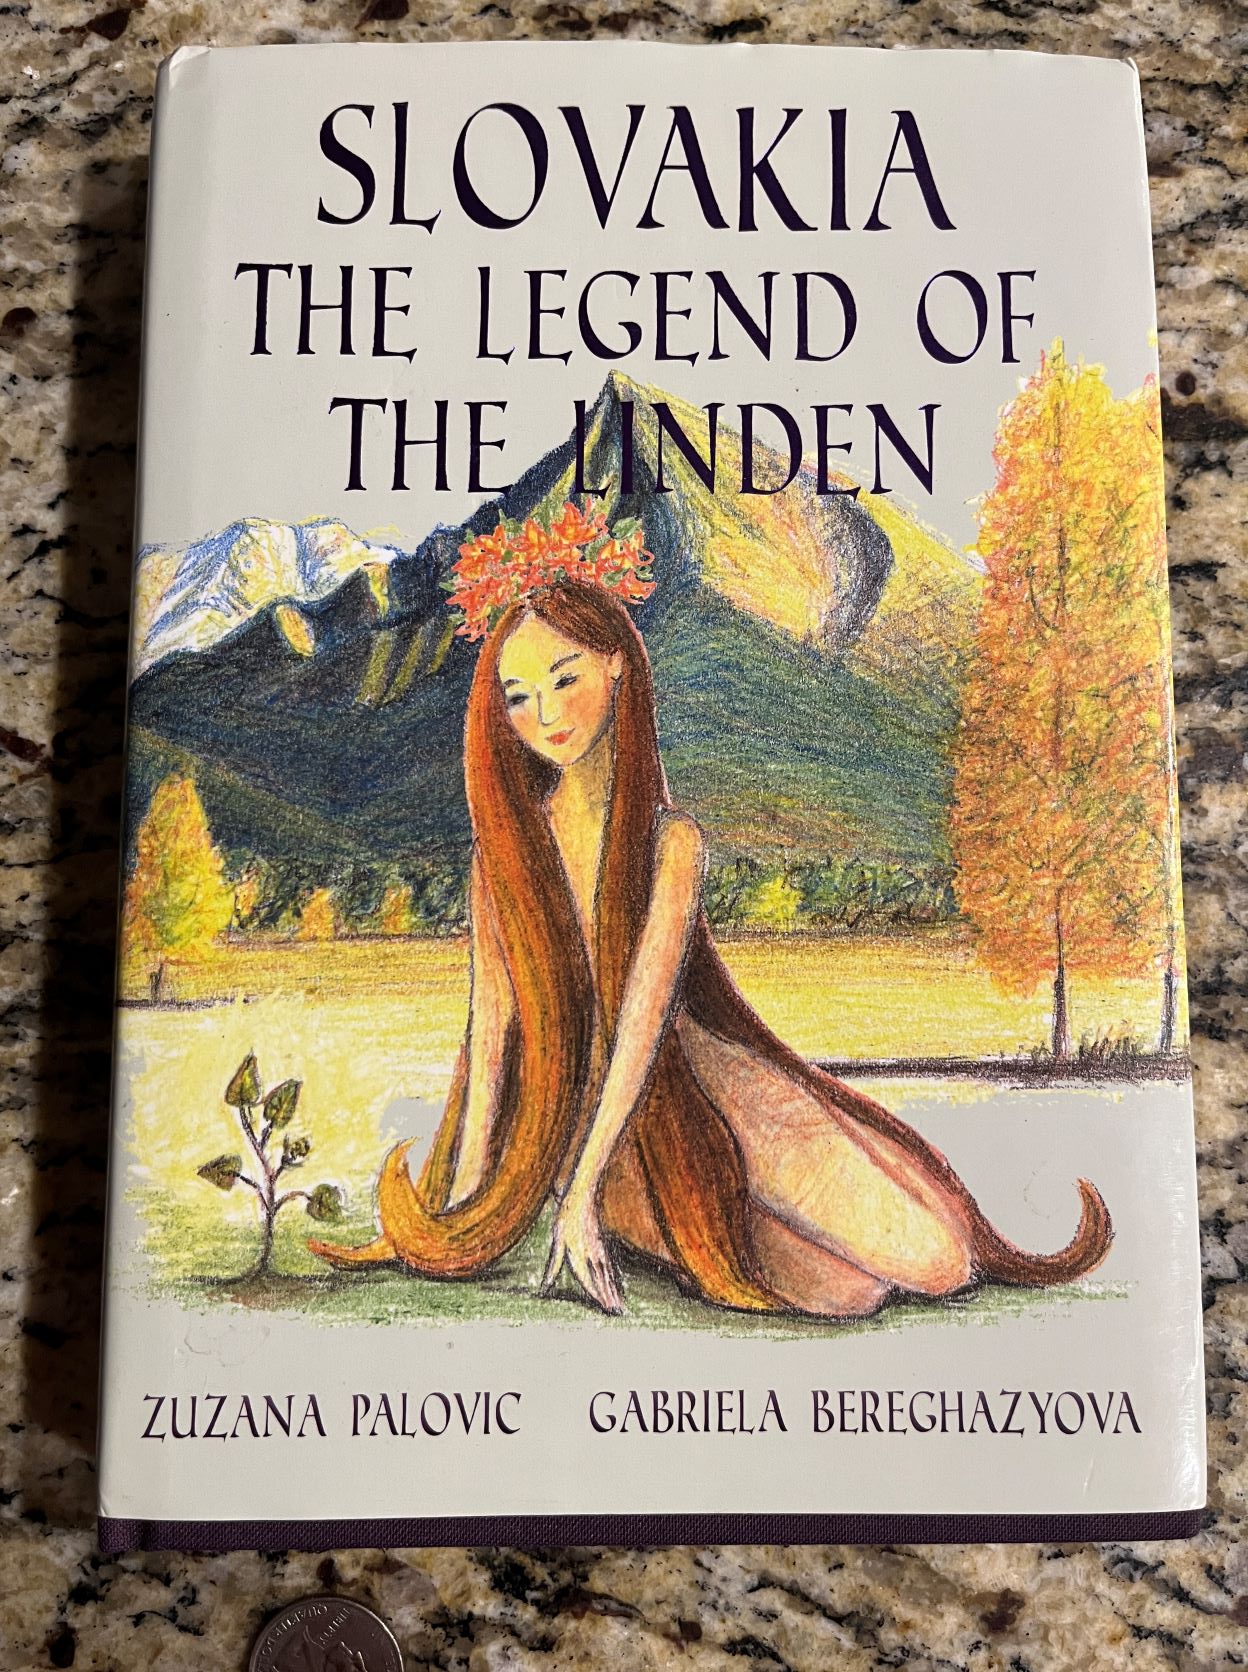
The Linden tree is a beloved symbol of the Slovak people, part of my heritage. In the book, ‘Slovakia, The Legend of the Linden” written by Zuzana Palovic and Gabriela Bereghazyova, shares the history and symbolism of this beautiful relationship. On page 5 of their book, is a beautiful description:

“INTRODUCTION: THE SACRED LINDEN CODE The land we know as Slovakia is protected by an all-powerful symbol, the Linden tree and its heart-shaped leaf. For centuries, the sacred icon has represented the heartfel essence of hte Slovak people. It is a code that captures th narrative of a nation. The heart-shaped emblem masterfully unites the humanity, geography and heritage of the region.”

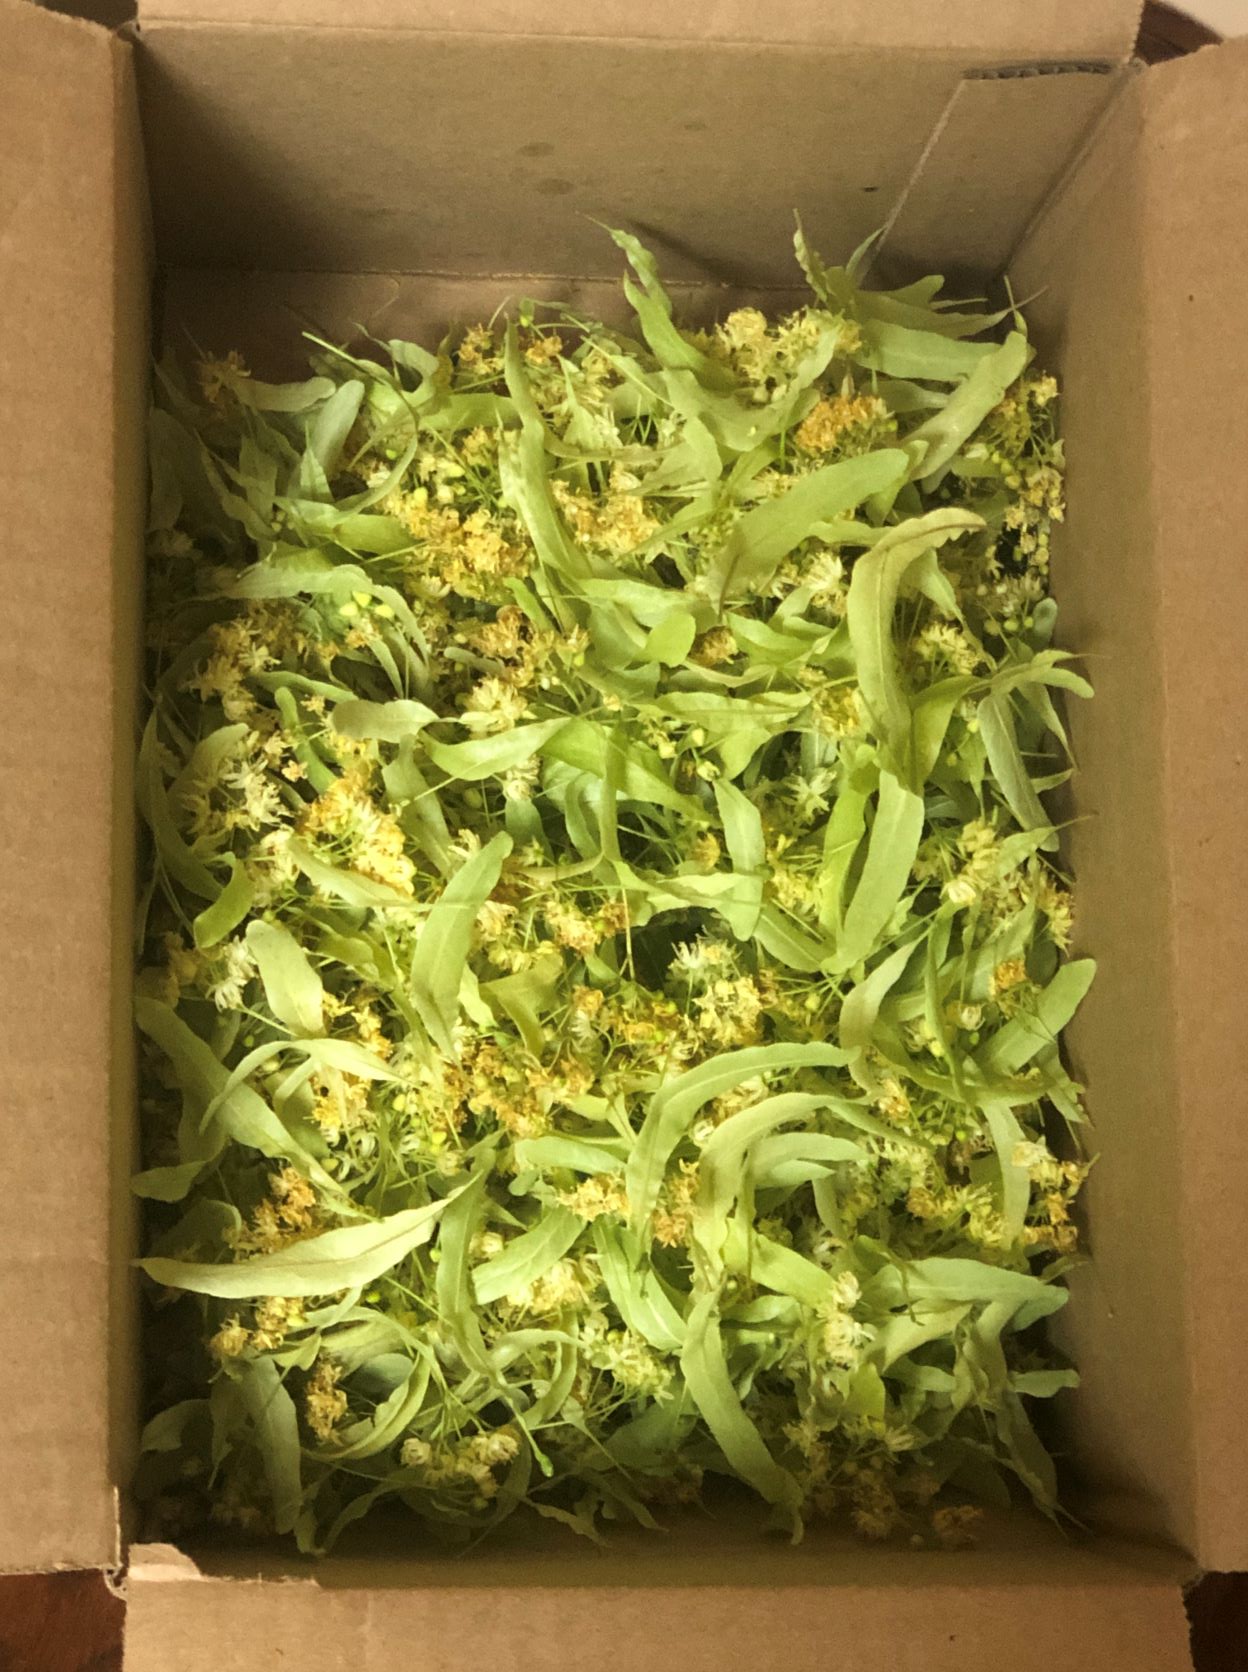
If you are fortunate enough to have access to a Linden tree, take advantage of the few days that the tree blooms and collects blossoms to dry and enjoy as a tea or infusion. It’s worth the trouble.

Linden Flower Infusion and Tea

INGREDIENTS:
  • Dried Linden Flowers
  • Boiling Water
DIRECTIONS:
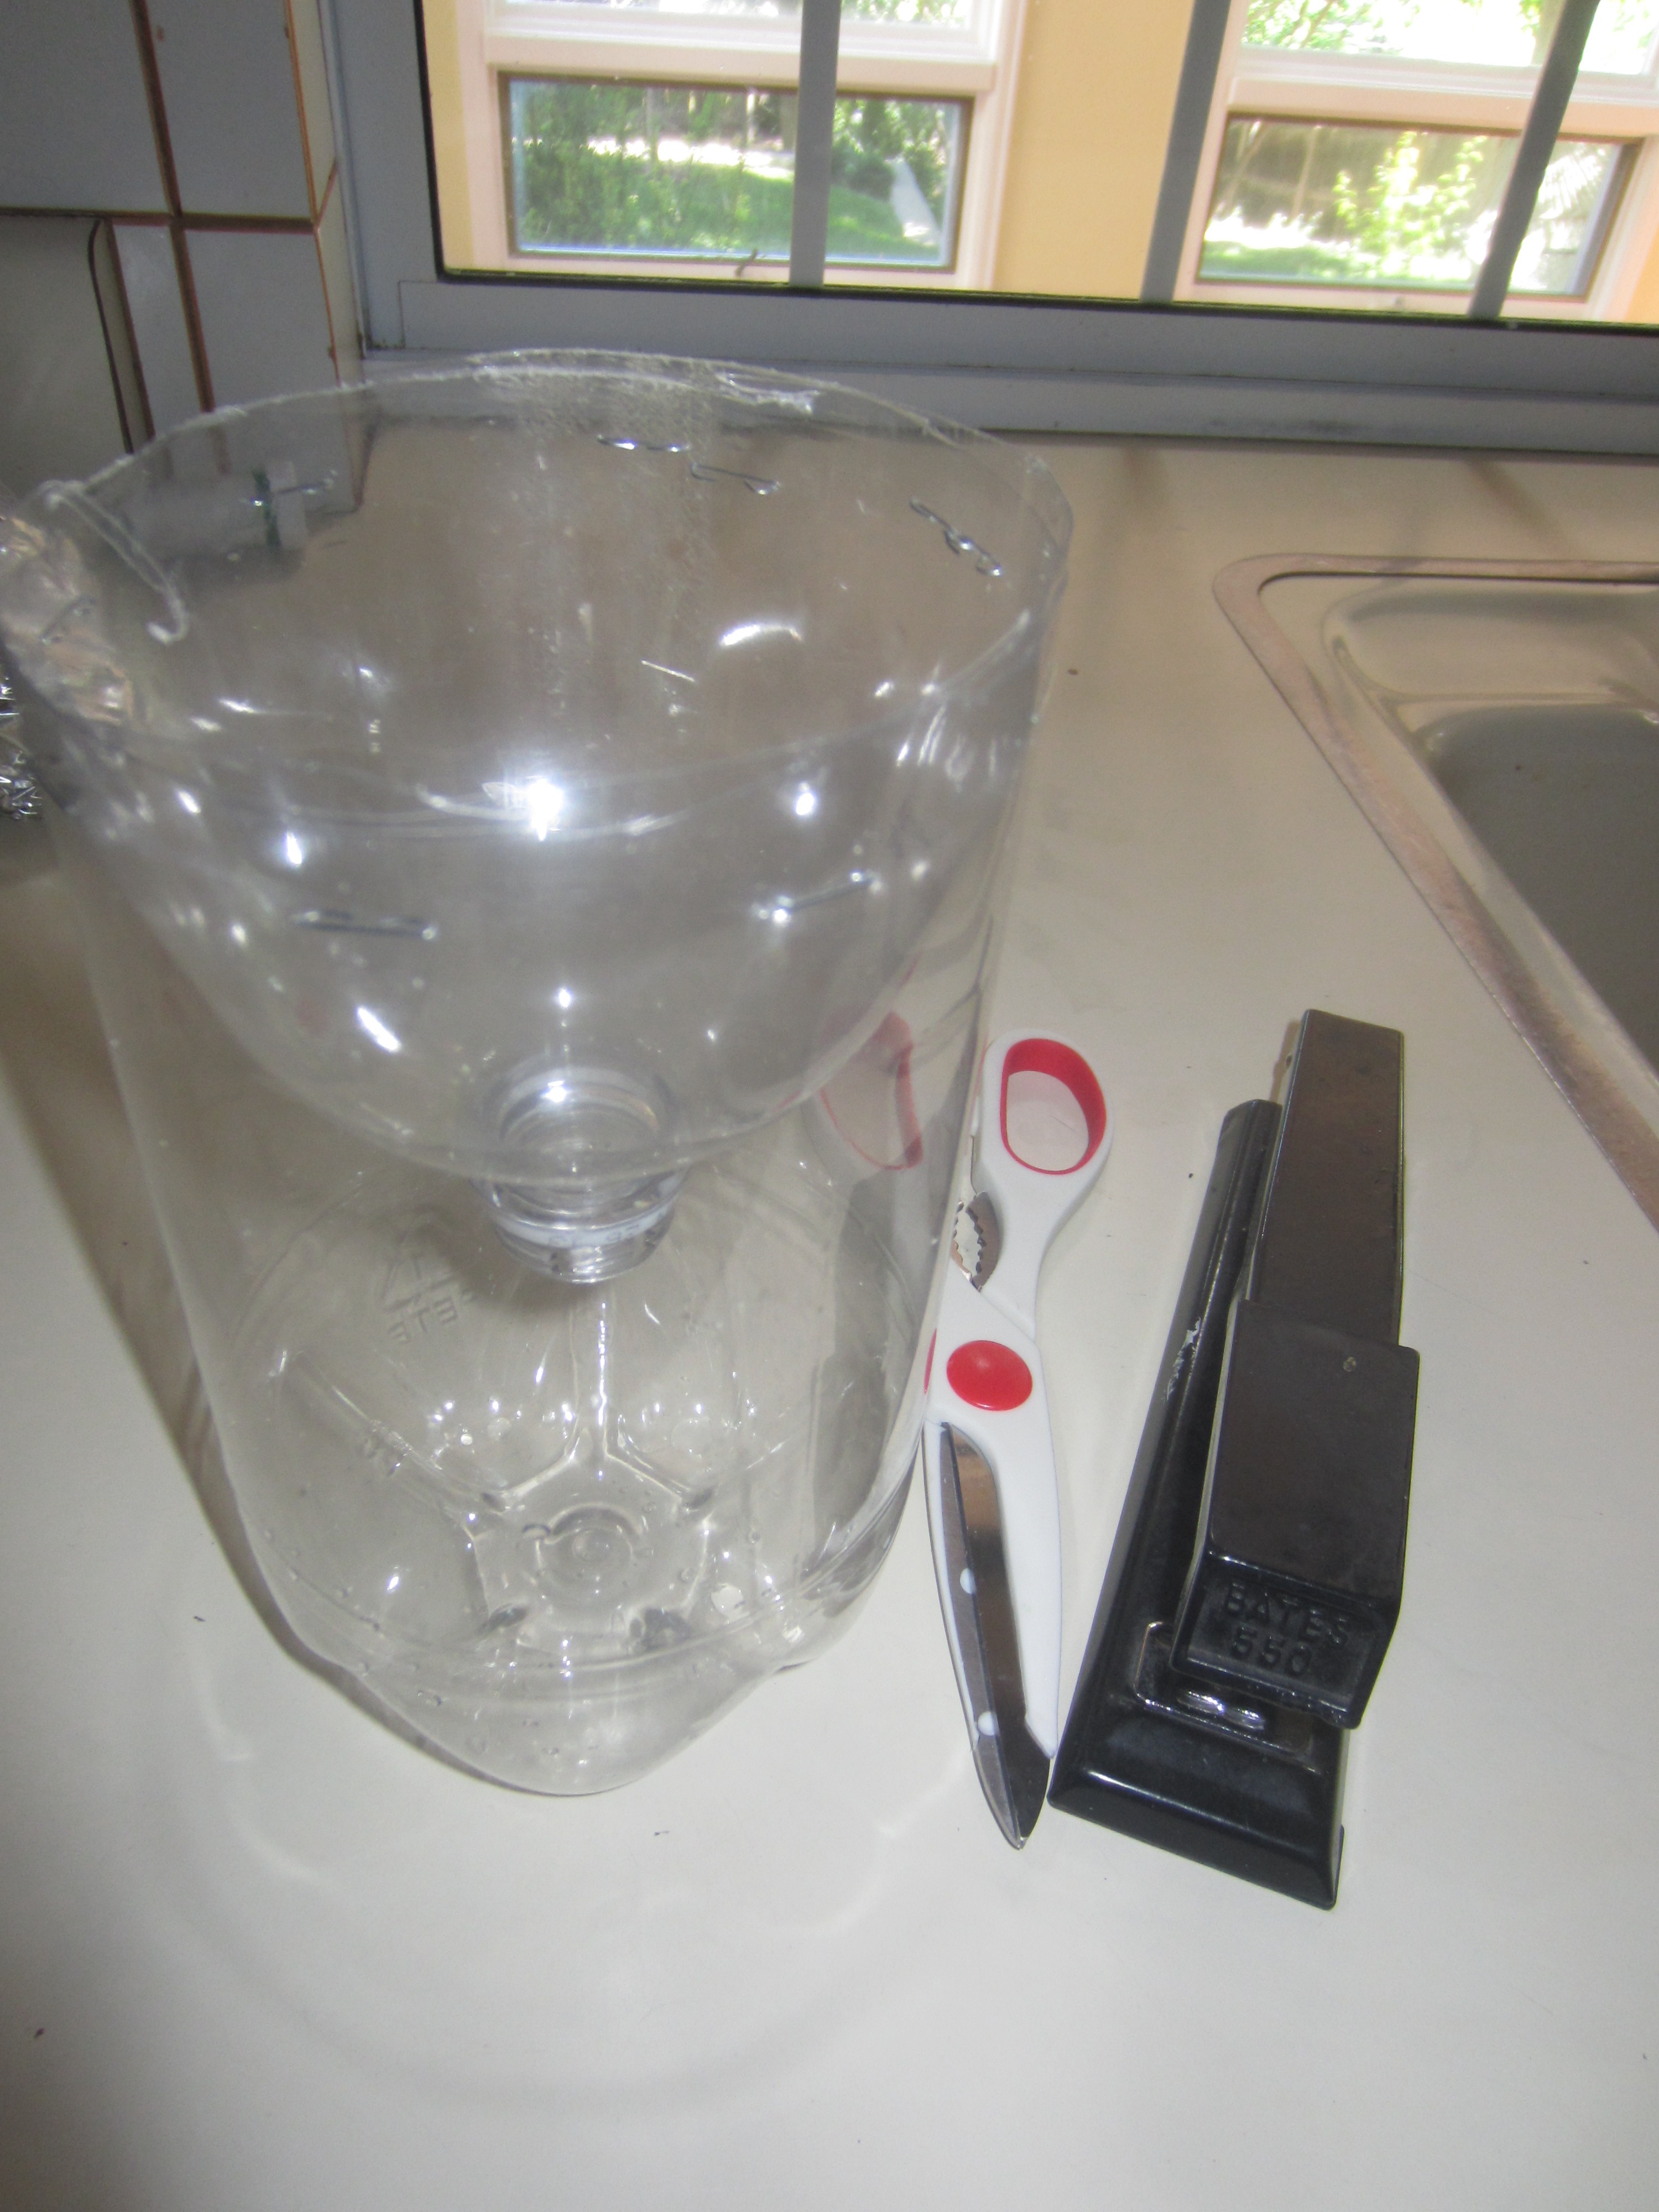
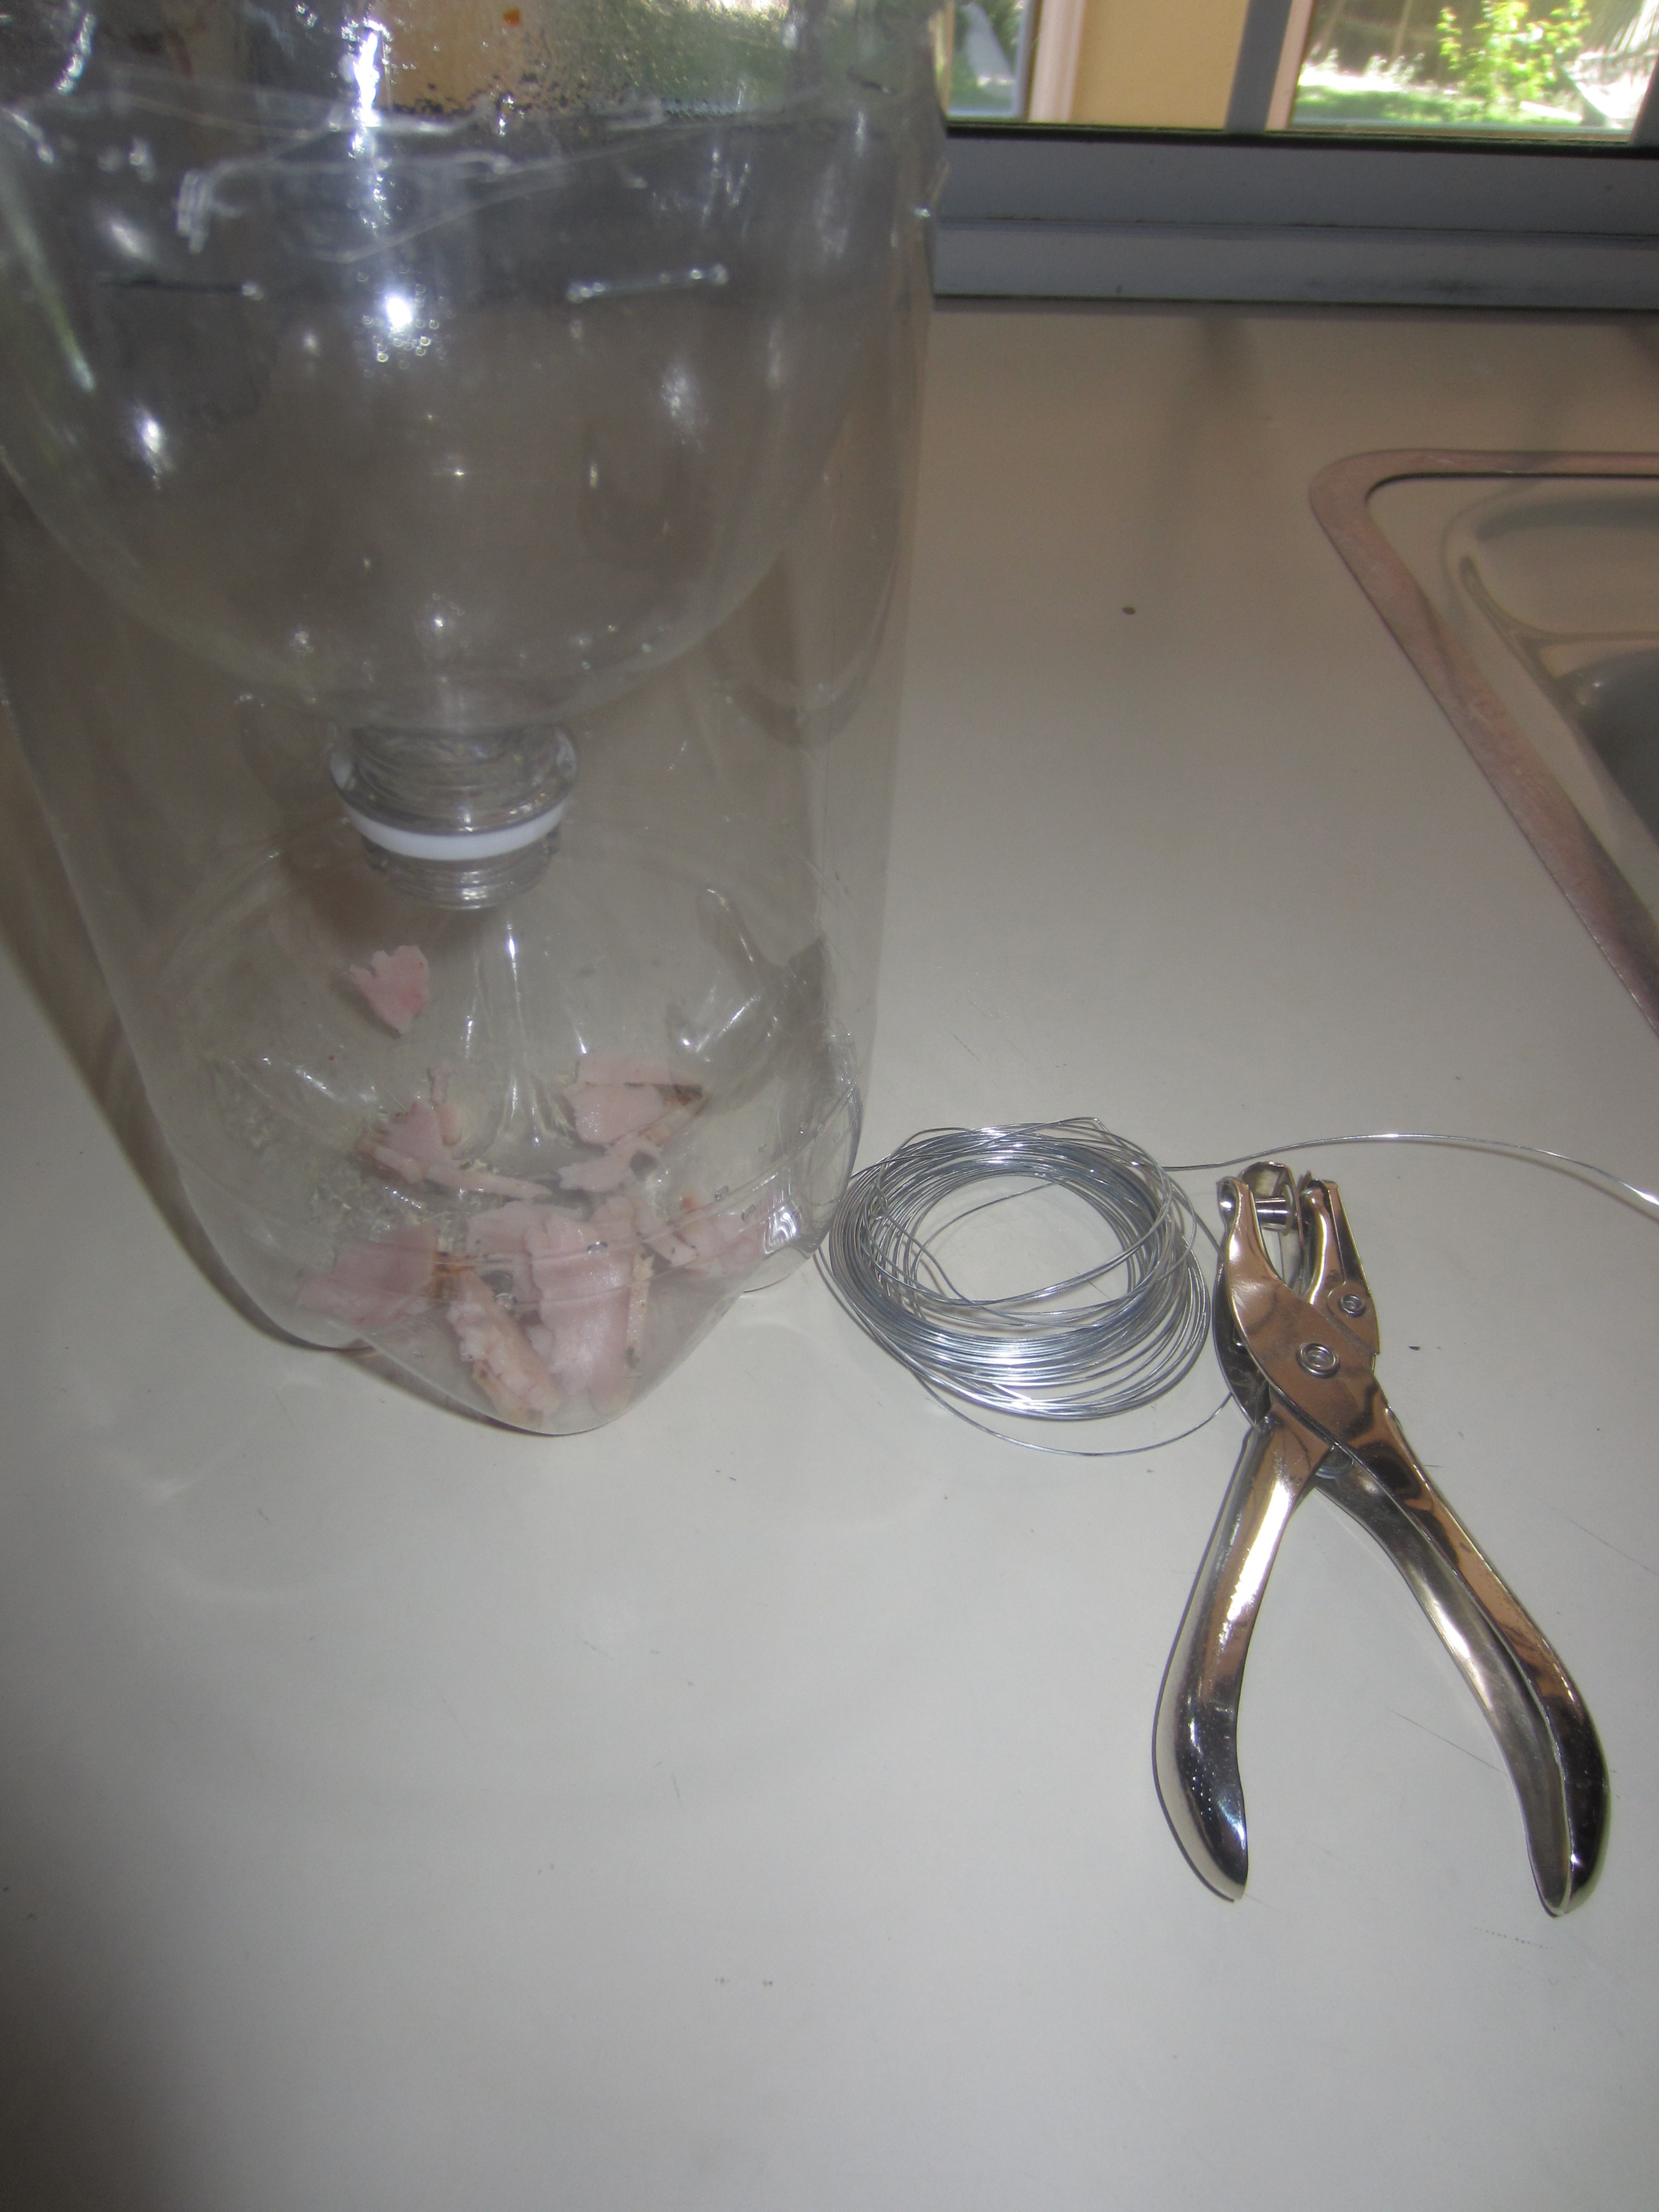
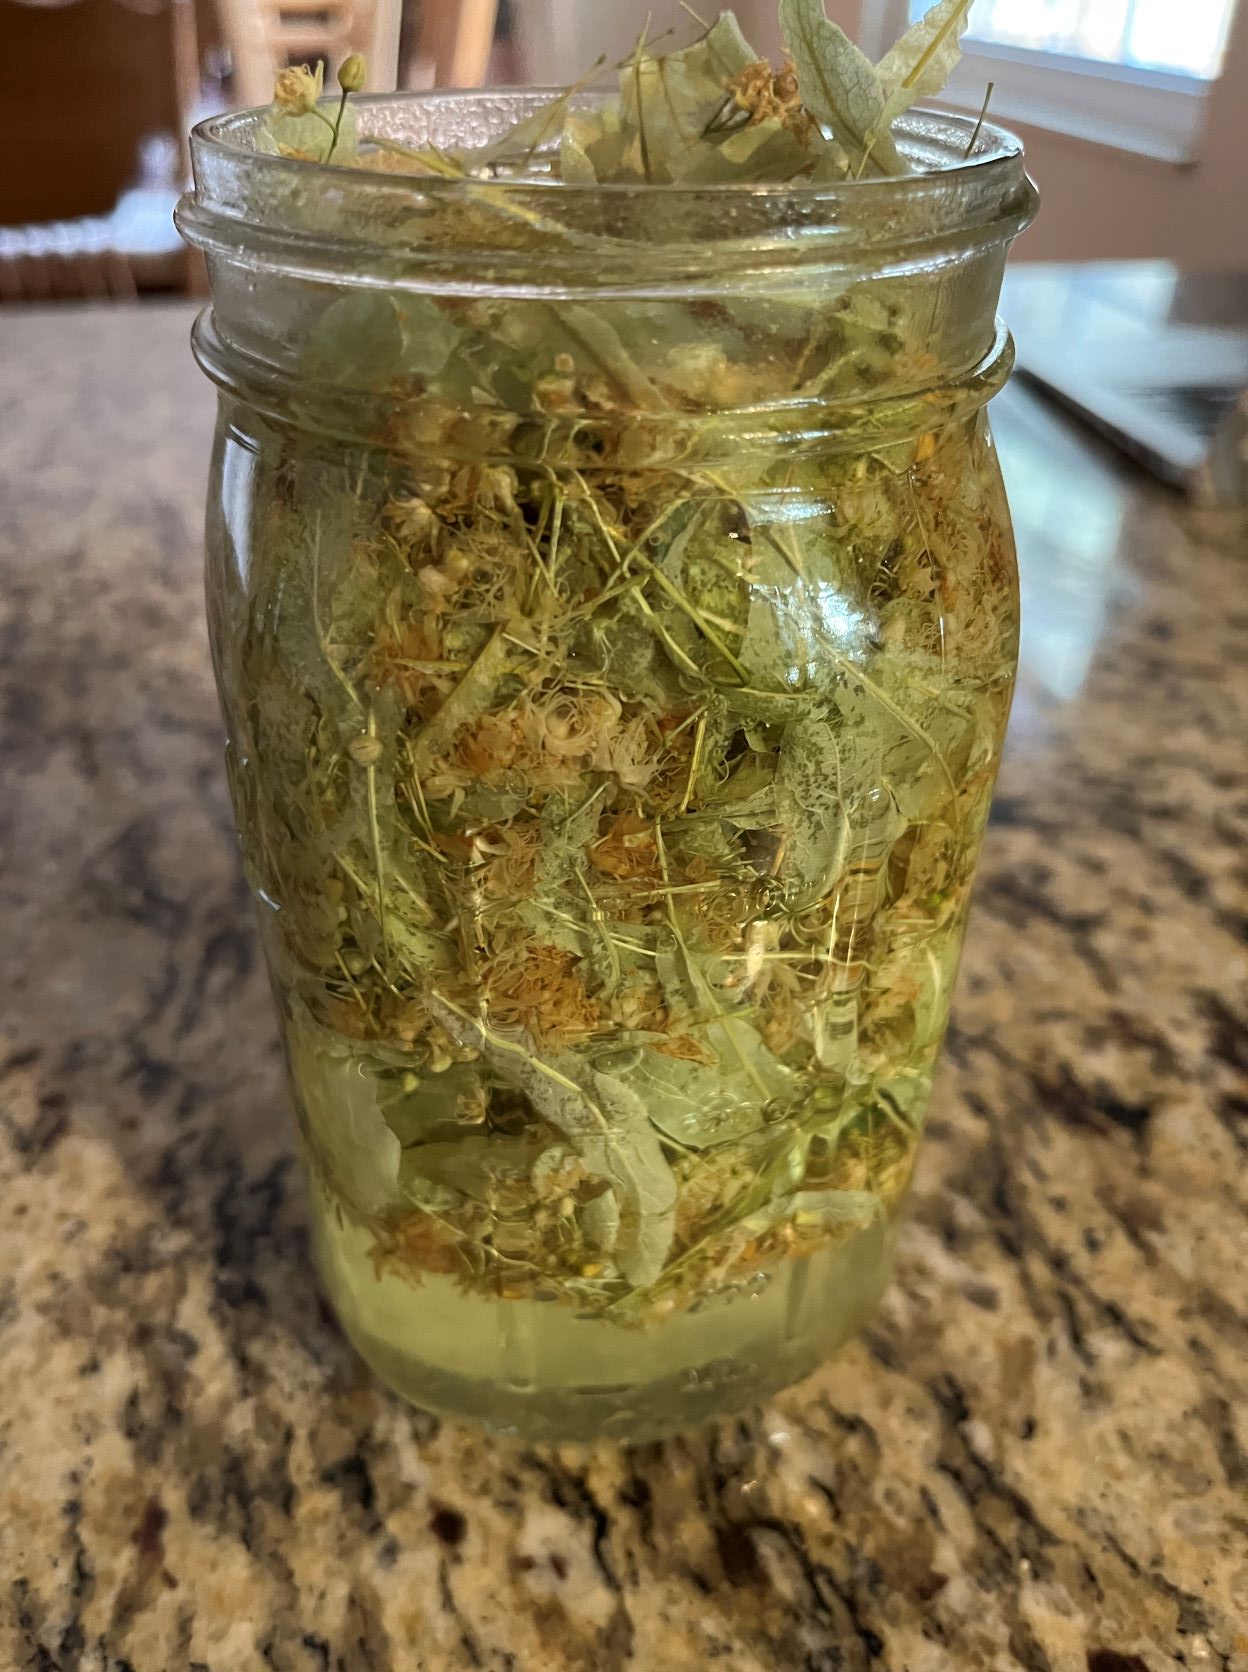
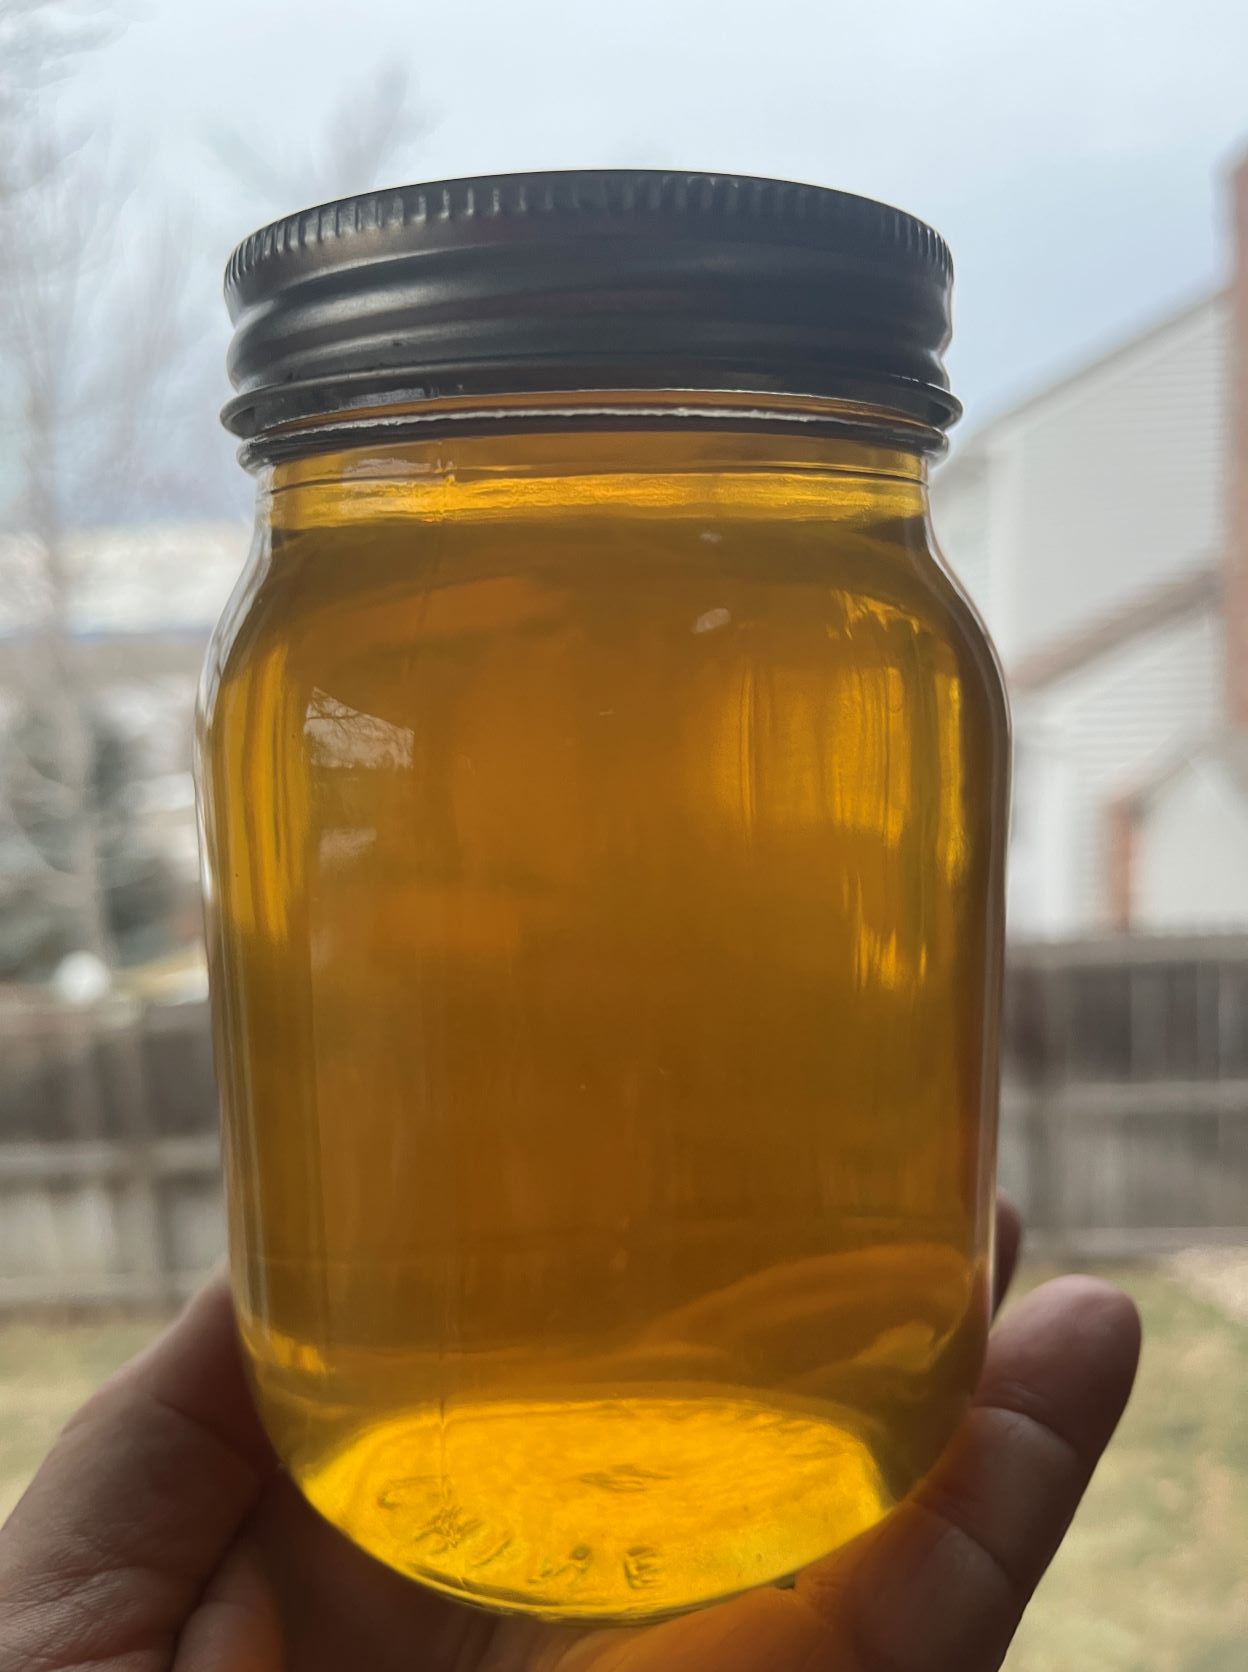
  1. Linden Flower Infusion: Place 1/2 to 1 ounce of dried Linden flowers in a 1 quart Ball jar. Boil water and slowly fill Ball jar. Cap and let steep for 24 hours. After 24 hours, strain. Optional: Bring liquid to a second boil. Cool. Use the infusion over the next 2-3 days. (Note: I wonder if the infusion could be frozen for later use.)
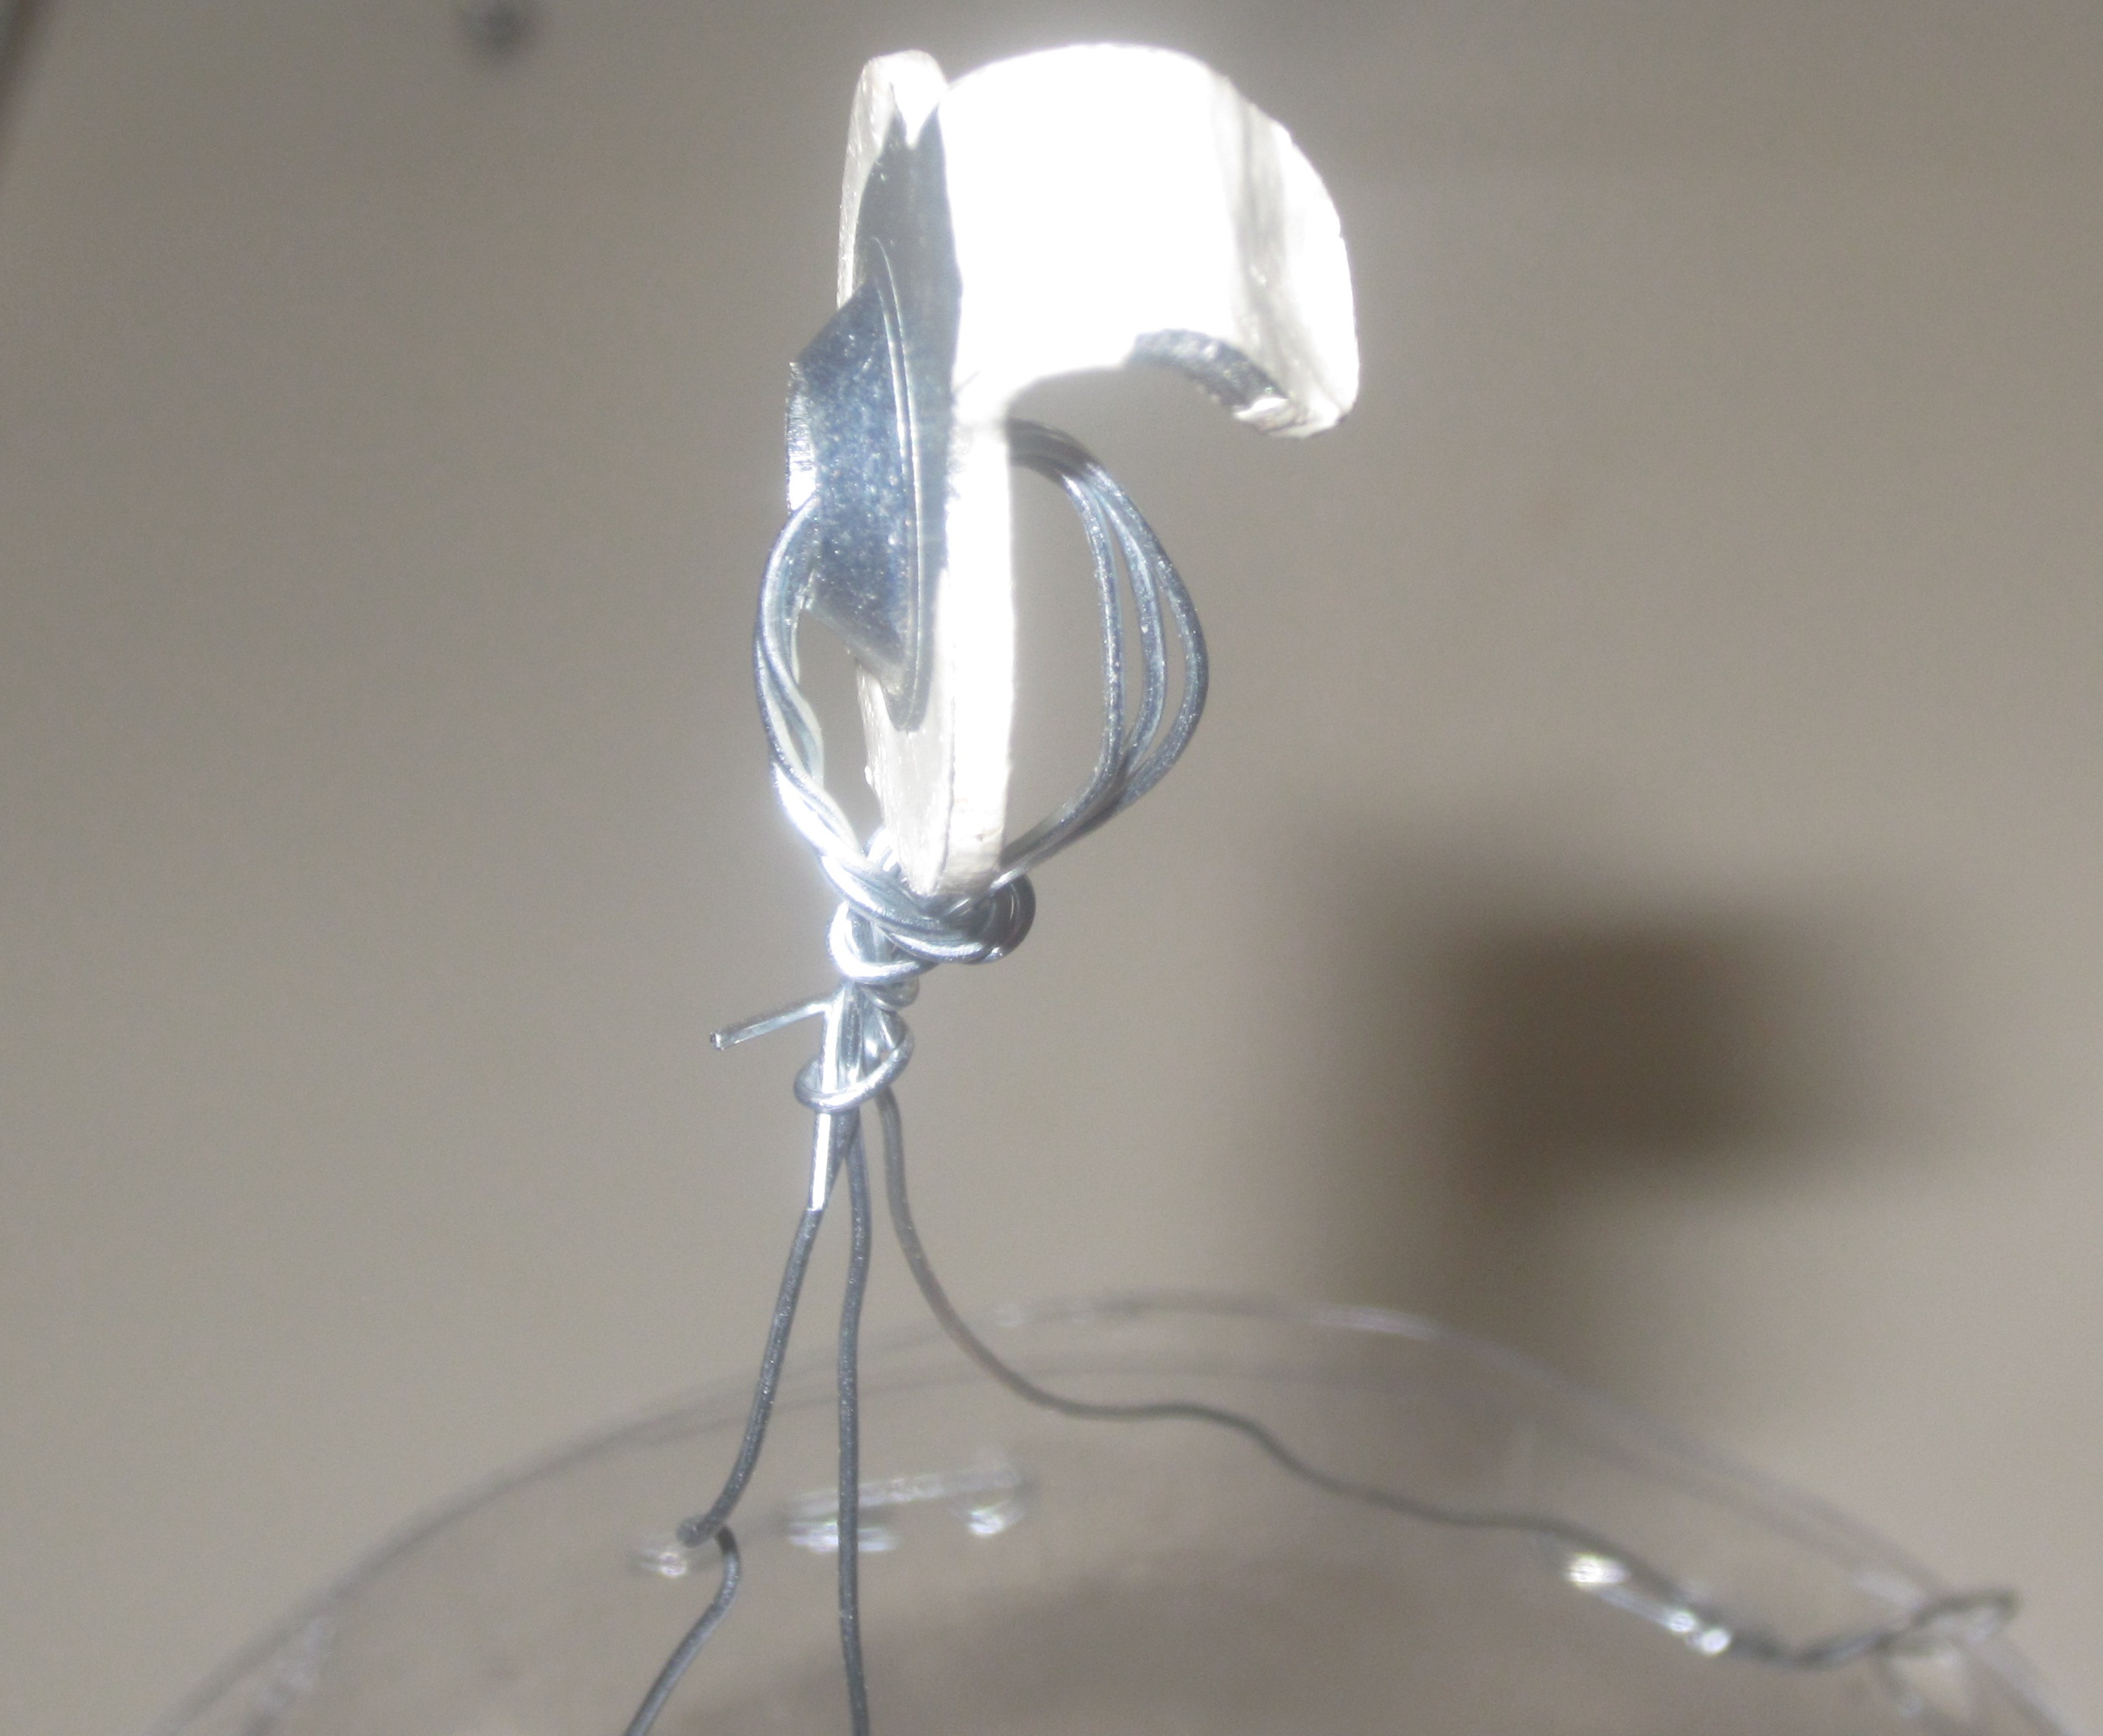
  2. Linden Flower Tea: Place 3 tsp. of dried Linden flowers in a tea infuser. Add 1 cup boiling water and let steep for 10 minutes. Optional: Enjoy with lemon or honey.

Eagle Song Gardener Luli’s Homestead Global Slovakia and the Legend of the Linden Wikipedia/Tilia or Linden

Appetizers · DIY · Family Favorites · Garden · Home · My Roots · Vegan · Vegetarian

Easy Dill Pickles

My Mother always grew a large garden and had a plentiful canning room in the basement with many types of pickles, tomatoes, corn, green beans, chicken, beef, peaches, pears, apples,  jams. jelly, and more.  What she didn’t can, she froze.  I fondly remember the annual family gathering to pick, husk, parboil, cut and pack sweet corn for the freezer.  How wonderful to enjoy this bounty during the long, cold Iowa winters.

This year I had a plentiful harvest of cucumbers. With the first hard freeze shortly after Labor Day,  I had to pick most the produce, including many cucumbers.  I made my Mom’s Easy Dill Pickle recipe and it didn’t disappoint. The addition of fresh garlic to the second batch will be a new twist!

EASY DILL PICKLES

Medium Cucumber, sliced into spears or slices
Fresh dill
White vinegar
Water
Salt
Alum
Optional:  Peeled cloves of garlic

  • Wash medium size cucumbers and pack in canning quart jars.  Add fresh dill to the top (stem and all).  Place 1/4 teaspoon alum in the top of each quart jar of cucumbers.
  • Boil canning lids and rings in a separate pot.
  • Mix 1 part vinegar to 3 parts water.  To each quart of liquid add 4 tablespoons salt. Heat liquid to boiling point.  Pour liquid, while hot, over pickles.
  • Immediately place lids and rings on each jar.Let stand until cool.  Check to assure lid has sealed. Let the pickles sit in the brine for a few days/weeks. Store in a cool place.
  • I’ve also made these pickles and just placed in the frig, skipping the canning process.
Family · Garden · Home · Home

Our Robin Adventure

May 7,  I stepped onto my front porch and noticed a few unsightly weeds hanging from my front porch light.  I pulled them down and went about my day.  The next morning, lo and behold, there was a beautiful nest perched on top of the porch light.

I marveled at the intelligence of Mama and Papa Robin, selecting a nest site that was under the cover of the porch and warmed by the light 24x 7 because they built the nest over the light sensor!

On May 12, the eggs started to appear, first two, then a total of 5.  The Colorado May weather was unusually cold so Mama was on the nest most of the time.


Mama Robin lays her eggs May 12-15

Excitement was building as our family watched the Robin’s nest with great anticipation.  The grandkids were so excited to see photos and watch the wonder of nature.

Fifteen days later the eggs started to hatch, one by one.  To be able to see (never touch) these sweet babies up close was amazing.  The nest was too tall to actually look into the nest, iphone photos and video to the rescue (centering of the photos was often an issue).


Mama and Daddy Robin were consumed with feeding these hungry babies and they became very protective whenever we stepped out on the porch, swooping by and touching my hair to give warning.

Eleven days after the first hatch, two of the babies flew from the nest.

June 8: Two babies prepare to leave the nest

Mama was talking to them and away they went.  A few days later the last two babies also left the nest.  Their soaring abilities were very good and I hope they have learned to soar and be safe.

In the meantime, the grandkids are disappointed that the birds are gone, as am I.  Thank you, Mother Nature, for the great adventure and we hope we’ll have the opportunity again next year.

Below is a link to a short video of our Robin Adventure.

Family · Home

My First Furniture Refinishing Job

Furniture Refinishing always sounds appealing but I have heard so many horror stories that I have avoided this type of project. However, with the kitchen remodeling project, I had a burst of energy and decided to refinish an old conference table that I’ve been using as a patio table for the last several years.  While it is protected from the elements, it needed a facelift. The project started with a solid sanding, a very rewarding task exposing the beauty of the wood as the old finish and grime melted away.

Note: The black burn marks on the side that tells the story of the time the tablecloth blew over the center candle. 

IMG_4860IMG_4855

IMG_4856

Step two was to use wood filler on the cracks and dings in the wood.  I used a standard Wood Filler, and this was my first big lesson learned. Not all wood fillers take stain well.  In the future, I will be using a wood filler that matches the stain of the wood.

Next I applied two coats of Minwax Gel Stain, taking care to wipe it down as I worked on the table, assuring the color was evenly applied.

IMG_4907

Last but not least, I applied two coats of indoor/outdoor clear semi-gloss Polyurethane, allowing a day of drying time between each application. The table finish is beautiful, if I do say so myself. Now I don’t have to disguise the dingy wood with a tablecloth. Loving it!

IMG_5070


Family · Home · Home · Kitchen

Kitchen is on the Uphill Slide

The Kitchen Remodel has turned the corner. It’s beginning to look like like a real kitchen.  Or, as my brother says, ‘the taking out is over and now you’re putting things in.’  Good way to look at it.

So where are we?

  • Design Complete, Appliances Ordered, Cabinets Ordered: CHECK
  • Cabinets and appliances removed: CHECK
  • Asbestos Abatement: CHECK

Asbestos Work Begins

  • Fixtures and cabinet handles ordered: CHECK
  • Backsplash ordered: CHECK
  • Granite Ordered: CHECK

IMG_4712

  • City Permit in Place: CHECK
  • Dumpster arrives (just in time to put all of the tree damage from the Mother’s Day snow storm): CHECK
  • Structural walls and ceiling removed:  CHECK

IMG_4714 IMG_4721

  • Plumbing moves and changes completed: CHECK

IMG_4867

  • Electrical moves and changes completed: CHECK

IMG_4866

  • City Inspection: CHECK and PASSED WITH FLYING COLORS
  • Cabinets delivered: CHECK
  • Drywall installed: CHECK
  • Tape, Mud and Texture completed: CHECK
  • Wood Floor Patches: CHECK

IMG_5033

  • Downstairs Doors Installed: CHECK
  • Cabinets Installed (except for a couple of pieces to be replaced): CHECK

IMG_5090

  • Counter top Template:  CHECK

AND YET TO COMPLETE:

  • Appliances Installed:
  • Lighting and Plumbing Installs Completed:
  • Final Wood Trim and Crown Molding Installed:
  • Countertop Installed:
  • Backsplash Installed:
  • Wood floor refinished:
  • Painting:
  • Dogs go into depression with all of their new friends gone:
  • Move furniture back into the house:
  • Glass of Wine and a big sigh of relief: CAN’T COME SOON ENOUGH

Once all of the work is done, I will post the before and after shots.  Stay tuned!


Home · Kitchen

Kitchen Remodel, here we go…no…wait!

People have told me for years that a remodel project will always take longer than you expect because of unforeseen issues. Got that right!

KEEP CALM AND REMODEL THE KITCHEN

I’m not big on snap decisions so I was torn on whether to take down the wall between the formal dining room (used once or twice a year) and the kitchen. Should I pop the dropped ceiling in the kitchen? Was it worth the time and investment?

I spent the bulk of the winter planning, working with a designer, visiting showroom after showroom until I felt confident in my choices.

By the end of April the appliances and cabinets were ordered. The contractor was scheduled and soon I finalized orders for hardware, doors, tile and other details. Now the waiting game begins.

Before the actual construction began, I solicited the support of my son-in-laws to help remove the cabinets to either donate or use in their own garages.  The process was easier than I thought…all systems go.

Next step was to remove the drywall on the ceiling and between the kitchen and dining room.  I signed up to do that myself (I know…not smart).  However, I did think to get an asbestos and lead test before I began this project.  The test revealed a small amount of asbestos in the wall and ceiling texture, more than allowed.  First budget and time set back.  Oh well, I’ll chalk it up to just one of those things.

Next, the permit was pulled and  the contractors crew came out to demo the structural pieces while the plumbing and electrical crew assessed needed changes.  Needless to say, we must have had a prior ‘do it yourselfer’, so the extent of the work was greater than expected.  Oh well, better to do it right than regret it later.

In the meantime, my house is quite a sight. Frig in the living room by the front door, new doors stacked throughout the 1st floor, furniture and old cabinets stuffed into the garage, and constant dust.  I’ve learned to embrace the dust and know that it doesn’t matter.

that-feeling-in-the-midst-of-a-kitchen-remodel-when-you-cant-find-the-can-opener-anywhere-4621b

Cooking, other than microwave reheats, is down to zilch. Cheese and crackers, grapes and cherries, Rudi’s gluten free Cherry Almond Bars, popcorn, and hot dogs top the list.  Eating out and meals with the McKennas have been wonderful.  Soon, I hope to be able to cook REAL food and use the greens waiting in my garden.

It’s exciting, I suppose, or will be once it’s done.  The dogs aren’t complaining as this is the most excitement they’ve had in years!

I am lucky to have a wonderful contractor and crew to work with. Any way you slice it, it’s a long, involved process.  Be prepared, be patient, and look forward to the day you can cook your favorite foods once again.

Family · Garden · Home · Home · My Roots

Columbine … Official (and favorite) Colorado Flower

My Mother would often find old sheet music at estate sales and bring it home for me to play on the piano.  As a result, I have a stack of music that is great fun to look through. A few days ago, I was looking through the stack and ran across this piece, Where the Columbines Grow.

Little did I know back in those days that I would eventually settle in Colorado, now for 33.5 years.  Columbines are one of my favorite flowers.  While most of the Columbines are now gone from my garden, I can enjoy photos all year-long.

IMG_2354 IMG_4239 IMG_4235

IMG_4204

Where the Columbines Grow

Where the Columbines Grow” is one of the two official state songs of Colorado. It was written and composed by A.J. Fynn, and was adopted on May 8, 1915. In the early to mid-2000s, there was debate over replacing “Where the Columbines Grow” with John Denver‘s “Rocky Mountain High” or Merle Haggard‘s rare song “Colorado”. In 2007, the Colorado legislature named “Rocky Mountain High” as Colorado’s second official state song, paired with “Where the Columbines Grow”.[1]

Lyrics

Where the snowy peaks gleam in the moonlight,
Above the dark forests of pine,
And the wild foaming waters dash onward,
Toward lands where the tropic stars shine;
Where the scream of the bold mountain eagle
Responds to the notes of the dove
Is the purple robed West, the land that is best,
The pioneer land that we love.
Tis the land where the columbines grow,
Overlooking the plains far below,
While the cool summer breeze in the evergreen trees
Softly sings where the columbines grow.
The bison is gone from the upland,
The deer from the canyon has fled,
The home of the wolf is deserted,
The antelope moans for his dead,
The war whoop re-echoes no longer,
The Indian’s only a name,
And the nymphs of the grove in their loneliness rove,
But the columbine blooms just the same. Let the violet brighten the brookside,
In sunlight of earlier spring,
Let the fair clover bedeck the green meadow,
In days when the orioles sing,
Let the goldenrod herald the autumn,
But, under the midsummer sky,
In its fair Western home, may the columbine bloom
Till our great mountain rivers run dry.
History and Lyrics from Wikipedia
  1.  Wolf, Jeffrey (March 13, 2007). “Lawmakers name ‘Rocky Mountain High’ second state song”. KUSA-TV (Denver).


DIY · Garden · Home

Yellow Jackets…my BBQ Nemesis!

English: a yellow jacket wasp
English: a yellow jacket wasp (Photo credit: Wikipedia)

There is nothing more annoying than pesky yellow jackets when you’re trying to eat outside in the summer.  In Colorado, we are fortunate to not have many bugs allowing us to leave our doors open without much concern of flying insects invading our homes. Growing up in Iowa, it was a race to get inside and shut the door before the flies, mosquitos, June bugs, moths, etc. dive bombed toward the door.

For each of the 24 years we’ve lived in our home, the yellow jackets smell food/BBQ when we’re on the patio and the panic is on.  The girls freeze, run and scream into the house, slamming the door.  What a waste of perfect Colorado summer outdoor dining.

Each year I purchase every type of yellow jacket trap and bait without catching a single yellow jacket. GRRRRR!

This year, I decided to try a DIY yellowjacket trap made from a 1 liter soda bottle. After 10 minutes of creating this gem of a trap, I started watching the clock to see if it worked.  I used bits of turkey to lure the protein-seeking pests into my lair.  Tick, Tock! Tick, Tock!  No luck.

A week later, 2 flies…that’s it.  Now I’ve added sugar water and we’ll see what happens Tick, Tock!

I have a hunch that the secret is in the bait.  If you have a special yellow jacket concoction that works for you, please share!  In the meantime, I’m proud of my homemade trap.

DIY YELLOW JACKET TRAP

1 empty 1 liter soda bottle
Knife or scissors
Stapler and Staples
Wire
Paper Hole Punch
Hook, washer or anything that allows you to secure the twister wire to something you can use to hang the trap.  (I used an old picture hanger that had a hole in the middle.)
Bait (bits of meat, or sugar water)
Pam or cooking oil

  • Cut the top off of the soda bottle.  Put top of bottle, upside down into the bottom of the bottle, creating a funnel/entrance for the yellow jackets.
  • Staple the two pieces of bottle together.

IMG_2436

  • Punch 3 holes equal distance apart in the top of the trap.
  • Cut 3 pieces of wire, about 10-12″ long.  Lace a piece of wire into each of the three holes and twists the end around the bottom of the wire to secure to the bottle.IMG_2437
  • Bring the three wires together at the top and twist all together.IMG_2439
  • Spray PAM in top of trap to create a slippery entrance to the trap.
  • Bait the trap with bits of meat or sugar water.
  • Hang in your yard (away from where children and pets may be)
  • Empty (or discard) when full.
  • Make a new trap!

Inspired by http://www.prairiestory.com/2010/09/homemade-wasp-trap.html