I love an easy meal and especially an easy ramen bowl. This easy peasy recipe is now one of my all-time favorite meals. The chicken and the sauce are perfect for this dish. I added more vegetables than called for, so you can adjust to your liking. I’d highly recommend!
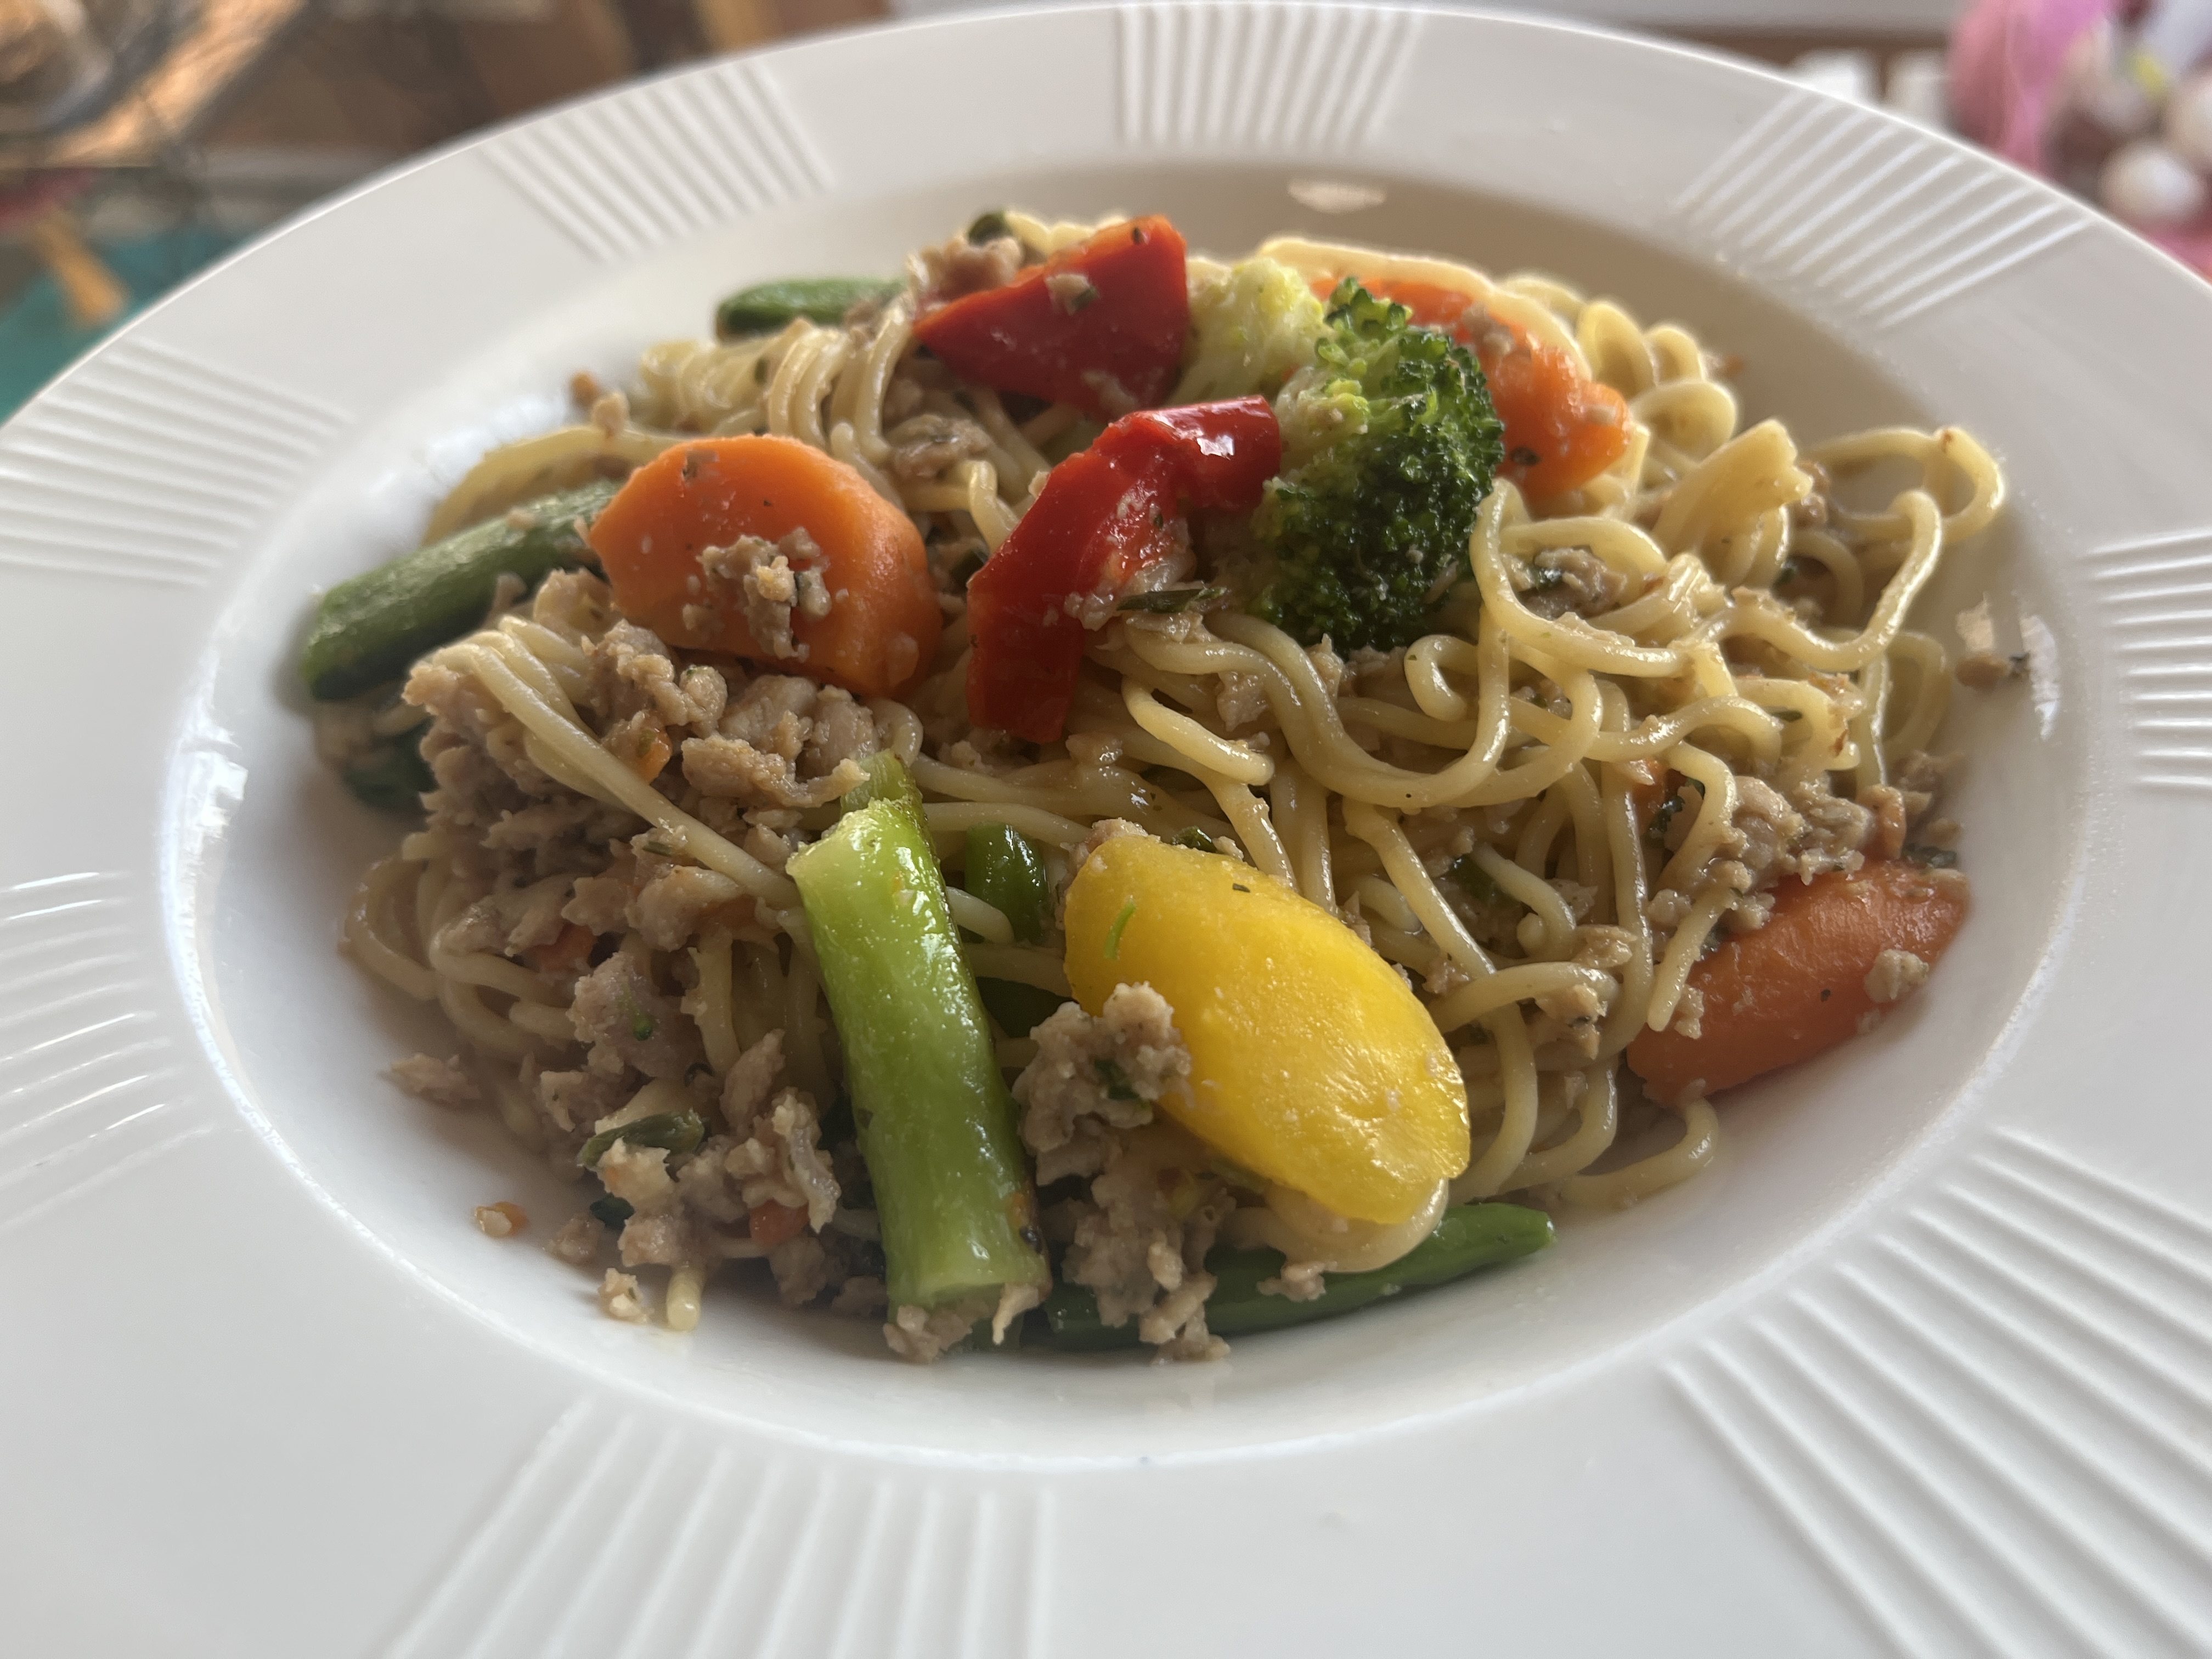
Easy 3-Ingredient Ramen Bowl from Costco
INGREDIENTS:
- 2 squares Organic Millet & Brown Rice Ramen Noodles (Lotus Foods–Costco dry food aisle)
- 1 package (of 2) AmyLu Sesame Ginger Chicken Crumbles (Costco refrigerated section)
- 2 cups frozen Stir Fry Vegetables (Costco frozen section)
DIRECTIONS:
- Heat the chicken crumbles in a large pan. Once heated add the 2 cups of frozen stir fry vegetables.
- Cook the ramen noodles as directed. When cooked through, drain the noodles. Add to the pan with the chicken and vegetables.
- Add the mandu sauce included with the chicken crumbles. Stir together. Enjoy!
Recipe from Costcofindsnortheast