Zucchini seems to multiple like rabbits. One day nothing on the vine, the next day a mega-zucchini is staring you in the face. My zucchini, however, produced zilch, nada, nothing. Luckily my buddy, Jan, and daughter, Megan, were anxious to part with their extra zucchini (Megan stooped to begging). Every year I try new recipes, but I always make my tried and true Zucchini Bread, so moist. I love nuts, but make it without since the family isn’t as ‘nutty’ as I am. Enjoy!
ZUCCHINI BREAD
3 eggs
2 cups sugar
1 cup vegetable oil
2 cups grated, peeled raw zucchini
3 teaspoons vanilla
3 cups flour
1 teaspoon salt
1 teaspoon baking soda
1/4 teaspoon baking powder
3 teaspoons cinnamon
1 cup nuts (optional)
Preheat oven to 350 degrees.
Mix ingredients in order given.
Pour into two greased bread pans. Bake for 1 hour, or until done.
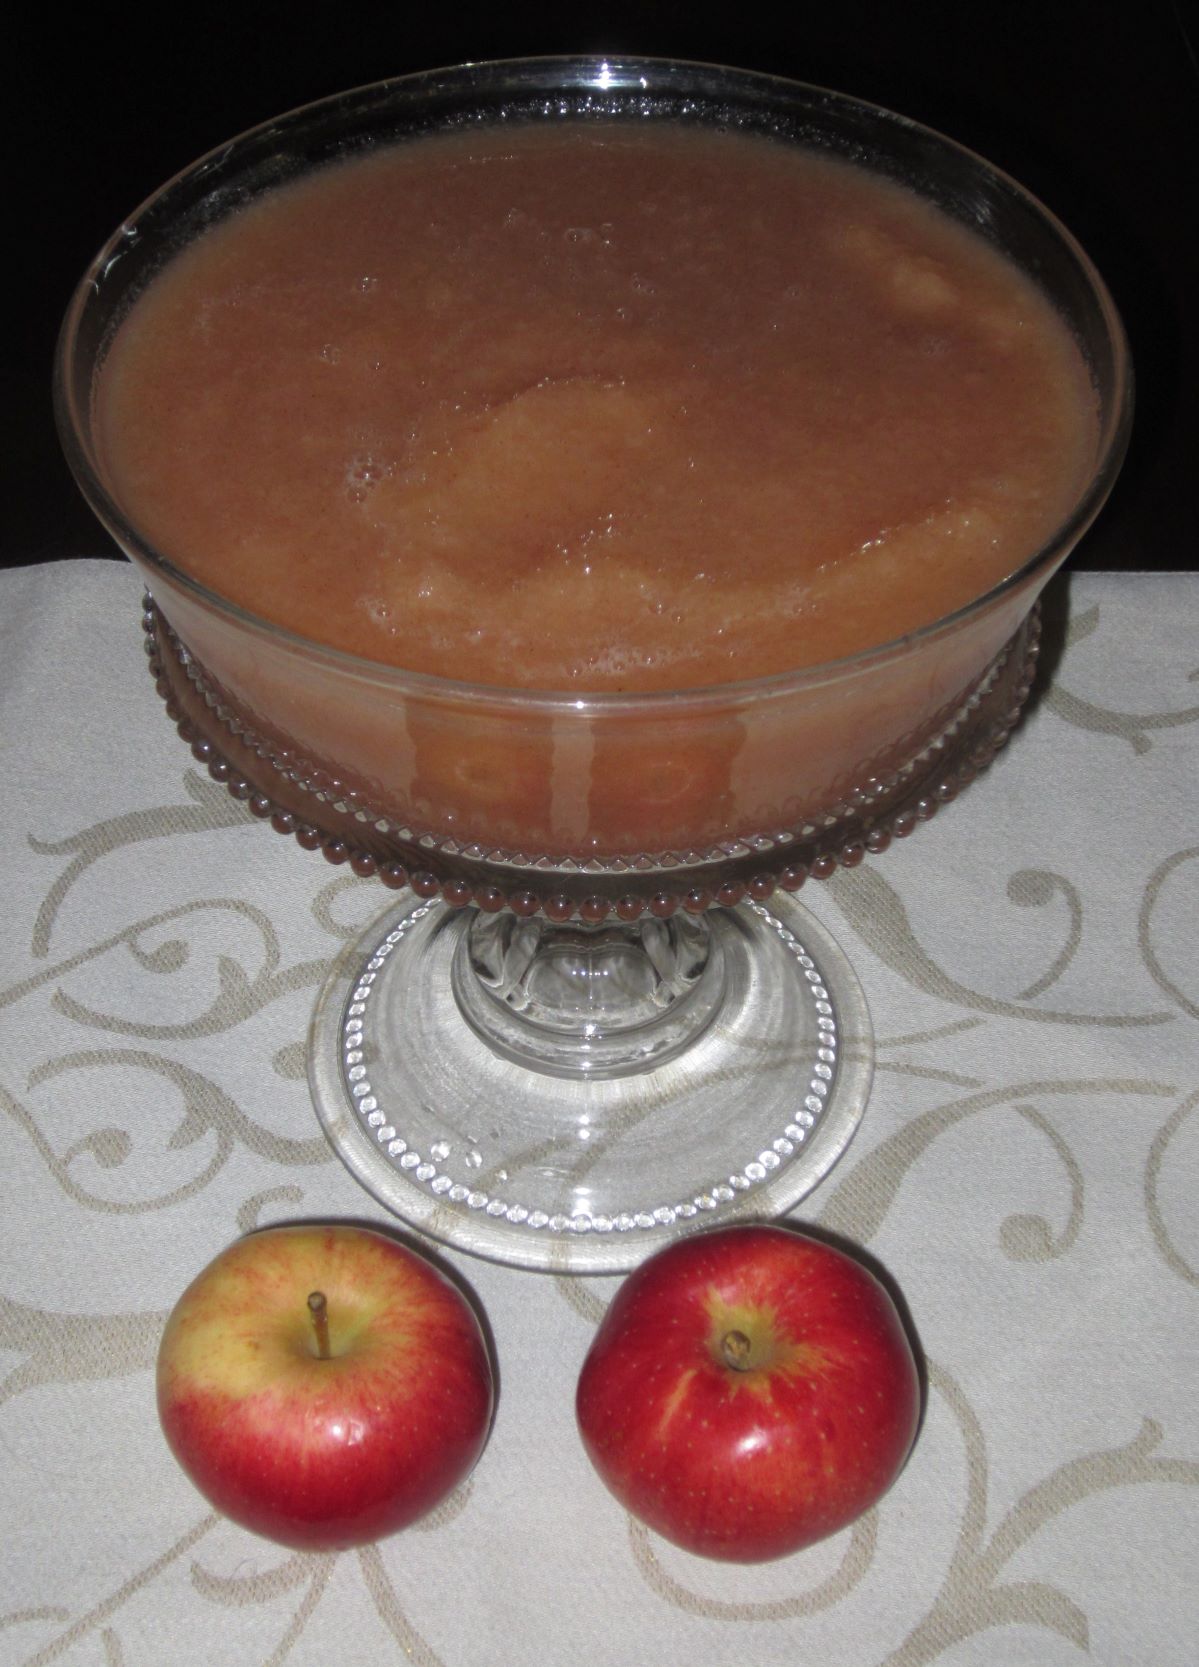
Fall is in the air and the apples are fantastic. What a perfect time to make fresh applesauce just like Mom used to make. I’m honored that this tradition continues as older daughter, Megan, made this year as well.
A trip to the Farmer’s Market for fresh apples and a little time and you’re ready to go.
I’m fortunate enough to still have the vintage colander sieve with wooden pestle my Mother used for many years, making quick work of making ultra-smooth applesauce. I have even cooked the apples with the skin on (and sometimes with the seeds) knowing that the colander/sieve will strain out the skin and seeds.
FRESH APPLESAUCE
8 apples (Granny Smith’s work well–but use what you have)
1 cup cold water
1 teaspoon cinnamon
sugar to taste (or none if you prefer)
Wash the apples under cold water. Peel and core each apple and cut into smaller pieces. Put apples, water, and sugar in saucepan.
Cook over medium heat. When the water begins to boil, turn down heat to medium low to simmer and add cinnamon. Cover with lid and lower heat again to keep from sticking. Stir often while cooking about 40 minutes. Add more water if needed.
Use a vintage sieve and pestle, potato masher (or food processor) to mash apples into smooth, thick sauce.
Serve warm or chill in refrigerator. Freezes well.
Green Beans are a favorite of mine in the summer. Fresh green beans from the garden are the absolute best. While other vegetables haven’t fared well in my garden, the green beans did very well.
I crave green beans cooked the way my Mother taught me, sans the Cast Iron Dutch Oven. Great memories…great flavor.
Slow Cooked Green Beans with Bacon
Fresh green beans, cleaned and snapped
chopped onion (optional)
4 to 6 slices bacon, chopped
garlic salt
2 cups water
Sauté bacon and onion in heavy pan/skillet and cook until most of the bacon drippings have cooked out of the bacon. Drain most of the bacon drippings off.
Add green beans and about 2 cups water. Cover and cook on very low heat for a couple of hours and season generously with garlic salt.
My Mother was an avid gardener growing lettuce, radishes, cucumbers, onions, tomatoes, squash, green beans, peas, sweet corn, peppers, raspberries, strawberries, etc. The rich top soil of Iowa made for a prolific harvest each year. She would can and freeze vegetables and fruit for the family to enjoy all winter. Our farmhouse basement ‘fruit room’ was a treasure trove of pickles, canned tomatoes, relish, vegetables, soups, etc.
One of my favorite summer side dishes was my Mother’s cucumbers and onions. The recipe is simple, not written down, but made from memories in that Iowa farm kitchen.
CUCUMBERS AND ONIONS–Mom’s Style
Peel and thinly slice cucumbers and sweet onion. Soak in cold, salted water for 30-45 minutes. Drain. In a separate bowl, mix mayonnaise, dash of milk, salt and pepper. Pour dressing over cucumbers and onions and serve immediately.
My sister-in-law, Betty, gets all the credit for making my trip to Nicaragua a reality. Betty has kindly shared the following information about her Mother’s (Gamma’s) Fudge Recipe and her introduction of the recipe to Nicaraguan families in San Ramon, using local, ground cocoa beans.
Cocoa Beans in Nicaragua
————————————–
My Mother had a way with Hershey’s cocoa powder. It was a cupboard staple, allowing a host of unique concoctions to be served in our family kitchen. There was chocolate gravy, made in a skillet from a roux of flour, sugar, and cocoa powder laced with milk and butter. It had a certain satin sheen when ready to be served for our before-school breakfast. Yikes! There was also an ugly chocolate pie, made with cocoa powder, sugar and butter pats folded simply into pastry and baked. Yum! Nothing, however, competed with her five-ingredient fudge, ready in 20 minutes if one of the family developed an after-dinner sweet tooth. We didn’t often have layered cakes or fruit pies, but we had fudge to die for.
Gamma’s Fudge in Nicaragua
Family legend says that during the Depression and the rationing of sugar, that the prized candy was coveted – so much so that a sad tale is told that while “beating the mixture” the sauce pan capsized into the dirty kitchen sink while Mother attended to a baby’s wailing – only to have the cry equaled by the disappointed older brother, Karl, who awaited the prized fudge.
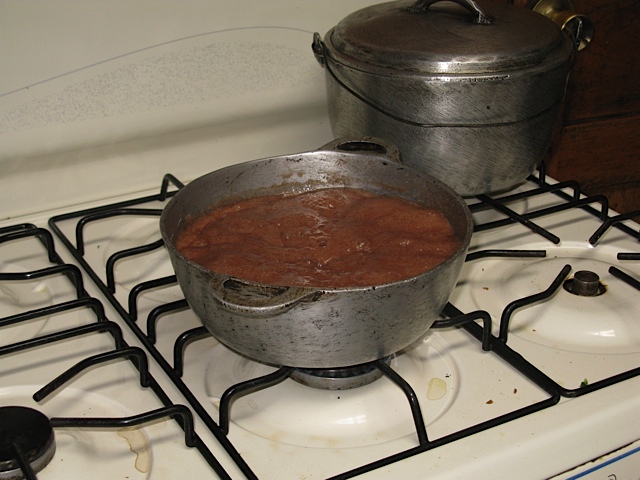
Most of the family still loves Gamma’s Fudge, especially thinking of it and Buttermilk Fudge at Christmas-time when she carefully rationed it among families. I’ve made it for kids and grandkids. I even made it with Nicaraguan women when we recently visited, with Cathy, in the small town of San Ramon. Processed chocolate candy is not affordable to the locals, so I taught three different households how to make fudge using their own ground cocoa beans, their local sugar and dairy and butter or margarine. Thankfully, vanilla extract was for sale, a spoonful at a time, at one of the many tiny shops lining the four streets of San Ramon. The fudge was a big hit – and I am hoping some were able to make it into a cottage industry – or maybe just into a new family tradition.
Teaching Fudge Making in one Nicarguan home
Teaching Fudge Making in a second Nicaraguan Home
GAMMA’S FUDGE (Spanish)
In a saucepan, combine:
2 C. sugar
1 C. milk
4 T. cocoa
Heat over medium-high heat, stirring to blend until the mixture reaches a boil. Then adjust heat to maintain a low boil. Check mixture frequently until it begins to thicken, but do not stir too vigorously as the mixture will turn grainy. After about 15 minutes, check to see if the mixture forms a ball when a teaspoonful is dropped into a glass or cool water. When you are sure the chocolate ball is forming and there is loss of brightness to the mixture, turn off heat, then add:
4 T. butter or margarine
1 T vanilla or vanilla extract
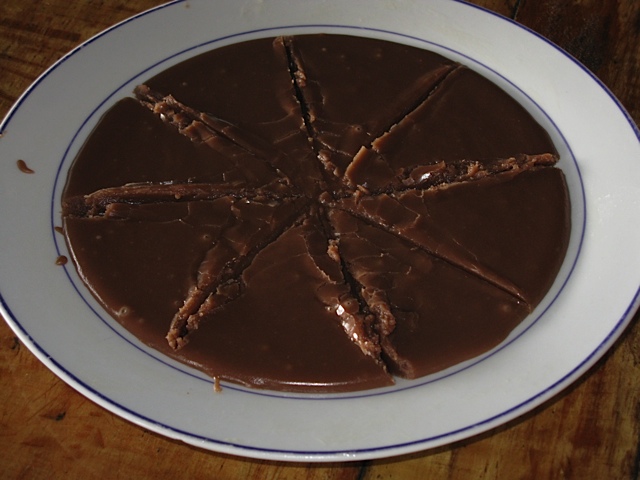
Hand beat the mixture within the tilted saucepan until it thickens and forms folds when dropped from spoon back into the mixture. When very hard to beat, pour the mixture on a plate that has been greased with a little margarine. Let stand for 30 minutes before cutting into 1-inch squares.
If for some reason the fudge does not harden, use the crumbles as chips in cookies or as sprinkles on top of ice cream. This recipe can also be used to make a fudge sauce when reheated with a little milk or cooking stopped before the mixture is at hard-stage.
Delicious!
DULCE DE AZUCAR DE GAMMA
Simple ingrediente de 5 Fudge
En una cacerola, combine
2 C. azúcar
1 taza de leche
4 T. cacao
Calienta a fuego medio-alto, revolviendo ocasionalmente para mezclar, hasta que la mezcla llegue a hervir. A continuación, ajuste de calor para mantener a fuego bajo, para comprobar si la mezcla de chocolate, cuando cayó en el agua, forma un grupo de bolas. Asegúrese de no mezclar con demasiada frecuencia, sin embargo, como se puede convertir en dulces granulada.
Cuando uno está seguro de que el chocolate es la combinación de una pelota, así como la pérdida de su brillo, apagar el fuego, añadir
4 T. mantequilla o margarina
1 T de vainilla o esencia de vainilla
Mano batir la mezcla hasta que espese y forma pliegues cuando se deja caer por cucharada de nuevo en su mezcla. Cuando muy difícil de batir, vierta la mezcla en una placa que ha sido untada con un poco de margarina.
Deje reposar durante 30 minutos, luego se corta en cuadrados de 1 pulgada.
Si por alguna razón no se endurecen, se derrumba como el uso de las cookies o en helados. También se podría utilizar como una salsa de recalentamiento con un poco de leche.
Sin embargo, esta consta de 5 ingredientes simples y la clave es cómo late el tiempo suficiente que sólo “establece” una vez que se vierte en el plato.
Gooseberry…a prickly bush with hard green fruit, very sour to the taste. These green gems were not in my fruit repertoire growing up in Iowa. When I moved to St. Joseph, MO after college, I was introduced to them but not a big fan. When I met my husband, and his Mother (referred to as Gamma), I was quickly educated on the value of the meager gooseberry. They coveted a rare can of gooseberries at the grocery store for a pie or cobbler, toting a few cans back to relatives in North Carolina.
When we bought our home several years ago, we HAD to plant a gooseberry bush. Little did I know how prickly these bushes were, until our first harvest. My arms looked like I had been attacked by a herd of cats. Now it was time to clean the gooseberries. Holy smokes…it took flippin’ forever! Each gooseberry has a stem and a brown beard (my term) that need to be removed from the berry. I LOVED it when Gamma visited during gooseberry season. She was content to sit in the shade and do ‘the dirty work’ of cleaning these little devils. Missin’ you Gamma and not just at Gooseberry time!
I was happy to take it from here and make the gooseberry pie or cobbler, drowning the filling in white sugar to mask the very sour gooseberry flavor. The end result is a very tasty, unique, seasonal dessert. The fresh gooseberry cannot be matched by a can of gooseberries, but will do if you are having tremendous gooseberry cravings.
This year, I decided to tackle the gooseberry harvest alone. My 9-year-old Golden Retriever, Joe, decided to help. His idea of ‘help’ is to guard the berries and then help himself to a gooseberry or two from the harvest. I truly thought one bite of gooseberry would quickly send him off to another part of the yard. I was wrong. Joe LOVES fresh, sour, crunchy, gooseberries. Silly boy!
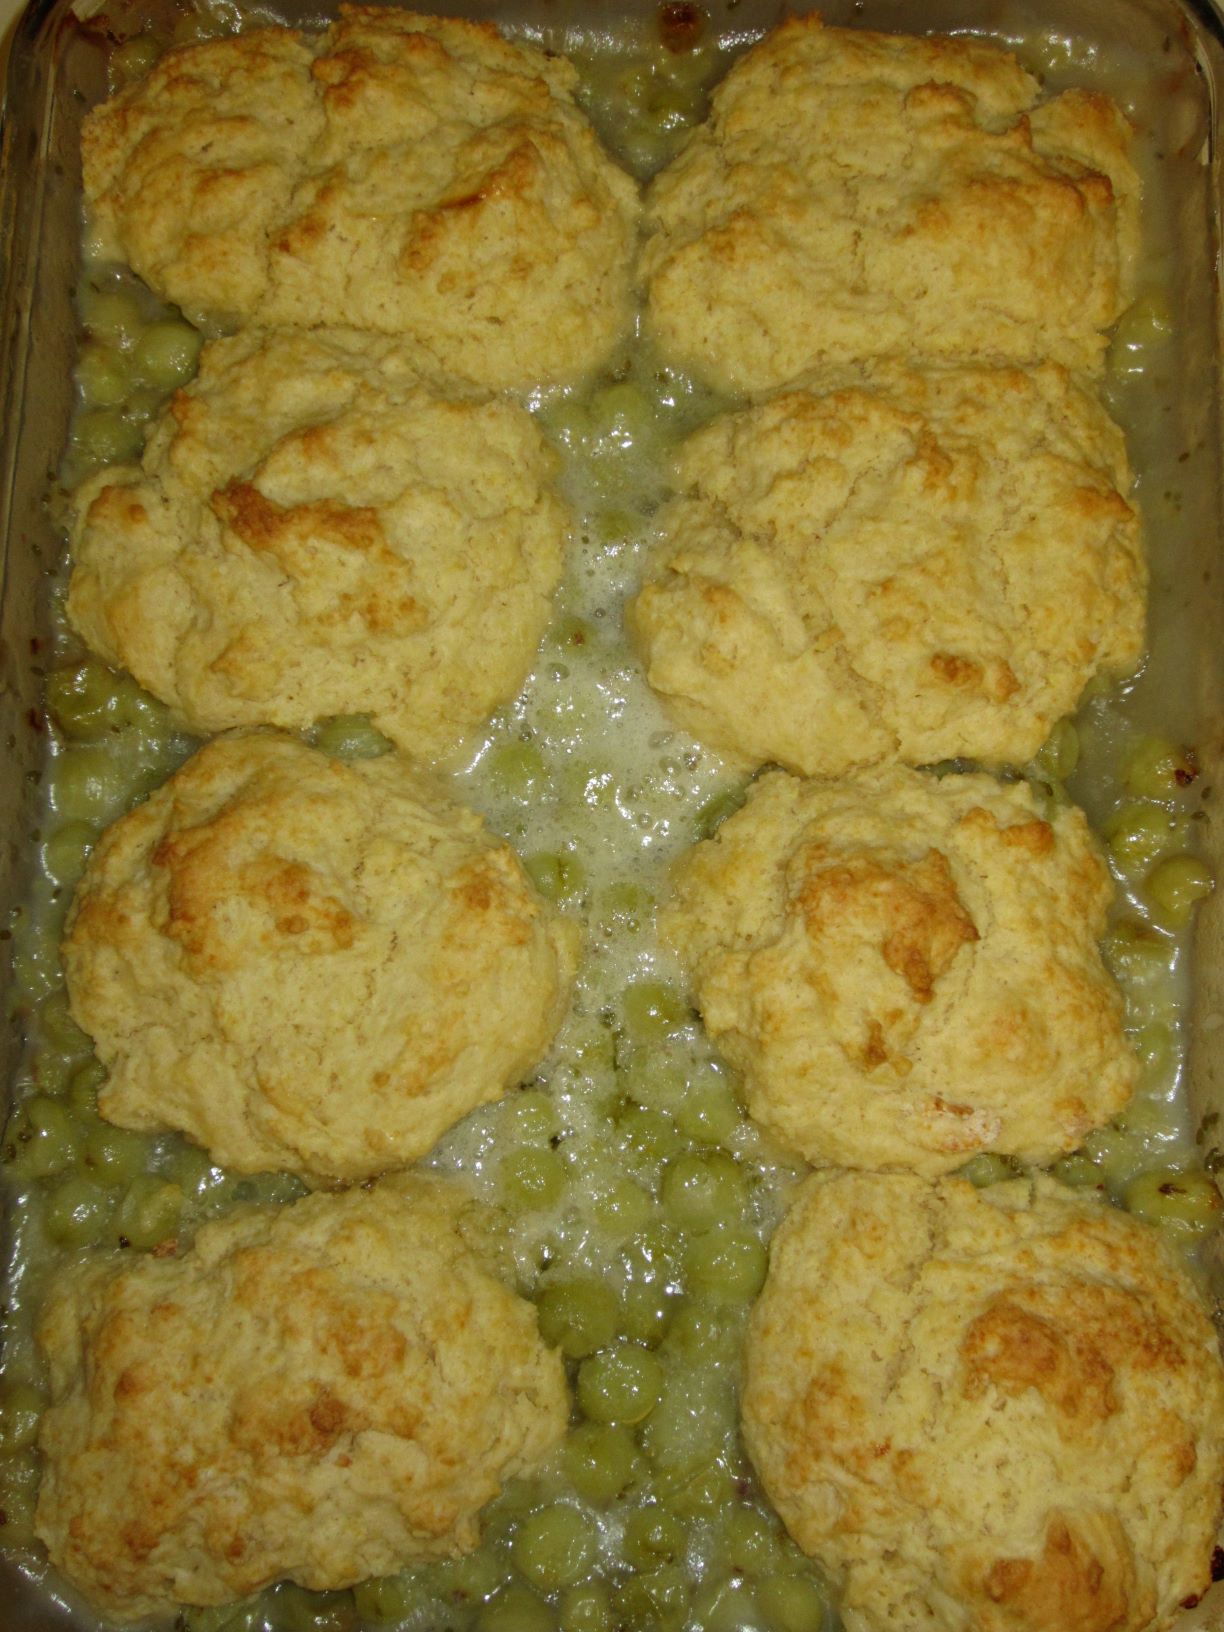
For the two quarts of gooseberries needed to make the cobbler, it took over 2 hours of cleaning. Good thing I had a movie to watch! Cleaning is the hard part, but making the cobbler itself is easy, peasy. I split the recipe into two smaller pans so I could share one pan with others and save one pan for family.
Gooseberries…worth the effort…once a year (or so)!
GOOSEBERRY COBBLER
FRUIT FILLING
1 1/2 cups sugar
1/2 cup flour
1 teaspoon salt
2 quarts Gooseberries
3 tablespoons lemon juice
3 tablespoons butter
TOPPING
2 cups flour
2 tablespoons sugar
4 teaspoons baking powder
1 teaspoon salt
1/2 cup shortening
2/3 cup milk
1 egg, slightly beaten
Mix sugar, flour and salt; combine with berries and lemon juice. Pour into a greased 13x9x2″ baking pan; dot with butter.
Place in a preheated hot oven (400 degrees) about 15 minutes; be sure that mixture is hot and bubbling.
In the meantime, mix the topping. Sift together 2 cups flour, baking powder, sugar and salt. Cut in shortening until mixture resembles coarse meal. Add milk and slightly beaten egg to dry ingredients. Stir with fork to blend well.
Remove hot fruit mixture from oven. Drop topping mixture onto hot berries, making 12 biscuits.
Return to hot oven (400 degrees); bake about 20 minutes, or until biscuits are browned. Serve warm with ice cream.
Our Iowa farm was near a large wooded area known as Ferguson’s Timber. This timber was my Mother’s favorite place to hunt those fabulous, spring Morel Mushrooms. She would go to the timber every day she could to hunt and gather the mushrooms to cook, freeze and share with friends and family. My Mother had a keen eye for Morels and taught my sister, brother and I that Morels look like a sponge and are easy to distinguish from other mushrooms; however, she was quick to show us the poisonous ‘false morel’.
1968: I display 2 large morels (love the skinny body and clothes choice!)
Morels are found throughout the Midwest and in parts of eastern Europe. My ancestors, in Bohemia (now the Czech Republic) would have gathered these mushrooms in the old country and were probably thrilled to learn that they also grew in their new home, Iowa.
There were two primary recipes my Mother served for these small gifts from heaven:
Fried Morels: After washing and trimming the mushrooms, Mother would cut the mushrooms in half, dredge in flour and brown them in butter, adding salt and pepper. The result was a wonderful browned, crispy, savory Morel.
Scrambled Eggs with Morels: After washing and trimming the mushrooms, Mother would brown the chopped mushrooms in butter until soft then pour beaten eggs, seasoned with salt and pepper, over the mushrooms and cook until hard. The mushrooms add an earthy, wonderful flavor to ordinary scrambled eggs.
Unfortunately, Colorado is not a natural source for Morels and I have been craving Morels since my Mother became ill in the mid-1990s. She would lovingly gather and freeze Morels to cook when I would come home to visit. I was delighted to find dried Morels in our local Savory Spice Shop, www.savoryspiceshop.com.
Dried Morels from Savory Spice ShopClose up of dried MorelsReconstituting dried Morels
I have saved these earthy morsels for my spring craving. Mother’s Day is approaching and it’s time to honor my Mother and this spring family ritual. Happy Mother’s Day, Mom!
The following recipe is adapted my Mother’s recipe using olive oil instead of butter and adding a pinch of Herbs de Provence. More Morels, please!
SCRAMBLED EGGS WITH MOREL MUSHROOMS
Scrambled Eggs with Morels
1 teaspoon olive oil
1/2-1 ounce dried Morels, reconstitute per directions (or 1-2 cups fresh Morels), chopped
4 beaten eggs
1 teaspoon water
salt & pepper to taste
pinch of Herbs de Provence
Heat olive oil in a non-stick pan. Add chopped morels and brown for 5 minutes or until cooked through/soft.
Saute Morels
Whisk eggs with 1 teaspoon water. Add salt, pepper and herbs. Add eggs to mushrooms and cook until eggs are to your liking.
I will eat a Scotcheroos any time of year, but for some reason I associate these addictive treats with Easter. A pan of Scotcheroos regularly graced our family Easter dinner celebration along with the traditional baked hams, potatoes, etc.
Luscious layers of Scotcheroos
They are an absolute favorite of mine and I’ve been known to eat them for breakfast, if left to my own devices. After all, they do have cereal and peanut butter in them! I find them so addictive, that I cannot make them often.
This year, Scotcheroos will again grace our Easter celebration, sprinkled with Easter colored sugars. Let’s hope the guests will eat several so I won’t have to! Scotcheroos…it’s tradition.
SCOTCHEROOS
1 small package chocolate chips
1 small package butterscotch chips
1 cup light Karo syrup
1 cup sugar
1 cup peanut butter (crunchy is great)
6 cups Rice Krispies®
Melt chips in microwave.
In separate pan mix Karo and sugar. Stir in pan until slightly boiling. Remove from heat. Add peanut butter and beat until smooth.
Pour syrup over Rice Krispies in large bowl.
Pouring syrup over cereal
Put Rice Krispies mixture in buttered 9×13″ pan. Cover with melted chips. Let cool and set until firm. Cut into squares to serve.
It was a special treat when my Mother made chocolate cake WITH hot chocolate sauce, topped with a scoop (or two) or vanilla ice cream. I can vividly remember my Mother making the cake, putting it in the back porch to cool then making the sauce at the last-minute before serving. Don’t be stingy with the sauce. I love it when the cake soaks up the sauce and the cold ice cream compliments the yummy, chocolate-drenched cake.
Wacky Chocolate Cake with Hot Chocolate Sauce
Wacky Chocolate Cake was popular during the depression since the recipe did not call for eggs, milk or butter all of which were scarce during the Great Depression. This cake, without the hot chocolate sauce, is a great vegan chocolate cake or good for those with sensitivity to dairy products. Just make sure the cocoa is dairy free!
This weekend I made this for my daughters and their guys. I am certain I have not made this recipe for over 20 years but a flood of childhood memories came rushing back. I talked to my sister about the recipe and she recalls our Mother referring to the recipe from our Grandmother Mary Smaha. She also recalls that our Mother would say that you need to add enough cocoa powder to the dry mixture, to where it looks like cinnamon. After discussing this memory, we decided it would be fun to try adding a little cinnamon to the hot chocolate sauce next time. I’m not waiting another 20 years to try this version!
Have a little chocolate cake with hot chocolate sauce today to celebrate your inner child and your fond memories!
WACKY CHOCOLATE CAKE
Wacky Chocolate Cake
3 cups flour
2 cups sugar
6 tablespoons cocoa
2 teaspoons baking soda
1 teaspoon salt
12 tablespoons vegetable oil
2 tablespoons vinegar
2 teaspoons vanilla
2 cups water
Mix flour, sugar, cocoa, soda and salt. Add oil, vinegar, vanilla and water. Do not use a mixer and do not sift flour. Pour in greased 9×13″ pan.
Bake 45 minutes at 350 degrees.
HOT CHOCOLATE SAUCE
Hot Chocolate Sauce
1 cup sugar
1 rounded tablespoon cocoa
pinch salt
1 tablespoon white Karo
2 tablespoons butter
1/2 to 2/3 cup milk
Mix all ingredients together (except vanilla) and bring to a rolling boil. Boil 1-2 minutes. Remove and add vanilla and let set for a few minutes.
Serve warm over individual pieces of chocolate cake. This recipe is enough for an 8×8″ cake pan. Double the recipe for a 9×13″ cake.
I was spoiled rotten, at least food-wise, growing up on the Iowa farm. Much of the meat my Mother cooked was either raised on our farm (chickens, ducks, hogs) or purchased from local farmers or butchers (beef). We had a large chest freezer at the farm-house and it was always well stocked. My Mother probably had a year’s supply of meat, vegetables, fruit, home-made breads and cookies. She was ready, at a moment’s notice, to whip up a wonderful meal for friends and family that may drop by.
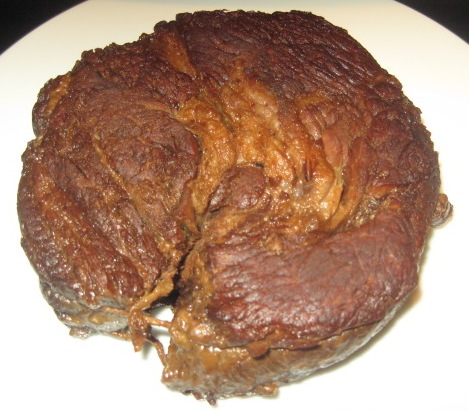
Roast Beef was a staple at our house and usually prepared in a cast iron dutch oven. The beef was local, flavorful and tender, always served with mashed potatoes and brown gravy (never from a can or box). This week, I was craving Roast Beef and was anxious to try a Chuck Roast I purchased from a small, local market.
The beef lived up to my tough Iowa beef standards. It was so moist and tender, you could cut it with a fork.
ROAST BEEF WITH BROWN GRAVY
In a large skillet or Dutch oven, add two tablespoons olive oil and brown a 3-4 pound roast on all sides until brown. Season with salt and pepper. Add 2 cups of water and reduce heat. Cover tightly and cook on low heat for 2 1/2 to 3 hours, until tender. Add water, as needed, to prevent the roast from sticking.
When the roast is tender, remove to platter and cover to keep warm.
In a covered container add about 1/4 cup flour and 3/4 cup water. Stir or shake until flour is dissolved. Pour the flour mixture into hot skillet with roast drippings.
Quickly whisk to blend the drippings with the flour mixture. Cook until bubbling.
Add water from boiled potatoes to thin the gravy (or tap water). Simmer for 3-4 minutes, adding additional liquid as needed.
Add salt and pepper to taste.
Serve with mashed potatoes and a vegetable or your liking.


")