Thai food is a favorite of mine and this salad is amazing. I didn’t serve with avocado in the first serving but added to leftovers and it was delicious. The salad ingredients could easily be switched up to include pea pods, onion, or whatever your heart desires. Next time, I would add even more peanut butter/tahini to the dressing. Chop additional peanuts to top each serving.
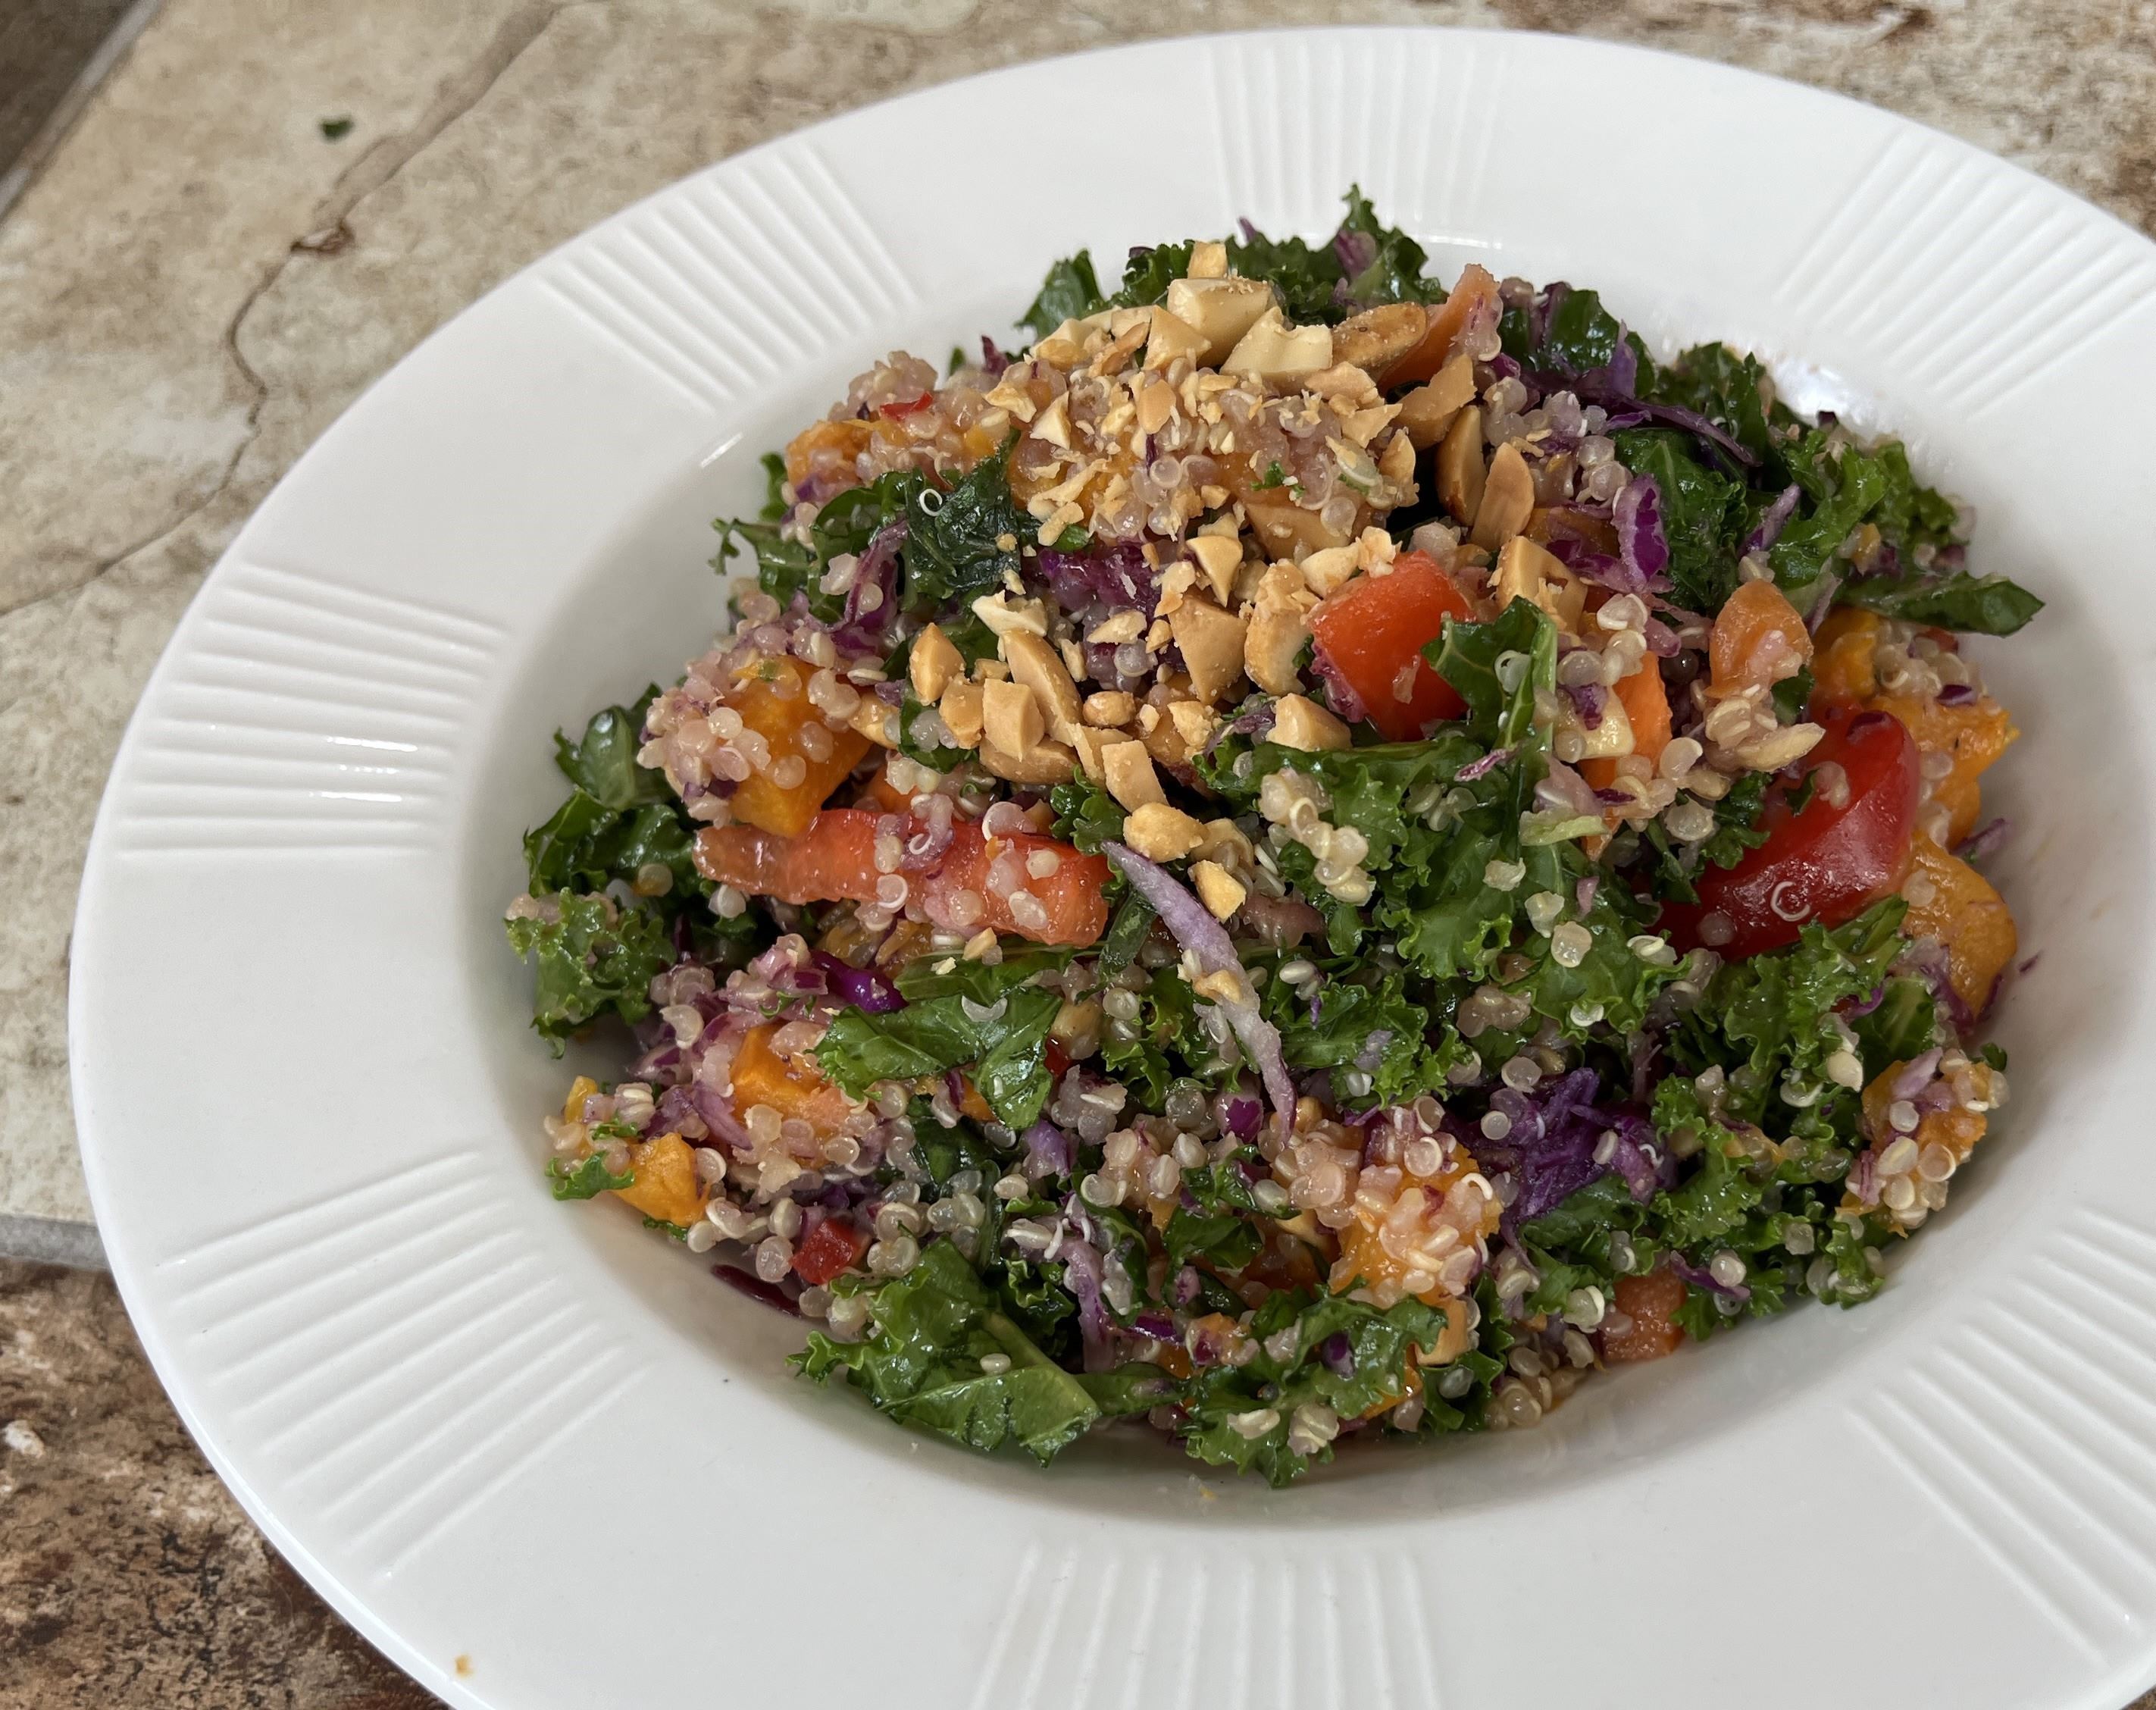
Thai Butternut Squash Quinoa Salad
INGREDIENTS:
- 4 heaping cups peeled and cubed butternut squash
- 2 Tbsp. extra-virgin olive oil
- ½ tsp. kosher salt, divided
- 1 cup dry quinoa
- 2 cups vegetable broth
- 2 packed cups kale, stemmed and roughly chopped (lacinato or green curly kale)
- 1 ½ cups shredded red/purple cabbage
- 1 cup matchstick carrots
- 1 red bell pepper, thinly sliced (optional)
- ⅓ cup roasted peanuts, roughly chopped
- 3 Tbsp. fresh chopped basil leaves
- 1 avocado, peeled and sliced or cubed (optional)
- Creamy Ginger Dressing
- 2 Tbsp. tahini (or peanut butter)
- 2 Tbsp. lime juice
- 2 Tbsp. sweet red chili sauce (I use Thai Kitchen brand)
- 1 Tbsp. honey or maple syrup
- 2 tsp. fish sauce (or soy sauce)
- ½ tsp. freshly grated ginger
- ¼ tsp. kosher salt
- ¼ cup extra-virgin olive oil
DIRECTIONS:
- Preheat oven to 400ºF. Toss squash in 2 Tbsp. oil ¼ tsp. salt; spread evenly on a rimmed baking sheet. Place in the oven and bake for 25 to 35 minutes, tossing once halfway through, until the squash is tender and lightly browned.
- Meanwhile, combine quinoa and broth in a small saucepan. Bring mixture to a boil, cover, reduce heat, and gently simmer until liquid is absorbed and quinoa is fluffy, about 15 minutes. Transfer to a large bowl.
- Prepare Creamy Ginger Dressing by combining all ingredients except olive oil in a small bowl; stir to combine. Gently stream in olive oil, whisking constantly, until dressing is smooth.
- Add kale to bowl with quinoa, and toss to combine (the residual heat of the quinoa will help soften the kale leaves). Add cabbage, carrots, bell pepper (if using), and butternut squash. Season with remaining ¼ tsp. salt. Add dressing and gently toss to combine. Stir in peanuts and fresh basil, and garnish with avocado (if using).
- Notes
- This salad can be enjoyed warm, chilled, or at room temperature. Enjoy as a stand alone meal, or paired with tofu, salmon, or chicken.
- Leftovers can be refrigerated for up to 3 to 4 days.
Recipe from DishingOutHealth