Daughter, Megan, made the Cookies n Creme Cookies for our June garage as well as the Chocolate Chip Cookies on Steroids that I posted last week. These were also out of this world and sold well, of course who wouldn’t buy from 4 adorable grandchildren who were yelling on the street corner to buy cookies and lemonade!
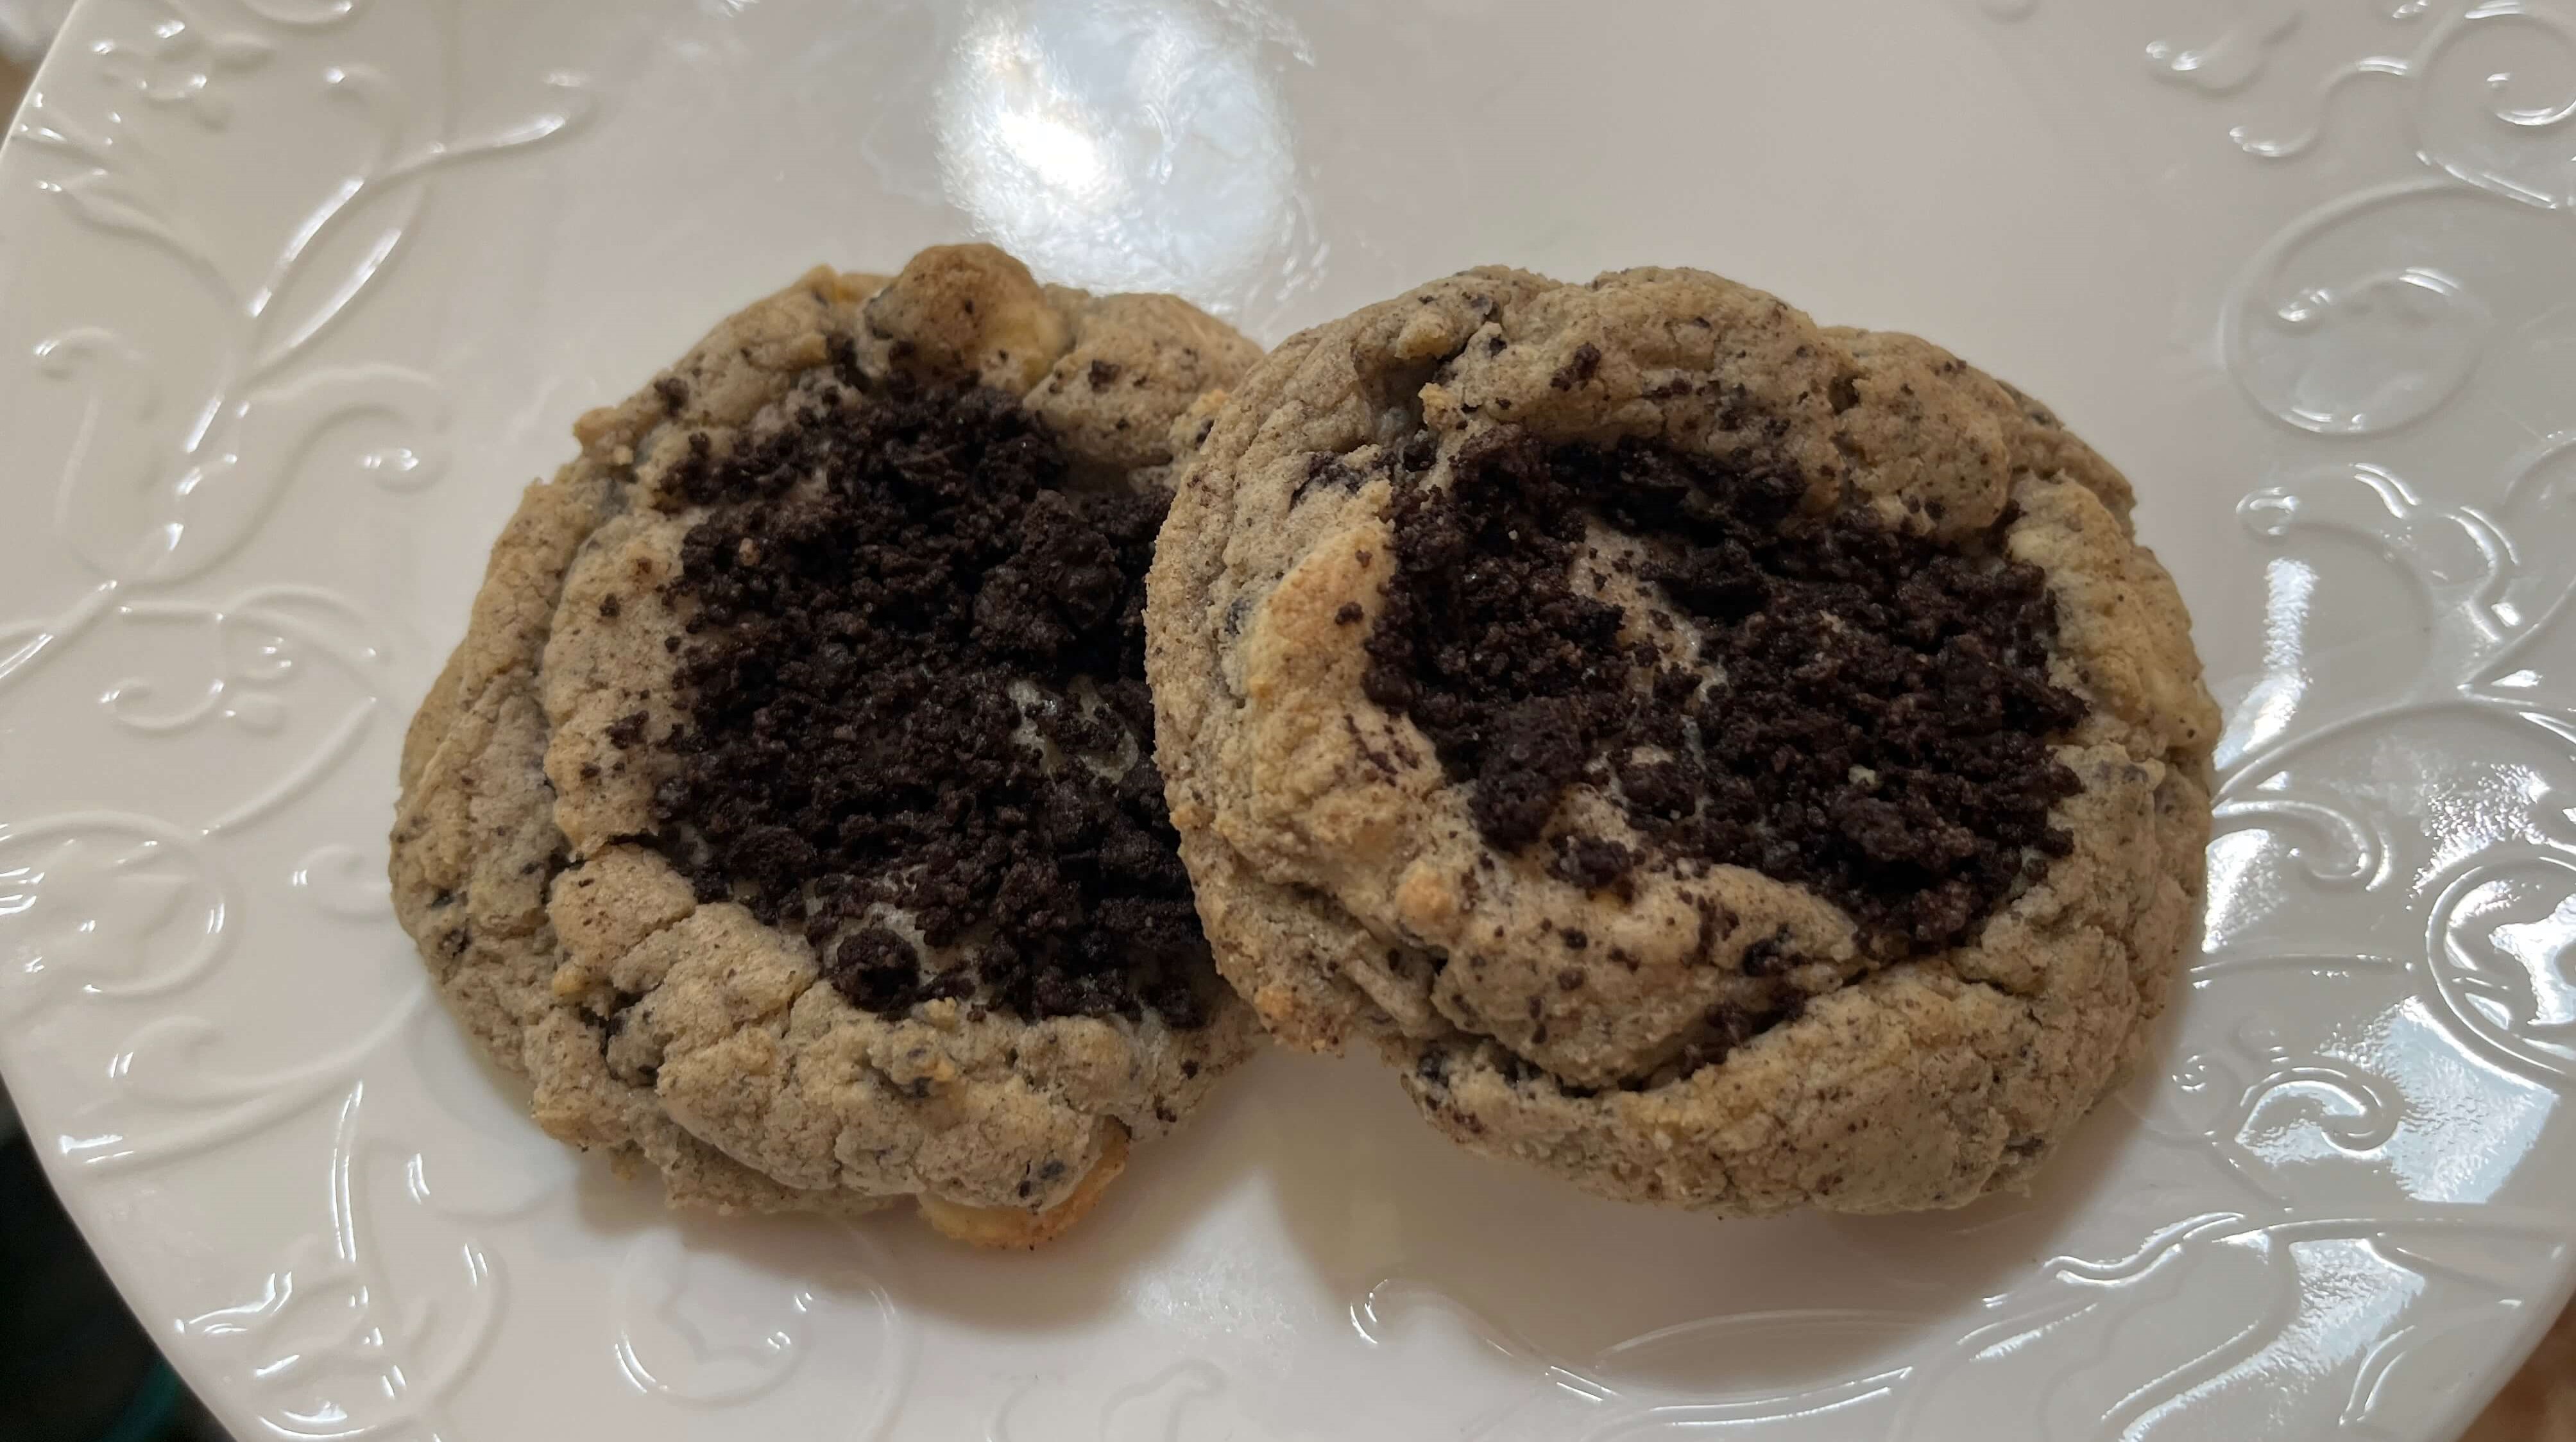

Cookies n Creme Cookies
INGREDIENTS:
- 1 cup COLD butter
- 1/2 cup white sugar
- 1/2 cup brown sugar
- 1 package Oreo Cookies and Cream pudding mix
- 2 eggs
- 1 tsp vanilla
- 1 1/4 cups all purpose flour
- 1 cup white chocolate chips
- 1 tsp baking soda
- 10-15 Oreo cookies, crushed to consistency of crumbs and chunks
DIRECTIONS:
- Preheat oven to 350 Fahrenheit.
- Place cold butter and sugars in mixer and beat until smooth.
- Add eggs, vanilla and Oreo Cookies and Cream Pudding Mix. Beat until fluffy.
- In a separate bowl combine flour, white chocolate chips, baking soda, and Oreo cookies.
- Slow mixer and slowly add flour mixture until just combined.
- Bake until slightly brown on the top. Let them cool to reach their max potential.
- Optional: top with additional crushed Oreo cookies
Recipe from Emily