Tri-Tip steak is rather new cut to prepare but I have found it to be tender and delicious. The rub for this recipe is bursting with flavor. If you are sensitive to spicy heat, you can tone down the spice. I prepared the steak on the grill as directed and it turned out perfectly. Using a Meater Pro thermometer has helped me assure that I am not over or under cooking meats.
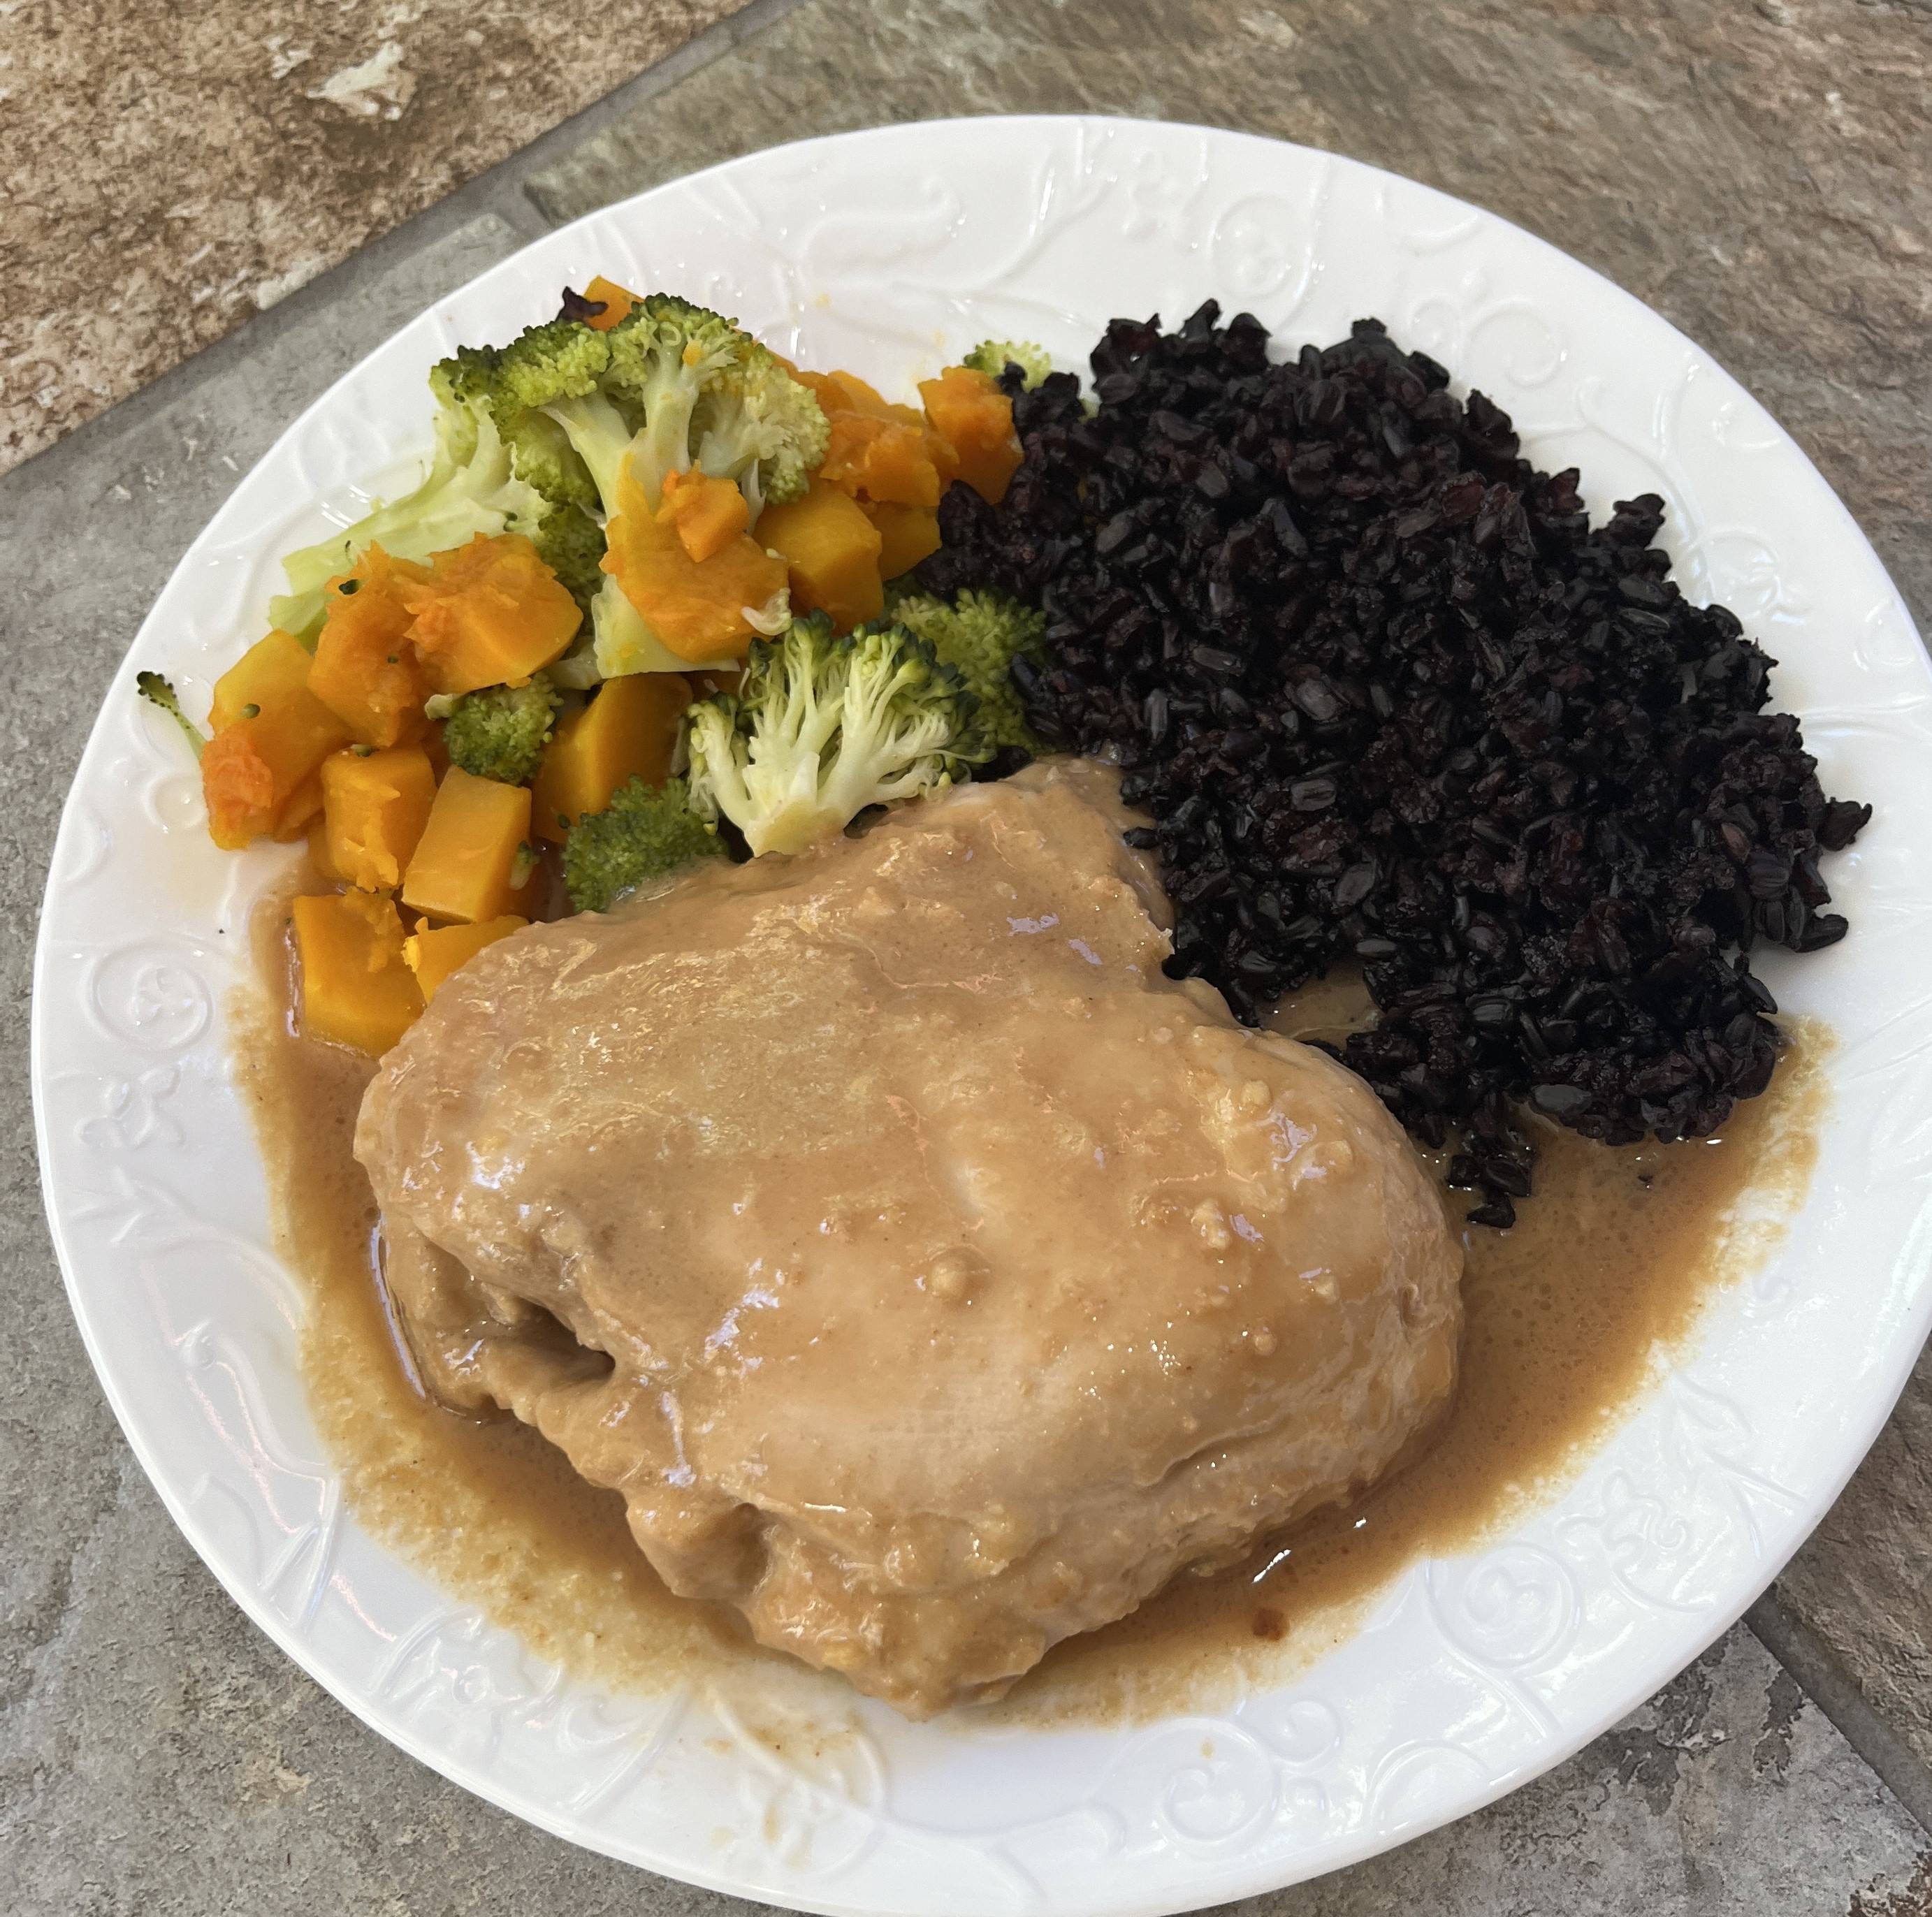
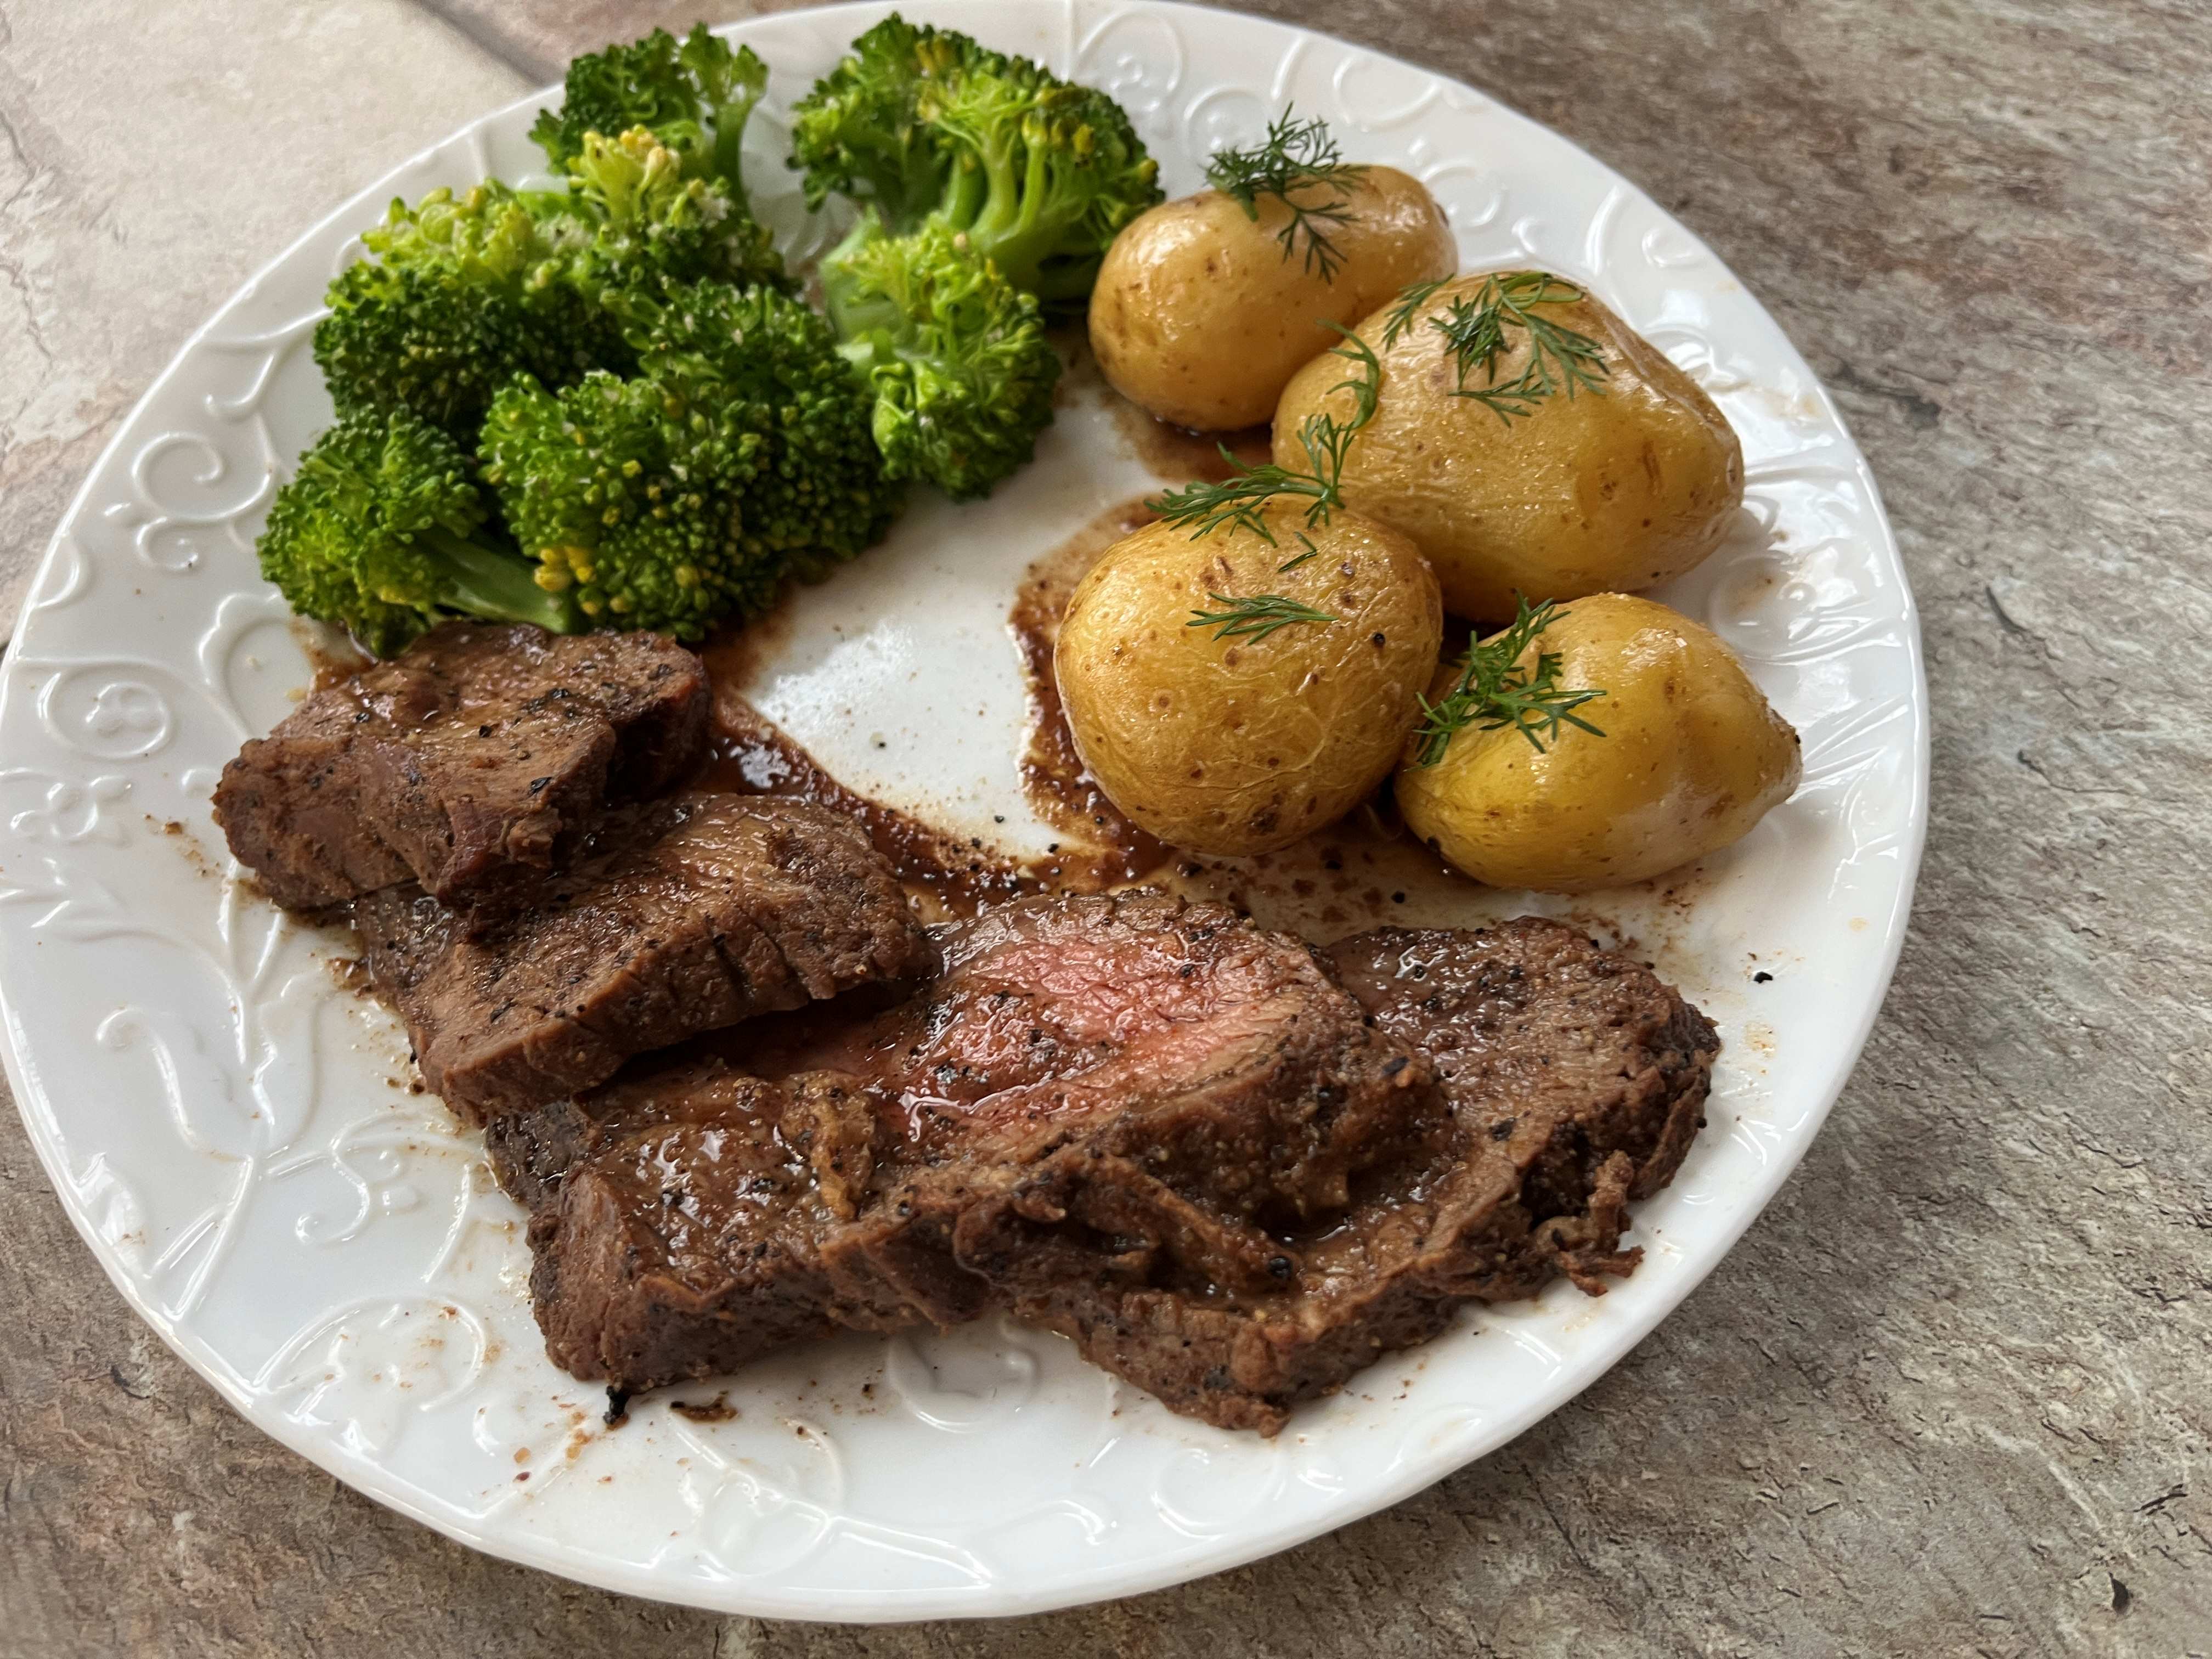
I served the steak with steamed baby potatoes and broccoli. The plate looks messy because of all of the juiciness of the steak. Yummo!
Tri Tip Steak
INGREDIENTS:
- 5 tablespoons olive oil, divided
- 2 tablespoons soy sauce
- 1 tablespoon Worcestershire sauce
- 1 tablespoon balsamic vinegar
- 1 teaspoon honey
- 1 beef tri-tip roast (2 pounds)
- 3/4 teaspoon salt
- 1/2 teaspoon pepper
- 1/4 teaspoon garlic powder
- 1/4 teaspoon onion powder
- Optional: Condiment of choice such as chimichurri, herb garlic butter, or bourbon cream sauce
DIRECTIONS:
- In a small bowl, whisk together 3 tablespoons oil, soy sauce, Worcestershire, vinegar and honey. Place steak in dish; pour marinade over steak; turn to coat. Refrigerate 1 hour or overnight.
- Preheat oven to 375°. Remove steak from the marinade; discard marinade. Pat steaks dry with paper towel. In a small bowl, combine salt, pepper, garlic powder and onion powder; sprinkle over steak.
- In a large skillet or Dutch oven, heat remaining 2 tablespoons oil over medium heat. Brown steak on all sides.
- Place steak on a rack in a shallow roasting pan, fat side up. Roast until meat reaches desired doneness (for medium-rare, a thermometer should read 135°; medium, 140°; medium-well, 145°), 50-55 minutes. Remove from oven; tent with foil. Let stand 10 minutes before slicing. If desired, serve with condiment of choice.
Recipe from TasteofHome