
Pies and Pastries

Lemon Cookie Pie

I’ve seen several variations of this pie and have wanted to make it for some time. This recipe is delicious. I served it to guests and gave extra pieces to my family. Everyone loved it. It is quite rich, so a small piece per serving is appropriate. My only regret was not adding more lemon juice. The taste was wonderful but next time I would taste the lemon mixture to determine if I should add more lemon juice. My daughters and I also discussed how good this would be with a dollop of lemon curd, raspberry sauce or fresh raspberries on each serving. This is a wonderful pie to serve when it is hot outside!
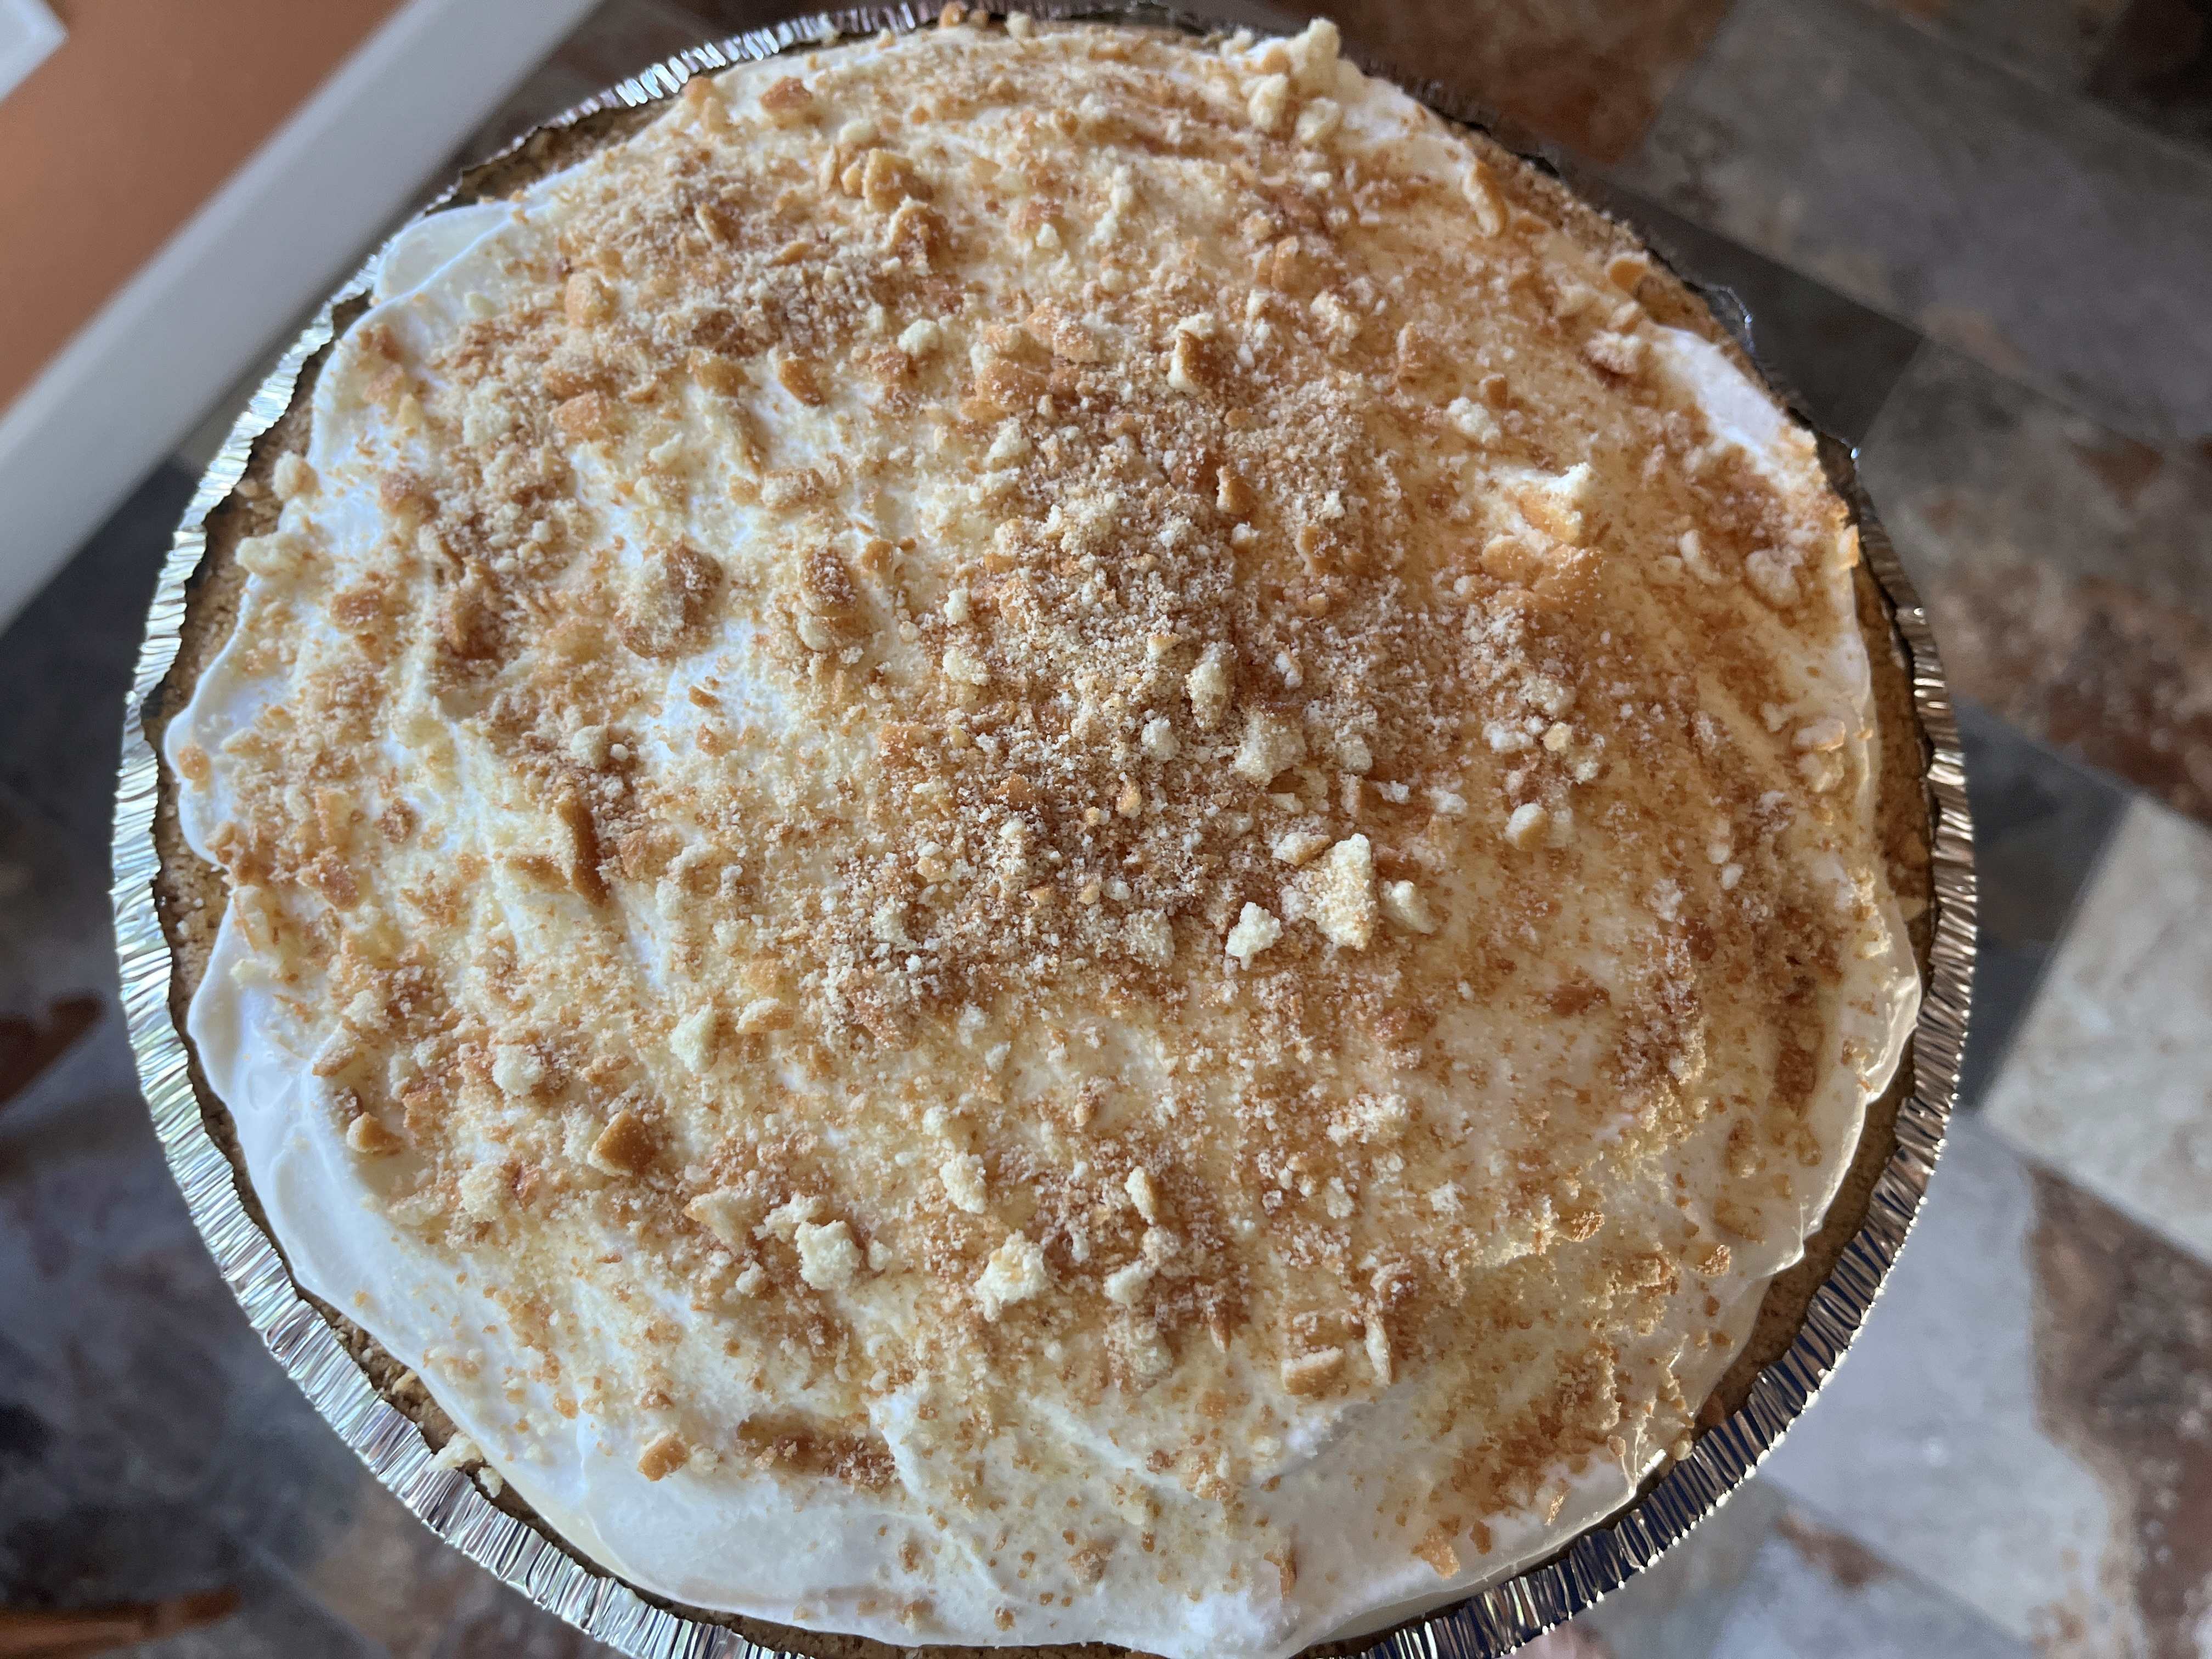
Lemon Cookie Pie

INGREDIENTS:
  • Graham Cracker Crust (Fork-Lore:or store bought which I used)
    • 1 1/2 cups (165g) ground graham crackers 
    • 1/4 cup (50g) granulated sugar
    • Pinch of kosher salt
    • 6 tbsp unsalted butter, melted
  • Lemon Pie Filling
    • 8 oz full fat cream cheese, room temp
    • 14 oz can sweetened condensed milk
    • Zest of 1 lemon 
    • 1/2 cup (115g) lemon juice (Fork-Lore: or more to taste liking)
    • 1 3/4 cups (430g) heavy whipping cream
    • 3 tbsp powdered sugar
    • 1 tbsp dry milk powder (optional)
  • 1 1/2 bags Tate’s Bake Shop lemon cookies (regular or gluten free)  
  • Optional: Lemon Curd, Raspberry Sauce or fresh raspberries
DIRECTIONS:
  1. Graham Cracker Crust:
    • Mix together the ground graham crackers, sugar, and salt. Then stir in the melted butter until evenly combined. Press the crust into a 9″ pie dish, covering the bottom and sides. Place in the refrigerator while we make the filling.
  2. Lemon Pie Filling
    • In a medium bowl using a fork, mash the cream cheese until spread out. Then stir in the sweetened condensed milk. Once roughly combined, switch to a whisk and vigorously mix until completely smooth. Then whisk in the zest and juice until well combined. 
    • In a separate bowl using a hand or stand mixer with the whisk attachment, add the heavy whipping cream, powdered sugar, and milk powder if using. Whip on high speed until light, fluffy, and smooth with firm peaks, about 2 minutes. Careful not to over whip as the mixture should still be smooth and creamy.
    • Scoop half of the whipped cream into the lemon mixture and use a rubber spatula to fold to combine. 
    • Spread 1/3 of the filling into the bottom of the chilled crust. Place a layer of cookies on top, breaking some of the cookies to cover as much of the surface as possible.
    • Spread another 1/3 of the filling on top and place another layer of cookies on top.
    • Finish with a final layer of the lemon filling and then top with the remaining whipped cream. The filling will likely overtake the crust but that’s ok! We’re making a big, thick pie. 
    • Sprinkle the top with some crushed cookies and chill uncovered overnight. The next day, serve chilled and enjoy!
  3. Fork-Lore Optional: Serve with a dollop of lemon curd on top.

Recipe from ButternutBakeryBlog

Family · Home

Kitchen Remodel…what led up to this decision?

Kitchen Remodel…something I’ve dreamed of for the past 15 years when my current kitchen began to literally fall apart. Doors and drawers would not close, cabinet doors were breaking off and I contributed to the kitchen’s demise through a series of mishaps.

A few years ago I got the bright idea to paint my refrigerator black instead of the dated almond color. We tried to disconnect the water to the ice maker but the water would not shut off.  Since I wasn’t ready to flood the 1st floor and basement, I decided it would be easier to paint the refrigerator indoors.  Easy, peasy…I would build a tent around the refrigerator and floor and use spray epoxy black paint.

It is clear to me now that I was missing a few brain cells when I made this decision. Not only was I setting myself up to be asphyxiated, but little did I know the extent of this bad decision.

I could only remove one door of the refrigerator to take outdoors and paint. The other was connected to the water line and, again, I was flood adverse.  I took the door outdoors and spread out the plastic against a garden wall to start the process.  The paint went on very nicely and I puffed out my chest that I had this great idea saving myself so much money.

Next, I moved indoors to build the tent and start the indoor process.  I used a mile of tape and plastic sheeting and was ready to go.  As I started painting, my daughter Sarah dropped by.  She stayed outside the ‘tent’ and watched as I started painting.

Suddenly, Sarah tells me to stop. Why? Well, the fine mist of the paint was leaching out of the ‘tent’ and was  all over my hardwood floors. OMG! Now what? Sarah and I immediately tried to wipe up the paint but it didn’t work.  My mind was in overdrive and had no idea what to do with this colossal mess.  We tried Murphy’s Oil soap…no luck.  Next, we tried Pledge Furniture Cleaner with Orange Oil and it started to release. We worked liked maniacs trying to somehow correct this disaster.  The majority of the paint was ultimately removed but left a dull residue over half of the downstairs hardwood floors.

pulling-hair-out

But that wasn’t the end of it.  My refrigerator was only partially painted. Do I ditch this project and just get a new frig?  No, there has to be another way.  My answer to this question was to take a paint brush outside and spray with the paint and then RUN in the house and apply it; then repeat again and again. No joke…I did this until the refrigerator was black, not almond.

After allowing the paint to dry, I went outside to bring the one refrigerator door back in when I realized the plastic had blown over one side of the door and stuck to the door. YOU’VE GOT TO BE KIDDING ME!  I gently pryed the plastic away from the door and admired the plastic adherence blemish on the door. Oh well, I’ll do the paint brush run, again, to try to fix the problem.  Is this beginning to sound like a rerun of the ‘I Love Lucy’ show?

I carried the door into the kitchen and placed it against the kitchen counter while I gather the tools and hardware to attach the door.  I turn and hear a terrible crash. The door slipped and fell hard against my lovely (ahem) laminate counters leaving a very large crack and chip to the counter.  Who ever said third time was a charm?

keep-calm-and-call-for-help-26

Finally, I put the refrigerator together and stared at the counter. A call to my handyman and a few dollars later he patched it back together. It was functional but darn ugly!

I lived with this disaster for 2 years before I replaced the refrigerator and 3 years before it was finally time to gut the kitchen and start over, the right way.

Since I won’t have a kitchen for many weeks, I’ll be sharing kitchen memories, remodeling experiences and hopefully a happy ending.  Needless to say, I’m not doing this myself!