I love a peanut butter oat bite or dessert. These energy balls go to the next level with chocolate on top. I wish I had remembered to add the flaky sea salt to enhance the sweet/salty factor but they are yummy as they are!
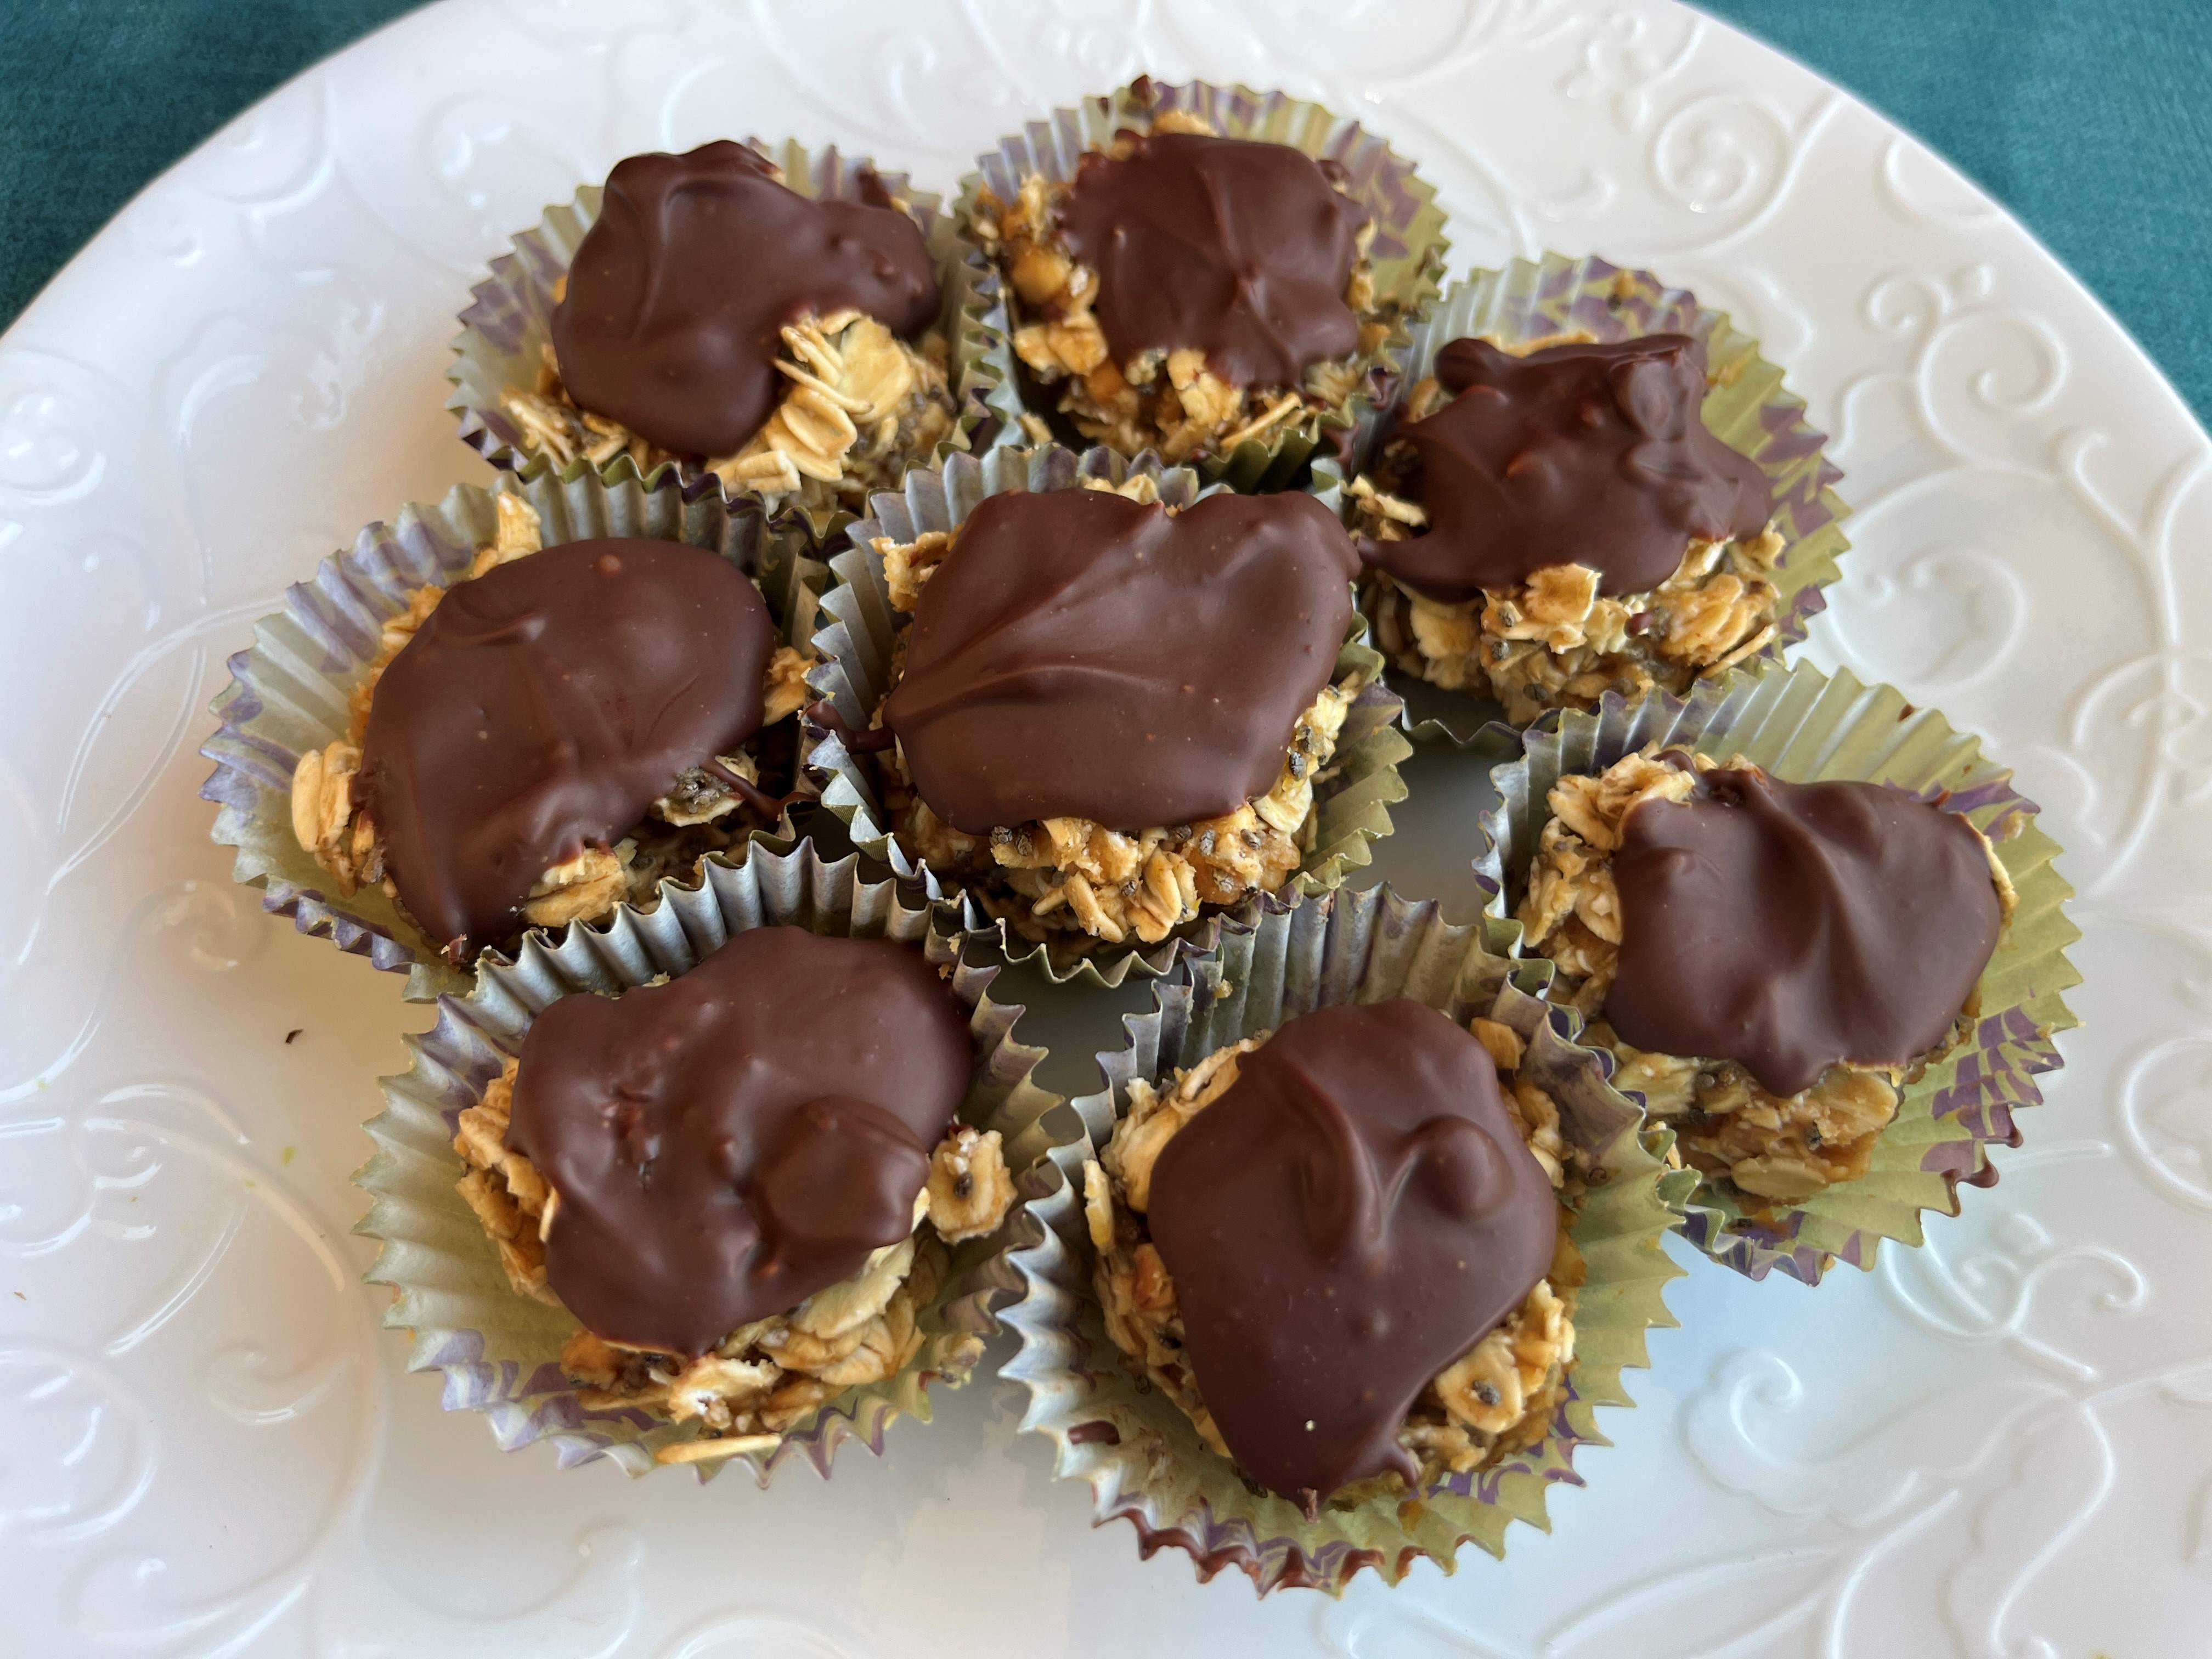
Peanut Butter Oat Energy Balls
INGREDIENTS:
- ⅔ cups old-fashioned rolled oats
- ¾ cup crunchy natural peanut butter (I used regular milk)
- 3 tablespoons chia seeds
- 2 teaspoons honey
- 1½ teaspoons vanilla extract
- ¼ teaspoon salt
- ½ cup dark chocolate chips (53% cacao)
- 1 tablespoon unrefined coconut oil
- ¾ teaspoon flaky sea salt (I forget this step–oops!)
DIRECTIONS:
- Line the cups of a 24-cup mini muffin tin with silicone or paper liners.
- Combine 1⅔ cups oats, ¾ cup peanut butter, ½ cup almond milk, 3 tablespoons chia seeds, 2 teaspoons honey, 1½ teaspoons vanilla and ¼ teaspoon salt in a large bowl; stir to mix well. Divide the mixture among the prepared cups, about 1 heaping tablespoon each; firmly press the mixture into the cup bottoms.
- Combine ½ cup chocolate chips and 1 tablespoon coconut oil in a small microwave-safe bowl. Microwave on High until the oil is melted and the chocolate chips have softened, 45 to 60 seconds. Stir until the chocolate chips are completely melted and incorporated into the oil.
- Spoon a scant teaspoon of the melted chocolate mixture over the oat mixture in each cup, spreading to cover the entire surface. Refrigerate, uncovered, until the chocolate layer is beginning to set (the surface will begin to lose its shine and become dull), 10 to 15 minutes. Sprinkle with ¾ teaspoon flaky salt; refrigerate, uncovered, until chilled and the layers are fully set, about 1 hour.
- Step 3
Recipe from EatingWell