Happy Valentine’s Day! A sweet treat on this holiday is special and I loved how simple and delicious these treats were. My granddaughters assisted in the making, especially the sprinkles! Why have I never thought of adding flavoring to Rice Krispie Treats? Next time I would a pinch more cherry extract but they were delicious made per the recipe. If you want to really creative, you could use cookie cutters to cut out hearts from the treats (and nibble on the extras while you work)! Now I’m wondering about making some next Christmas with peppermint or candy cane flavoring. The possibilities are endless.
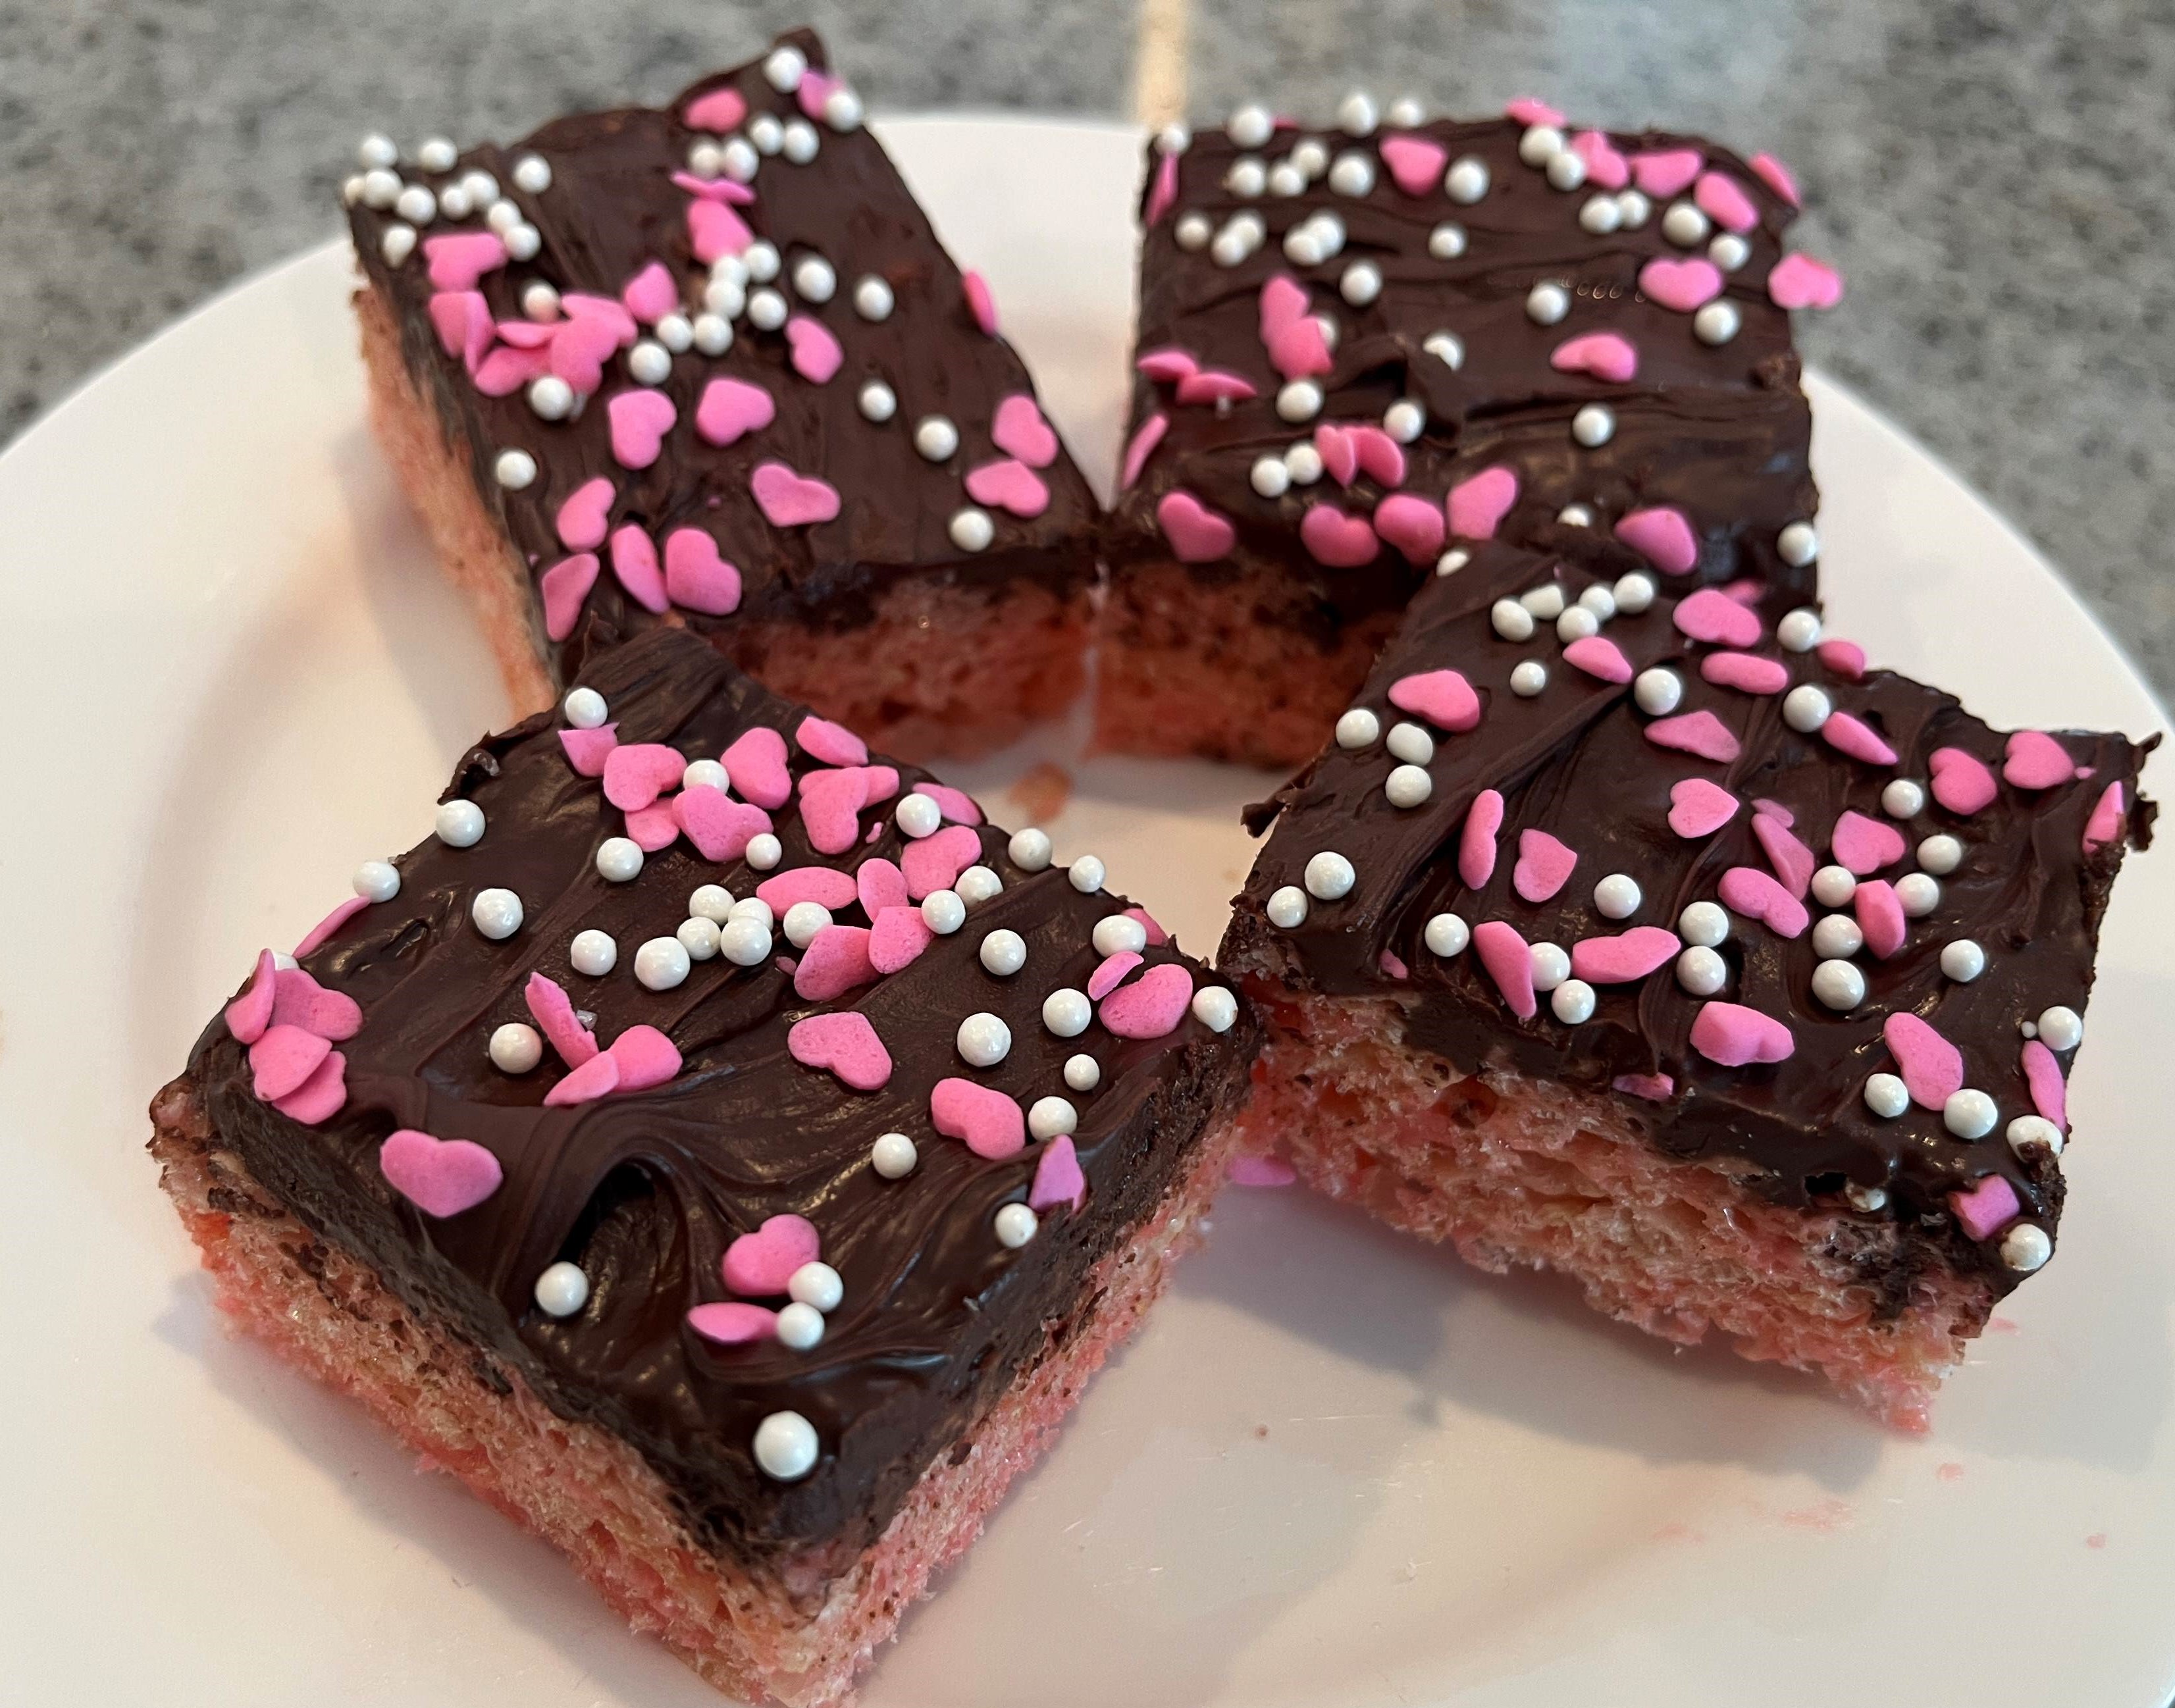
Chocolate Covered Cherry Rice Krispie Treats
INGREDIENTS:
- 3 tablespoons unsalted butter
- 1 10 oz bag mini marshmallows
- 1 teaspoon cherry extract (can increase if more intense flavor is desired)
- 4-5 drops red or pink food coloring, optional
- 6 cups Rice Krispies cereal
- 1 1/2 cups semi-sweet chocolate chips
- 1 tablespoon coconut oil or butter
DIRECTIONS:
- Grease the 9×13-inch baking dish with butter or line it with parchment paper for easy removal.
- In a large pot over low heat, melt the butter. Add the mini marshmallows and stir until completely melted and smooth.
- Remove from heat and stir in the cherry extract. If using, add red or pink food coloring and mix until evenly colored.
- Add the Rice Krispies cereal, stirring quickly to coat every piece with the melted marshmallow mixture.
- Transfer the mixture into the prepared baking dish. Use a spatula or lightly greased hands to gently press down and create an even layer. Let cool for 15-20 minutes before adding the chocolate topping.
- In a microwave-safe bowl, melt the chocolate chips and coconut oil (or butter) in 30 second intervals, stirring between each, until smooth.
- Pour the melted chocolate over the cooled Rice Krispie layer. Use a spatula to spread evenly across the surface.
- Allow the chocolate to set completely before slicing (about 30 minutes at room temperature or 15 minutes in the fridge).
- Cut into squares and serve!
Recipe from Emily Parker from Fique