
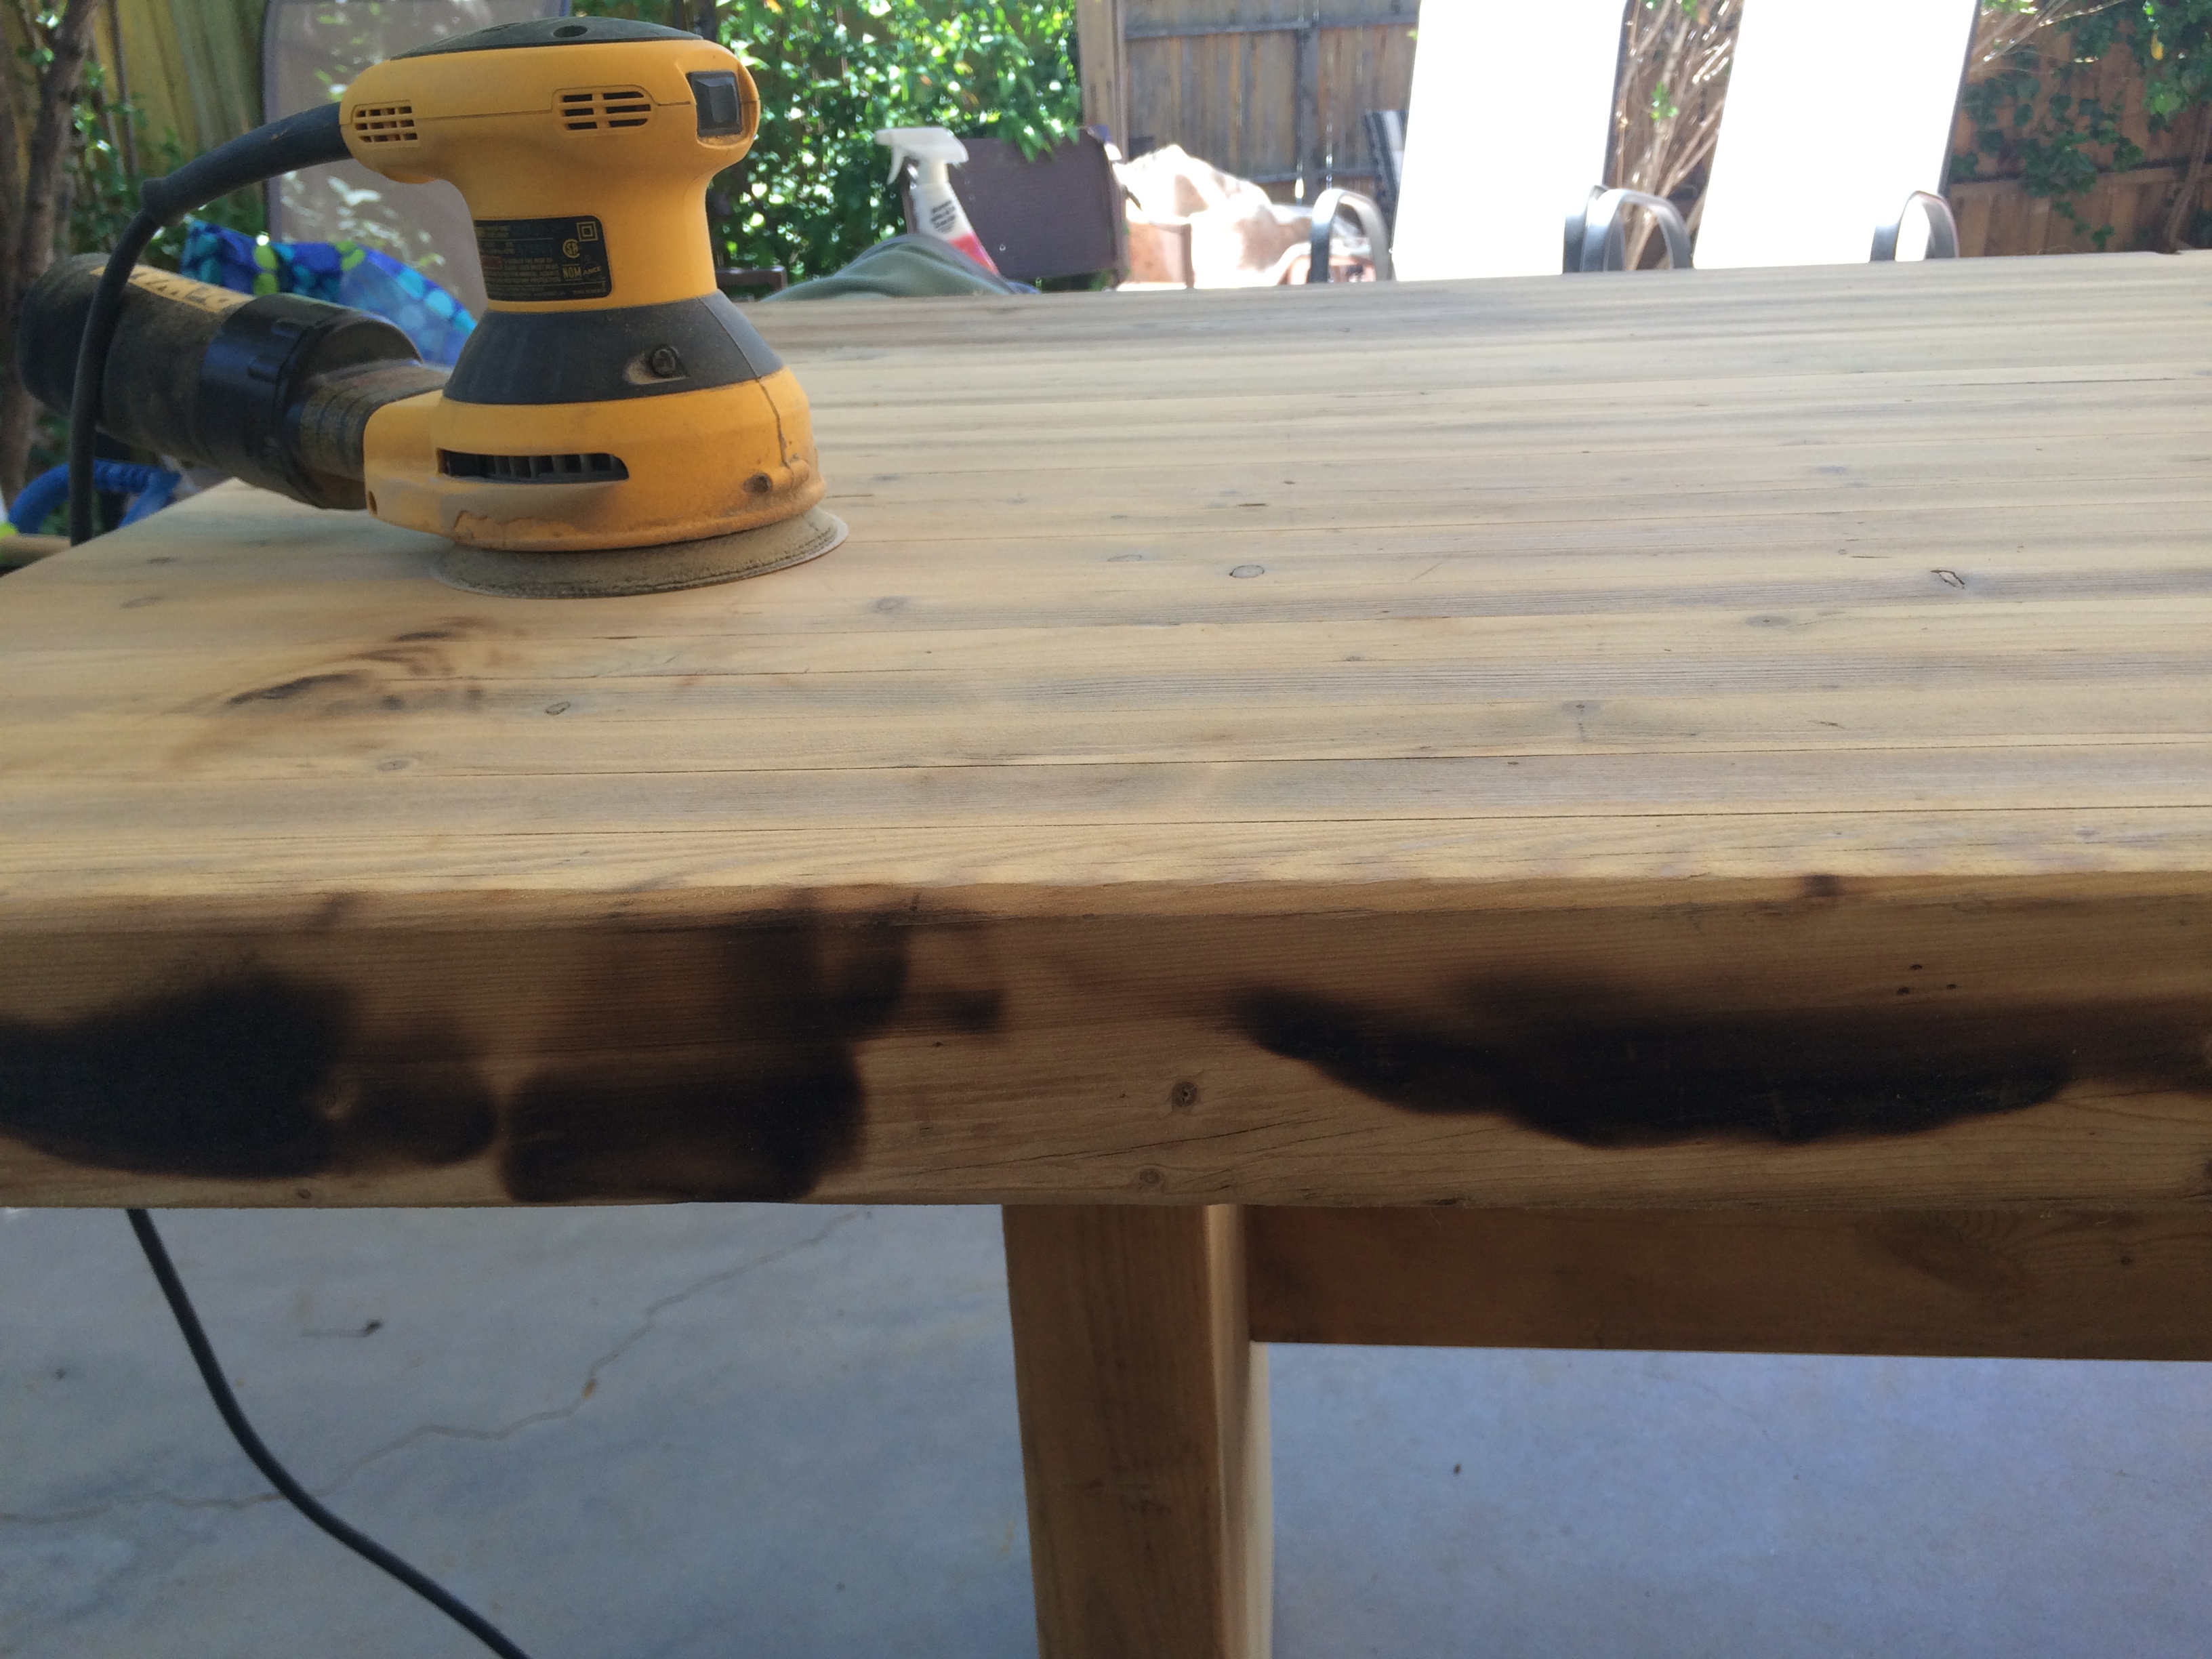
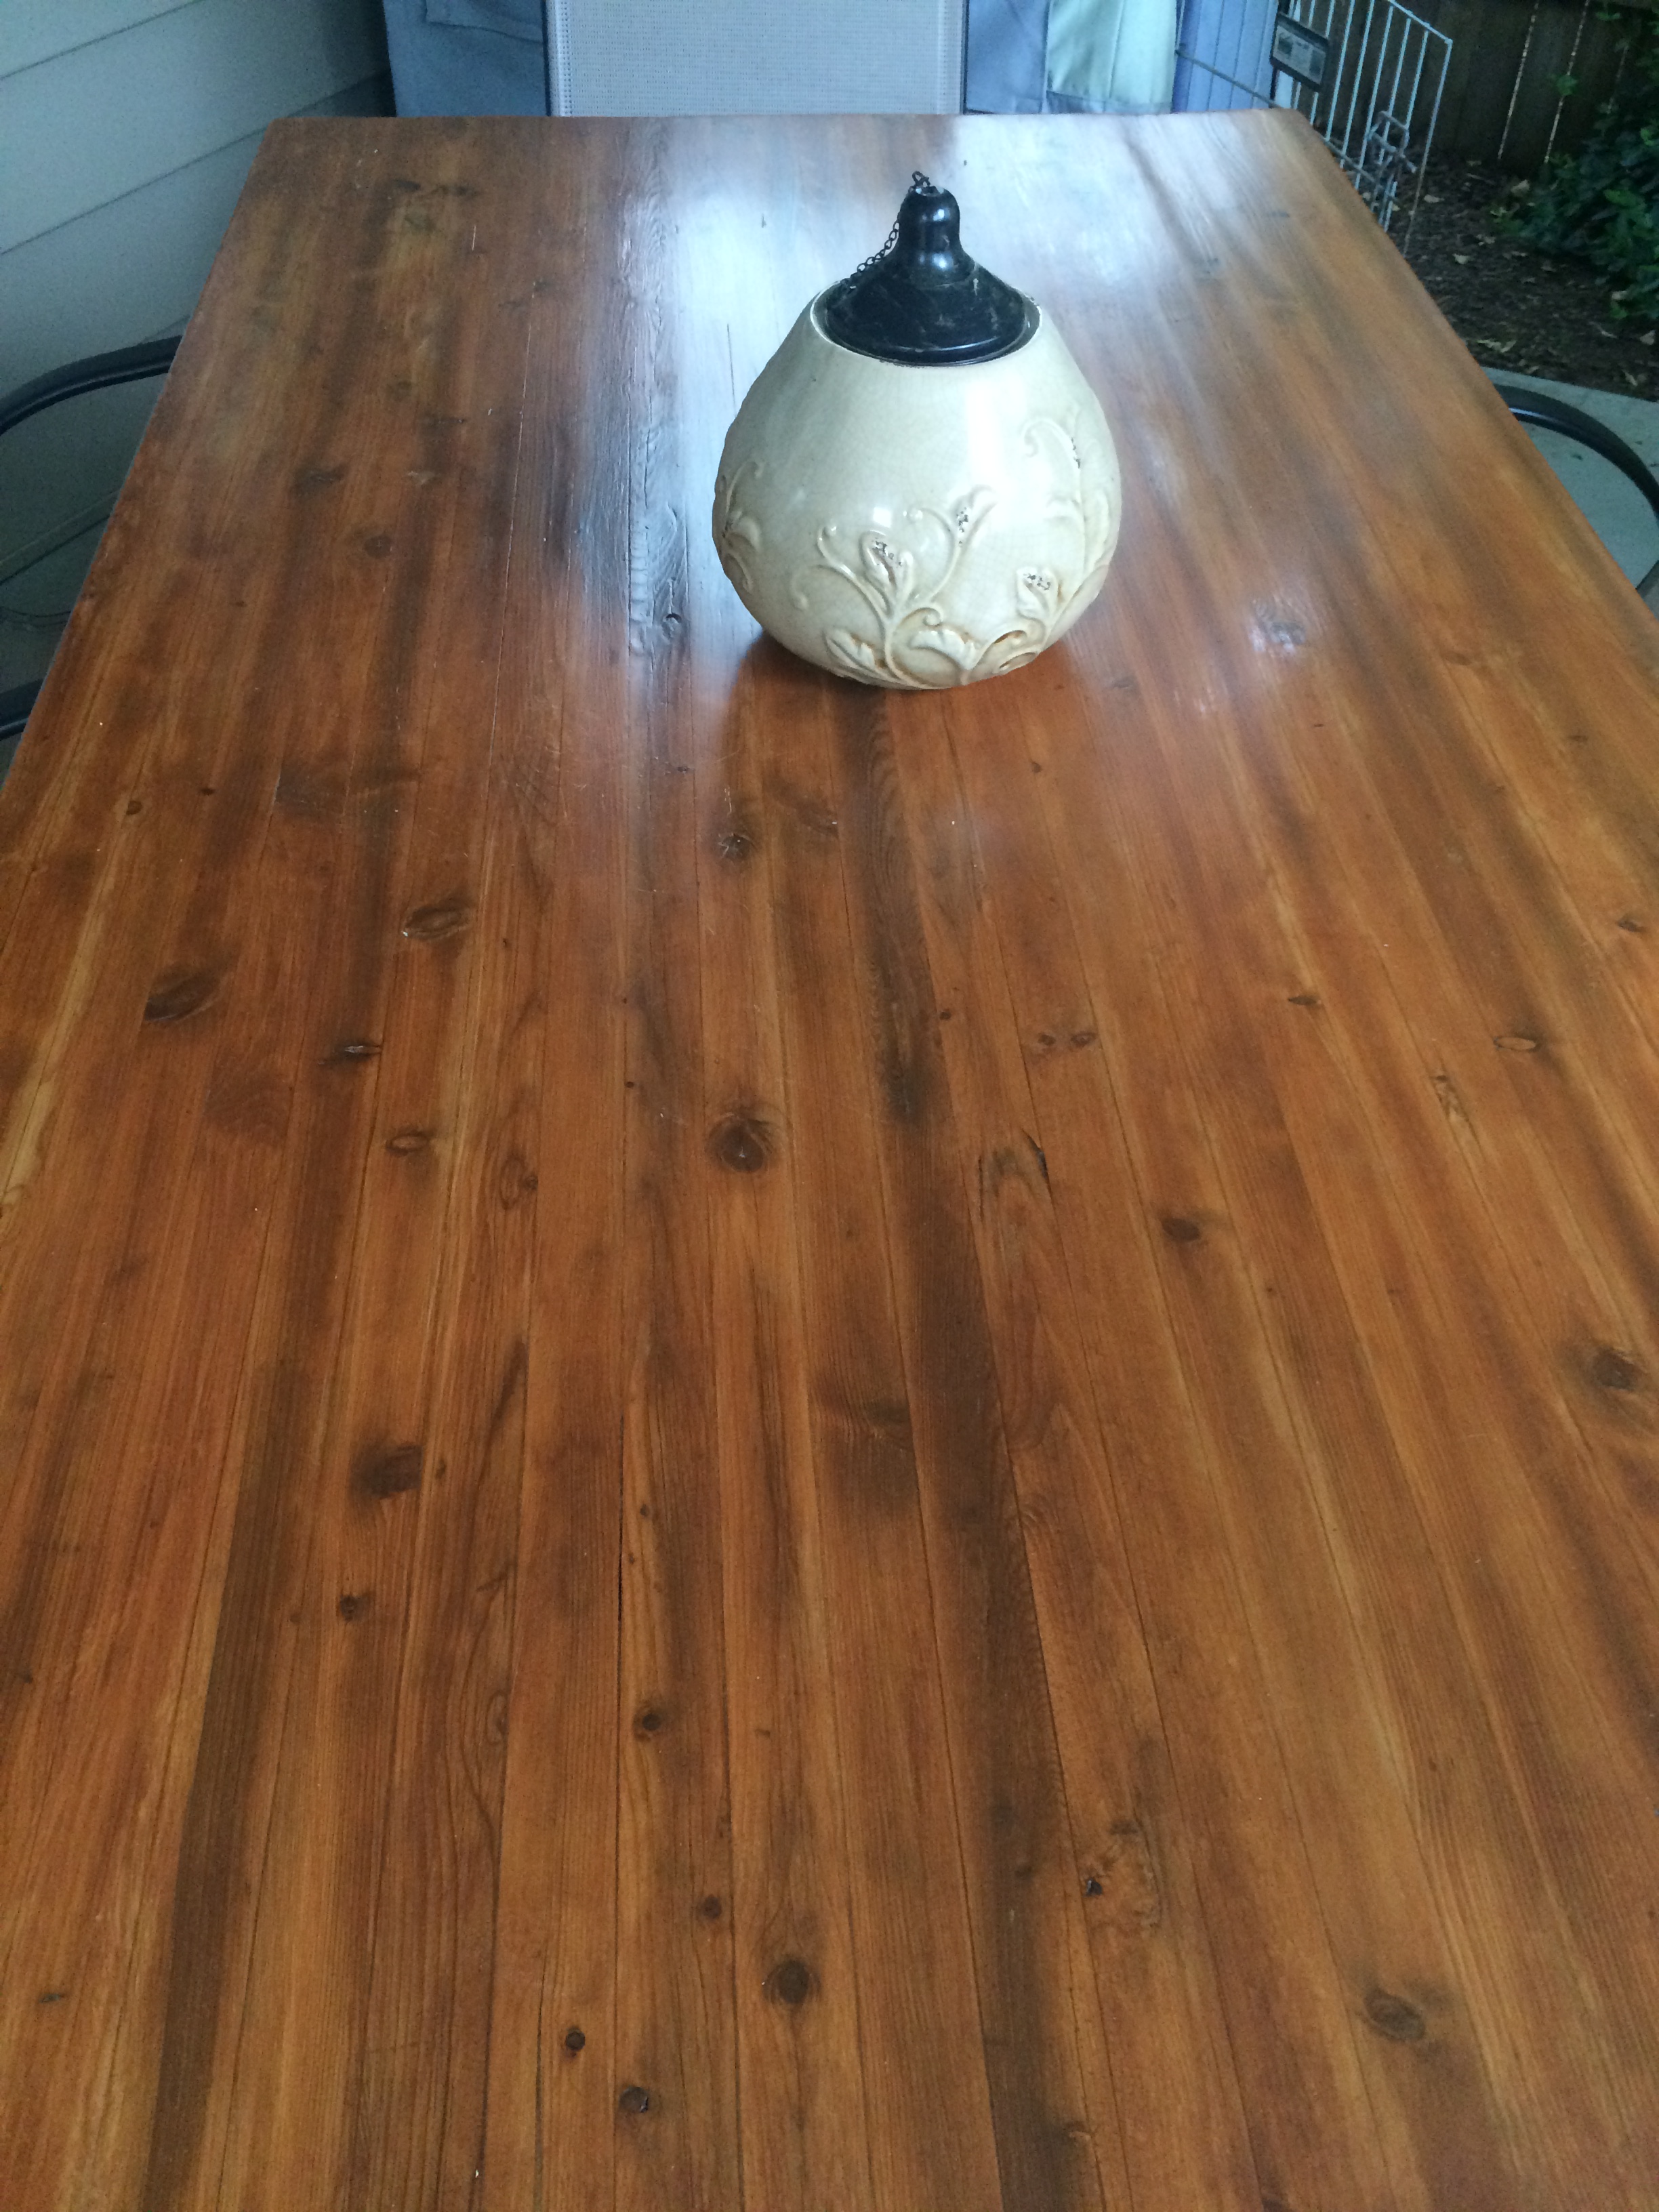
Furniture Refinishing always sounds appealing but I have heard so many horror stories that I have avoided this type of project. However, with the kitchen remodeling project, I had a burst of energy and decided to refinish an old conference table that I’ve been using as a patio table for the last several years. While it is protected from the elements, it needed a facelift. The project started with a solid sanding, a very rewarding task exposing the beauty of the wood as the old finish and grime melted away.
Note: The black burn marks on the side that tells the story of the time the tablecloth blew over the center candle.
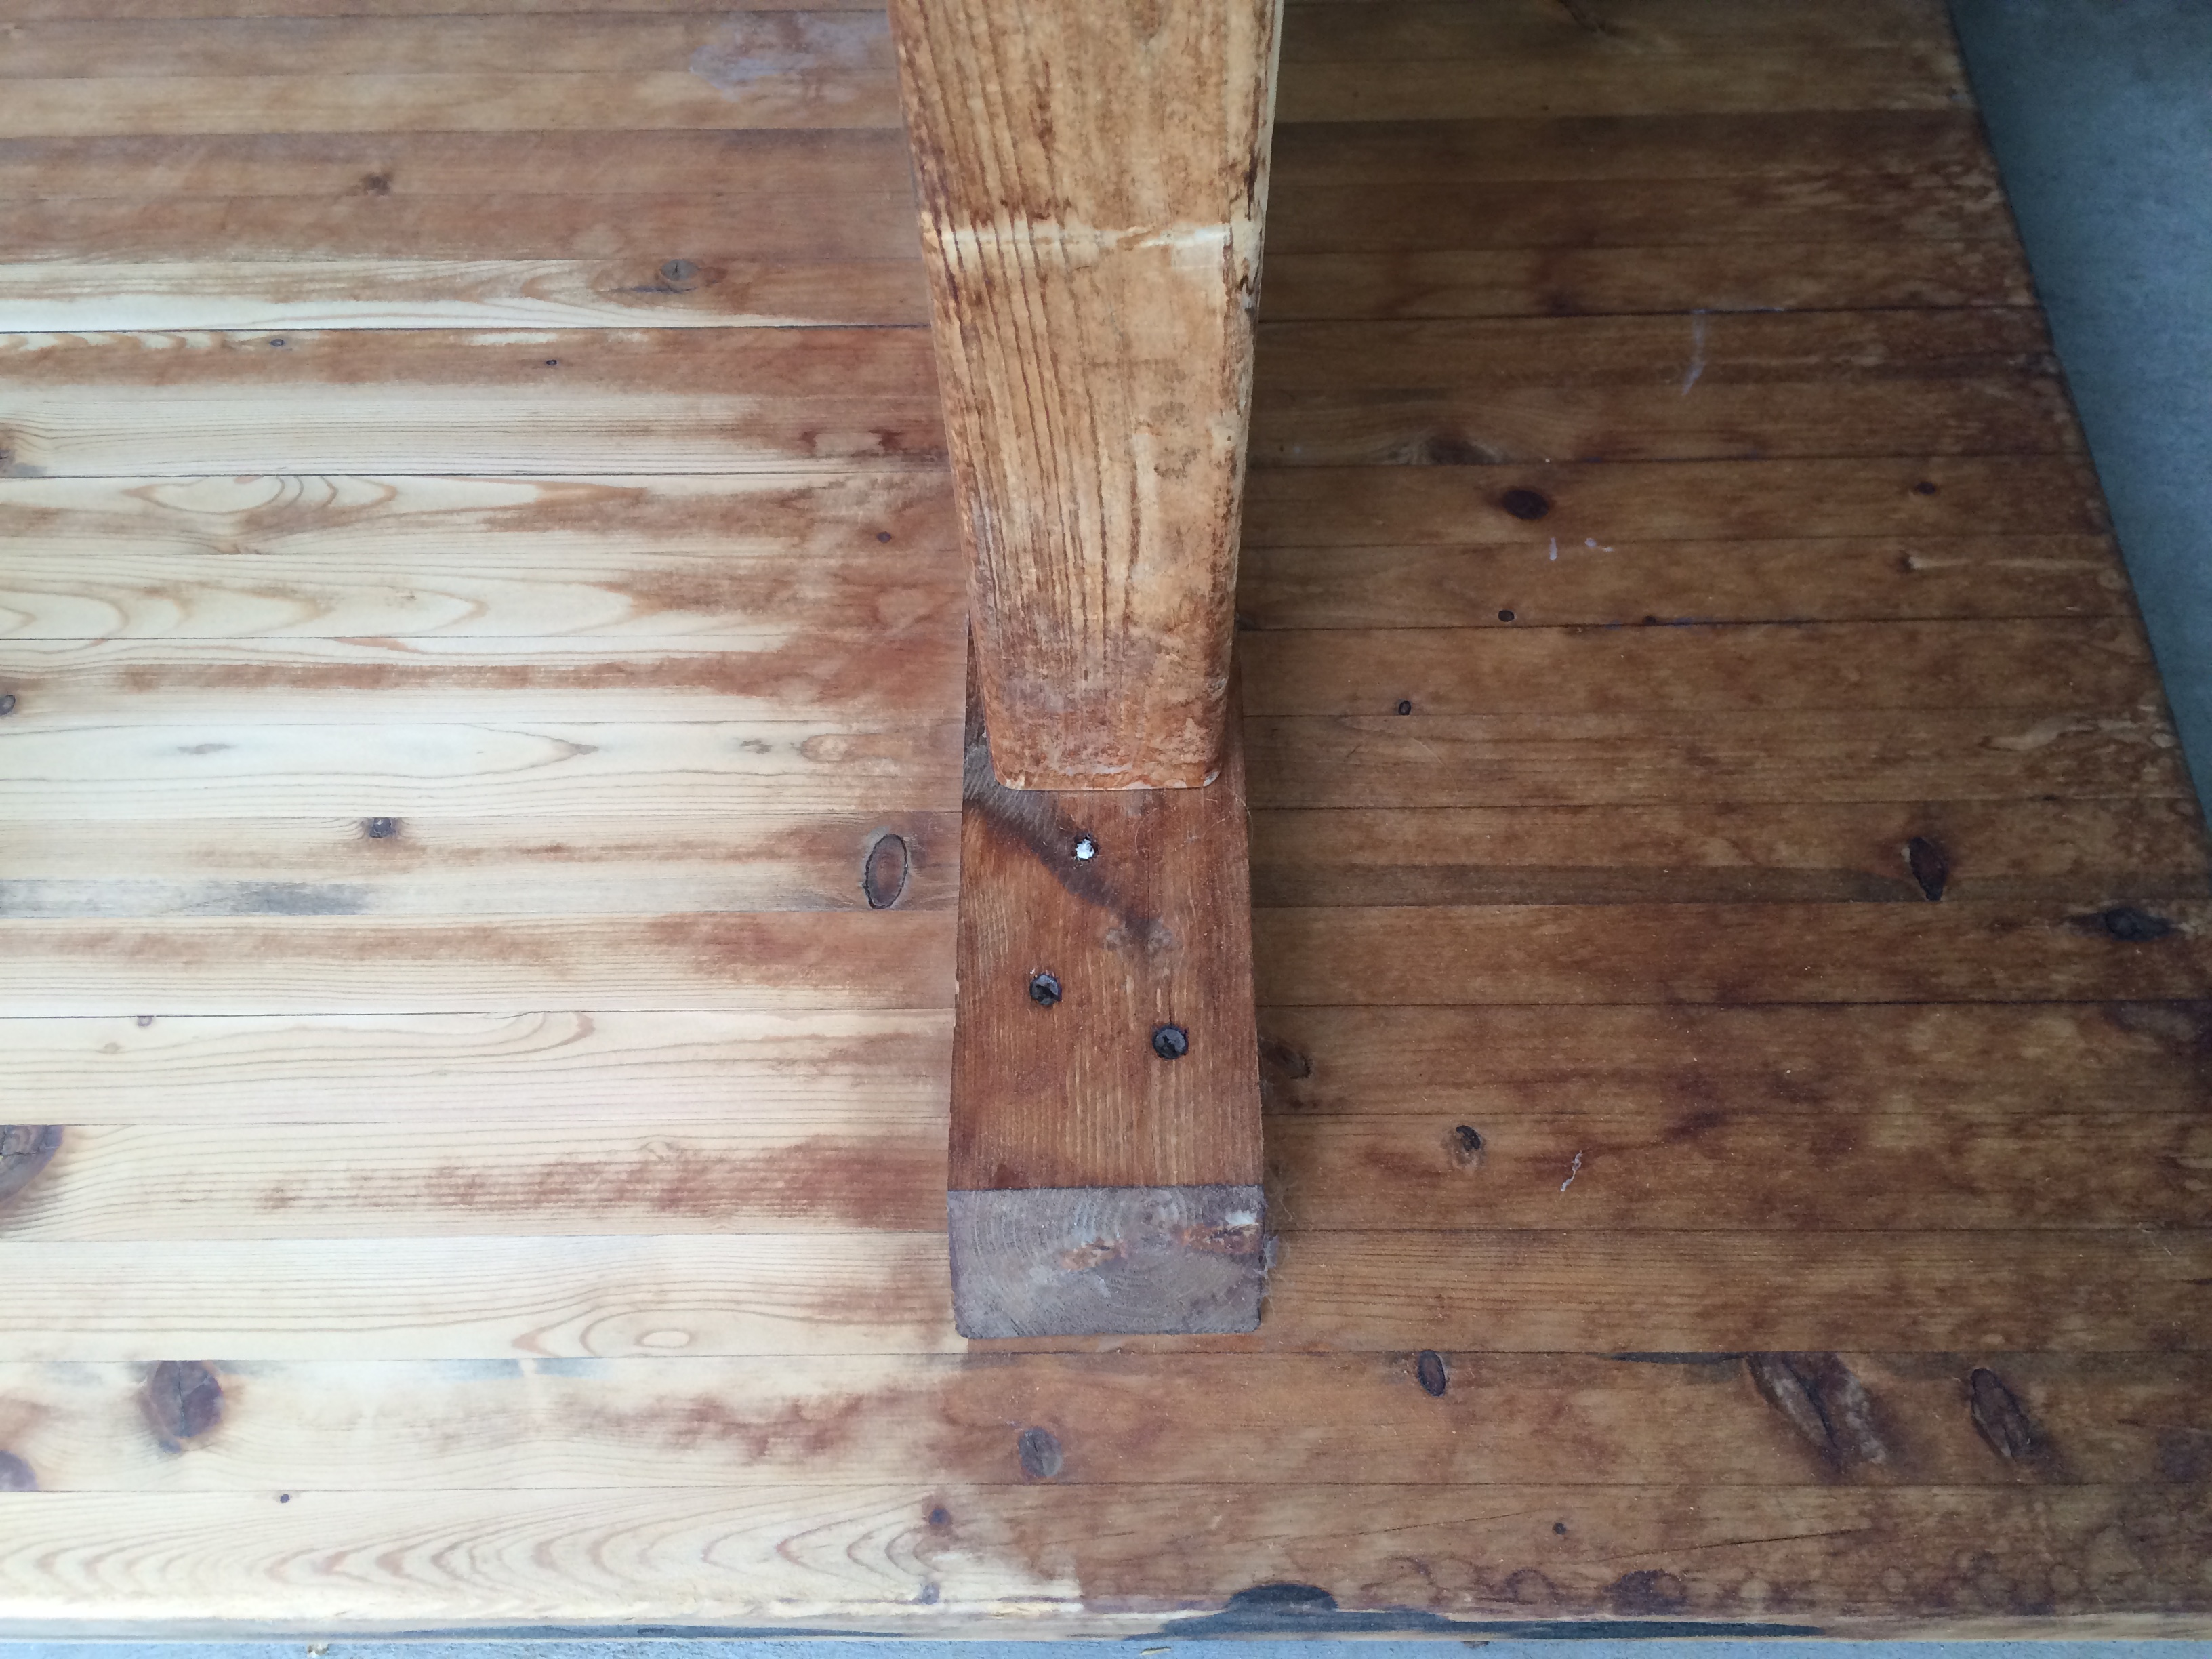
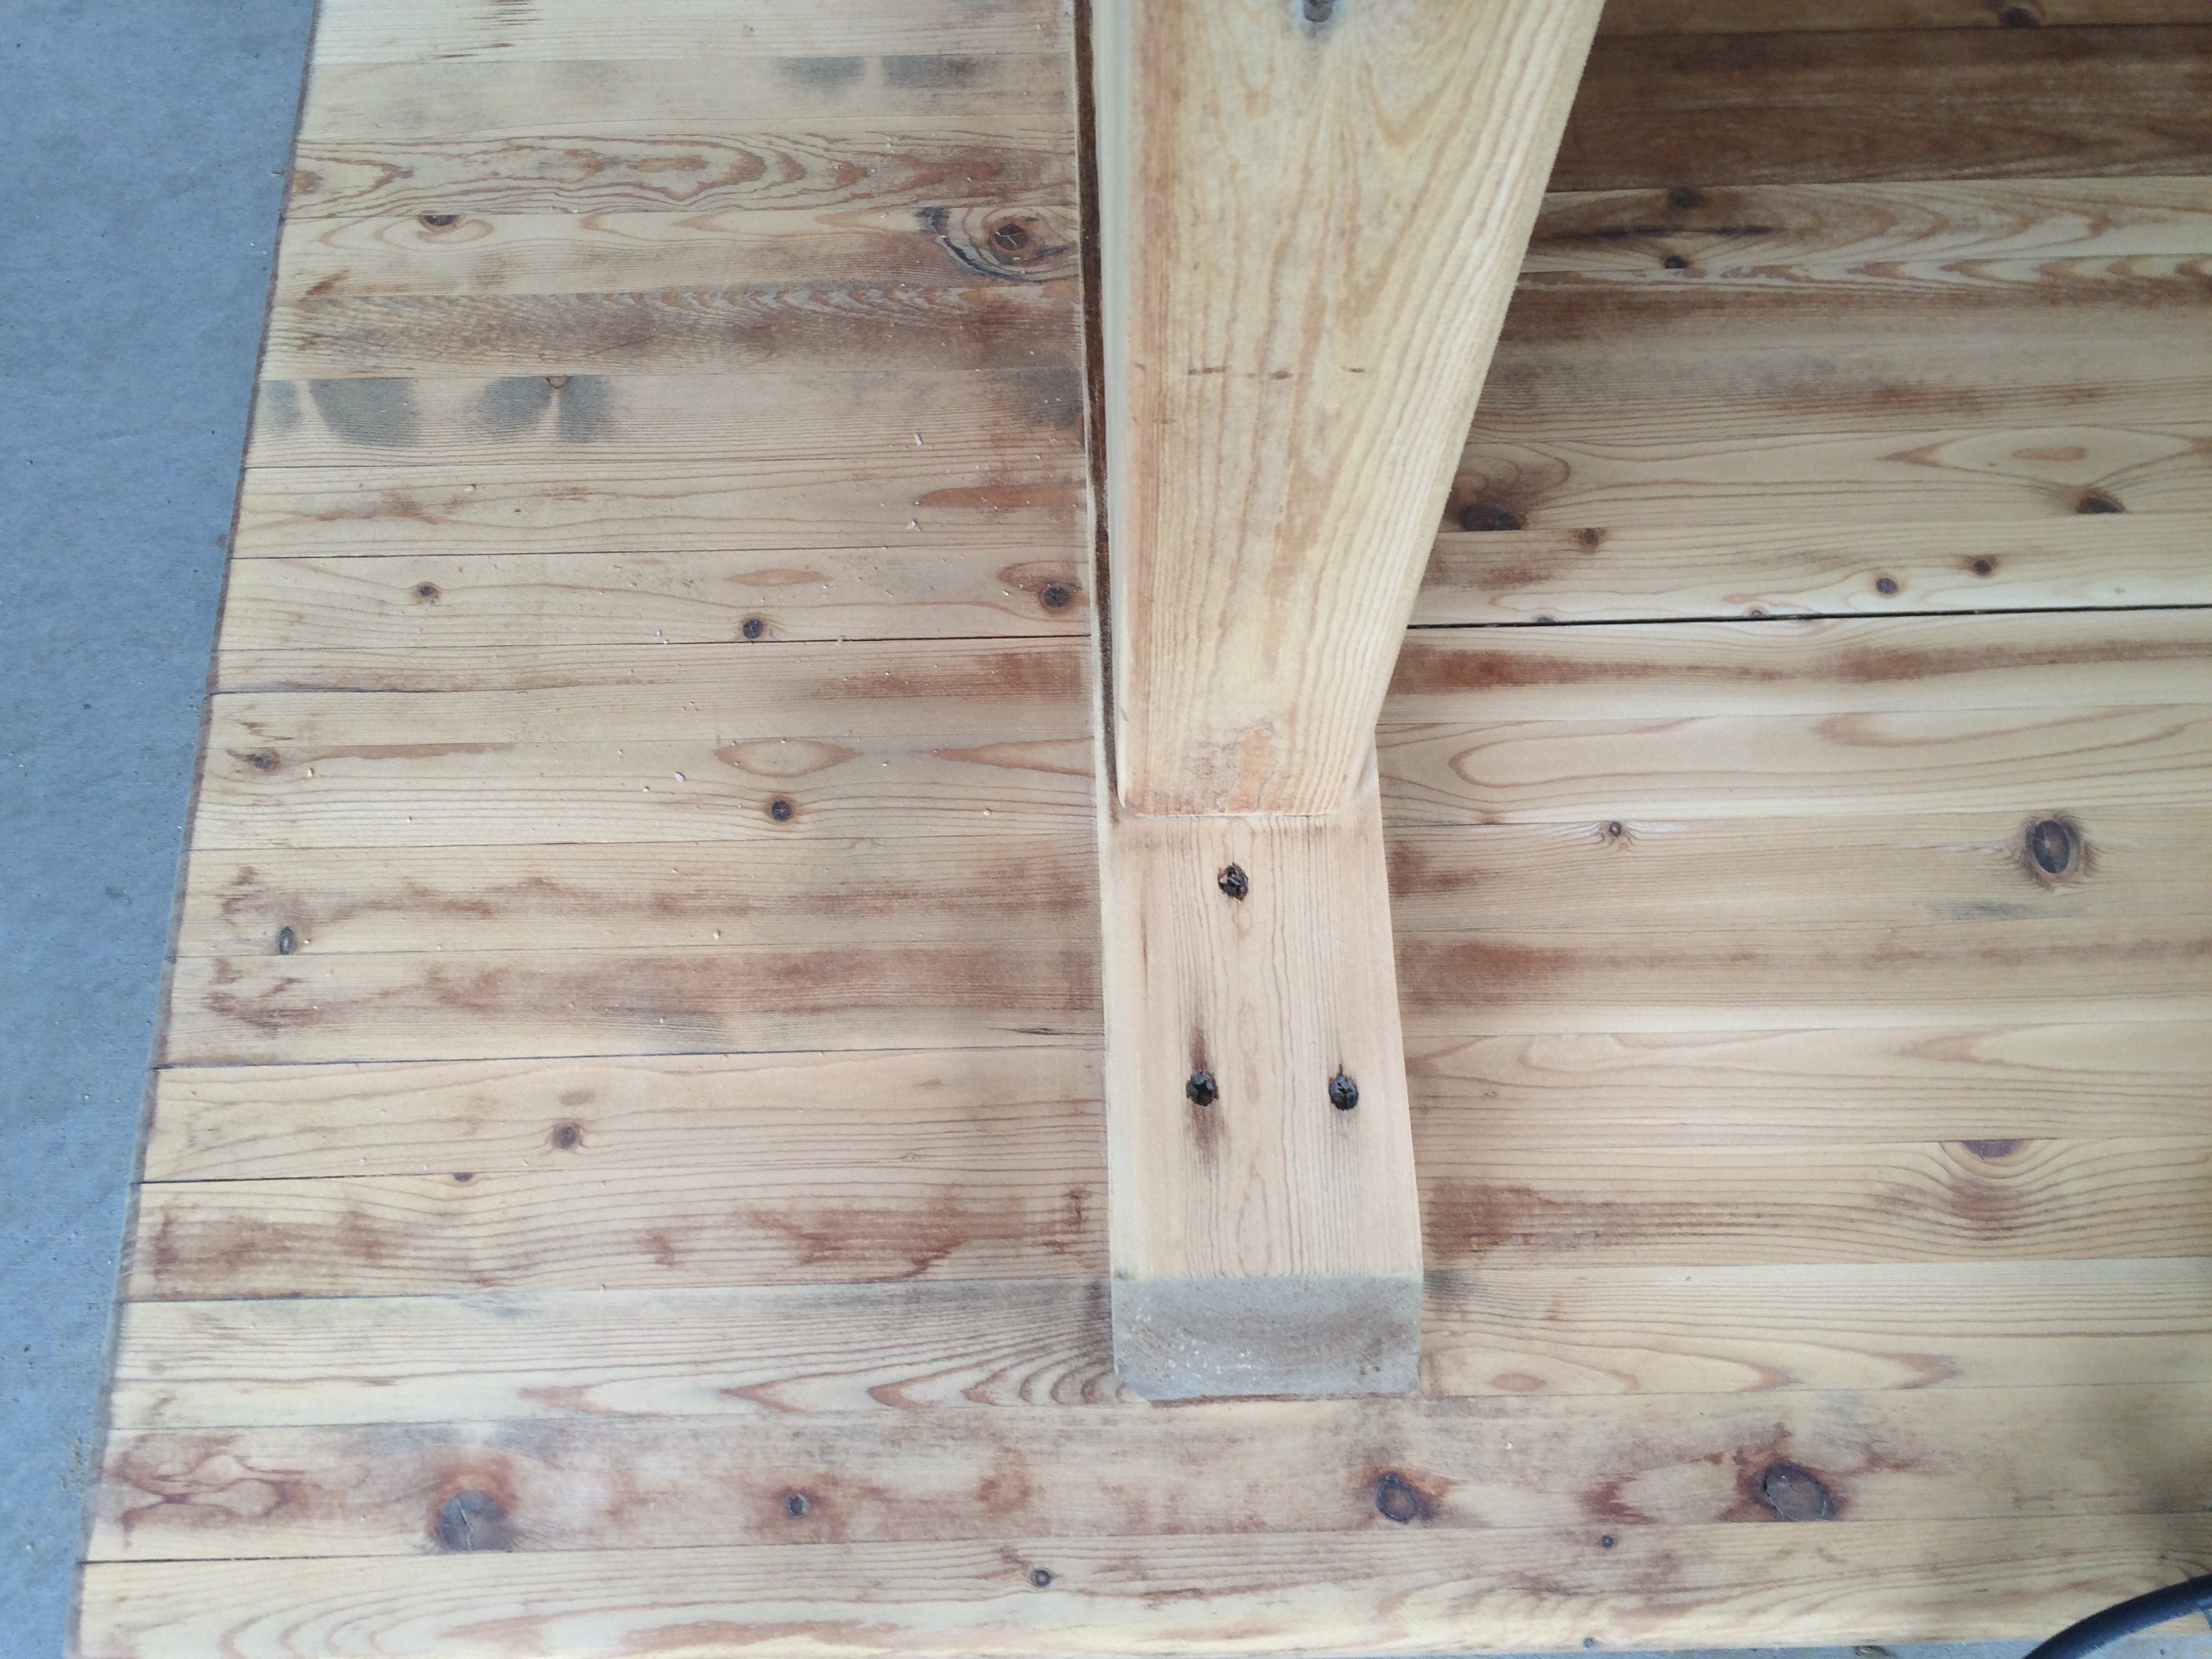
Step two was to use wood filler on the cracks and dings in the wood. I used a standard Wood Filler, and this was my first big lesson learned. Not all wood fillers take stain well. In the future, I will be using a wood filler that matches the stain of the wood.
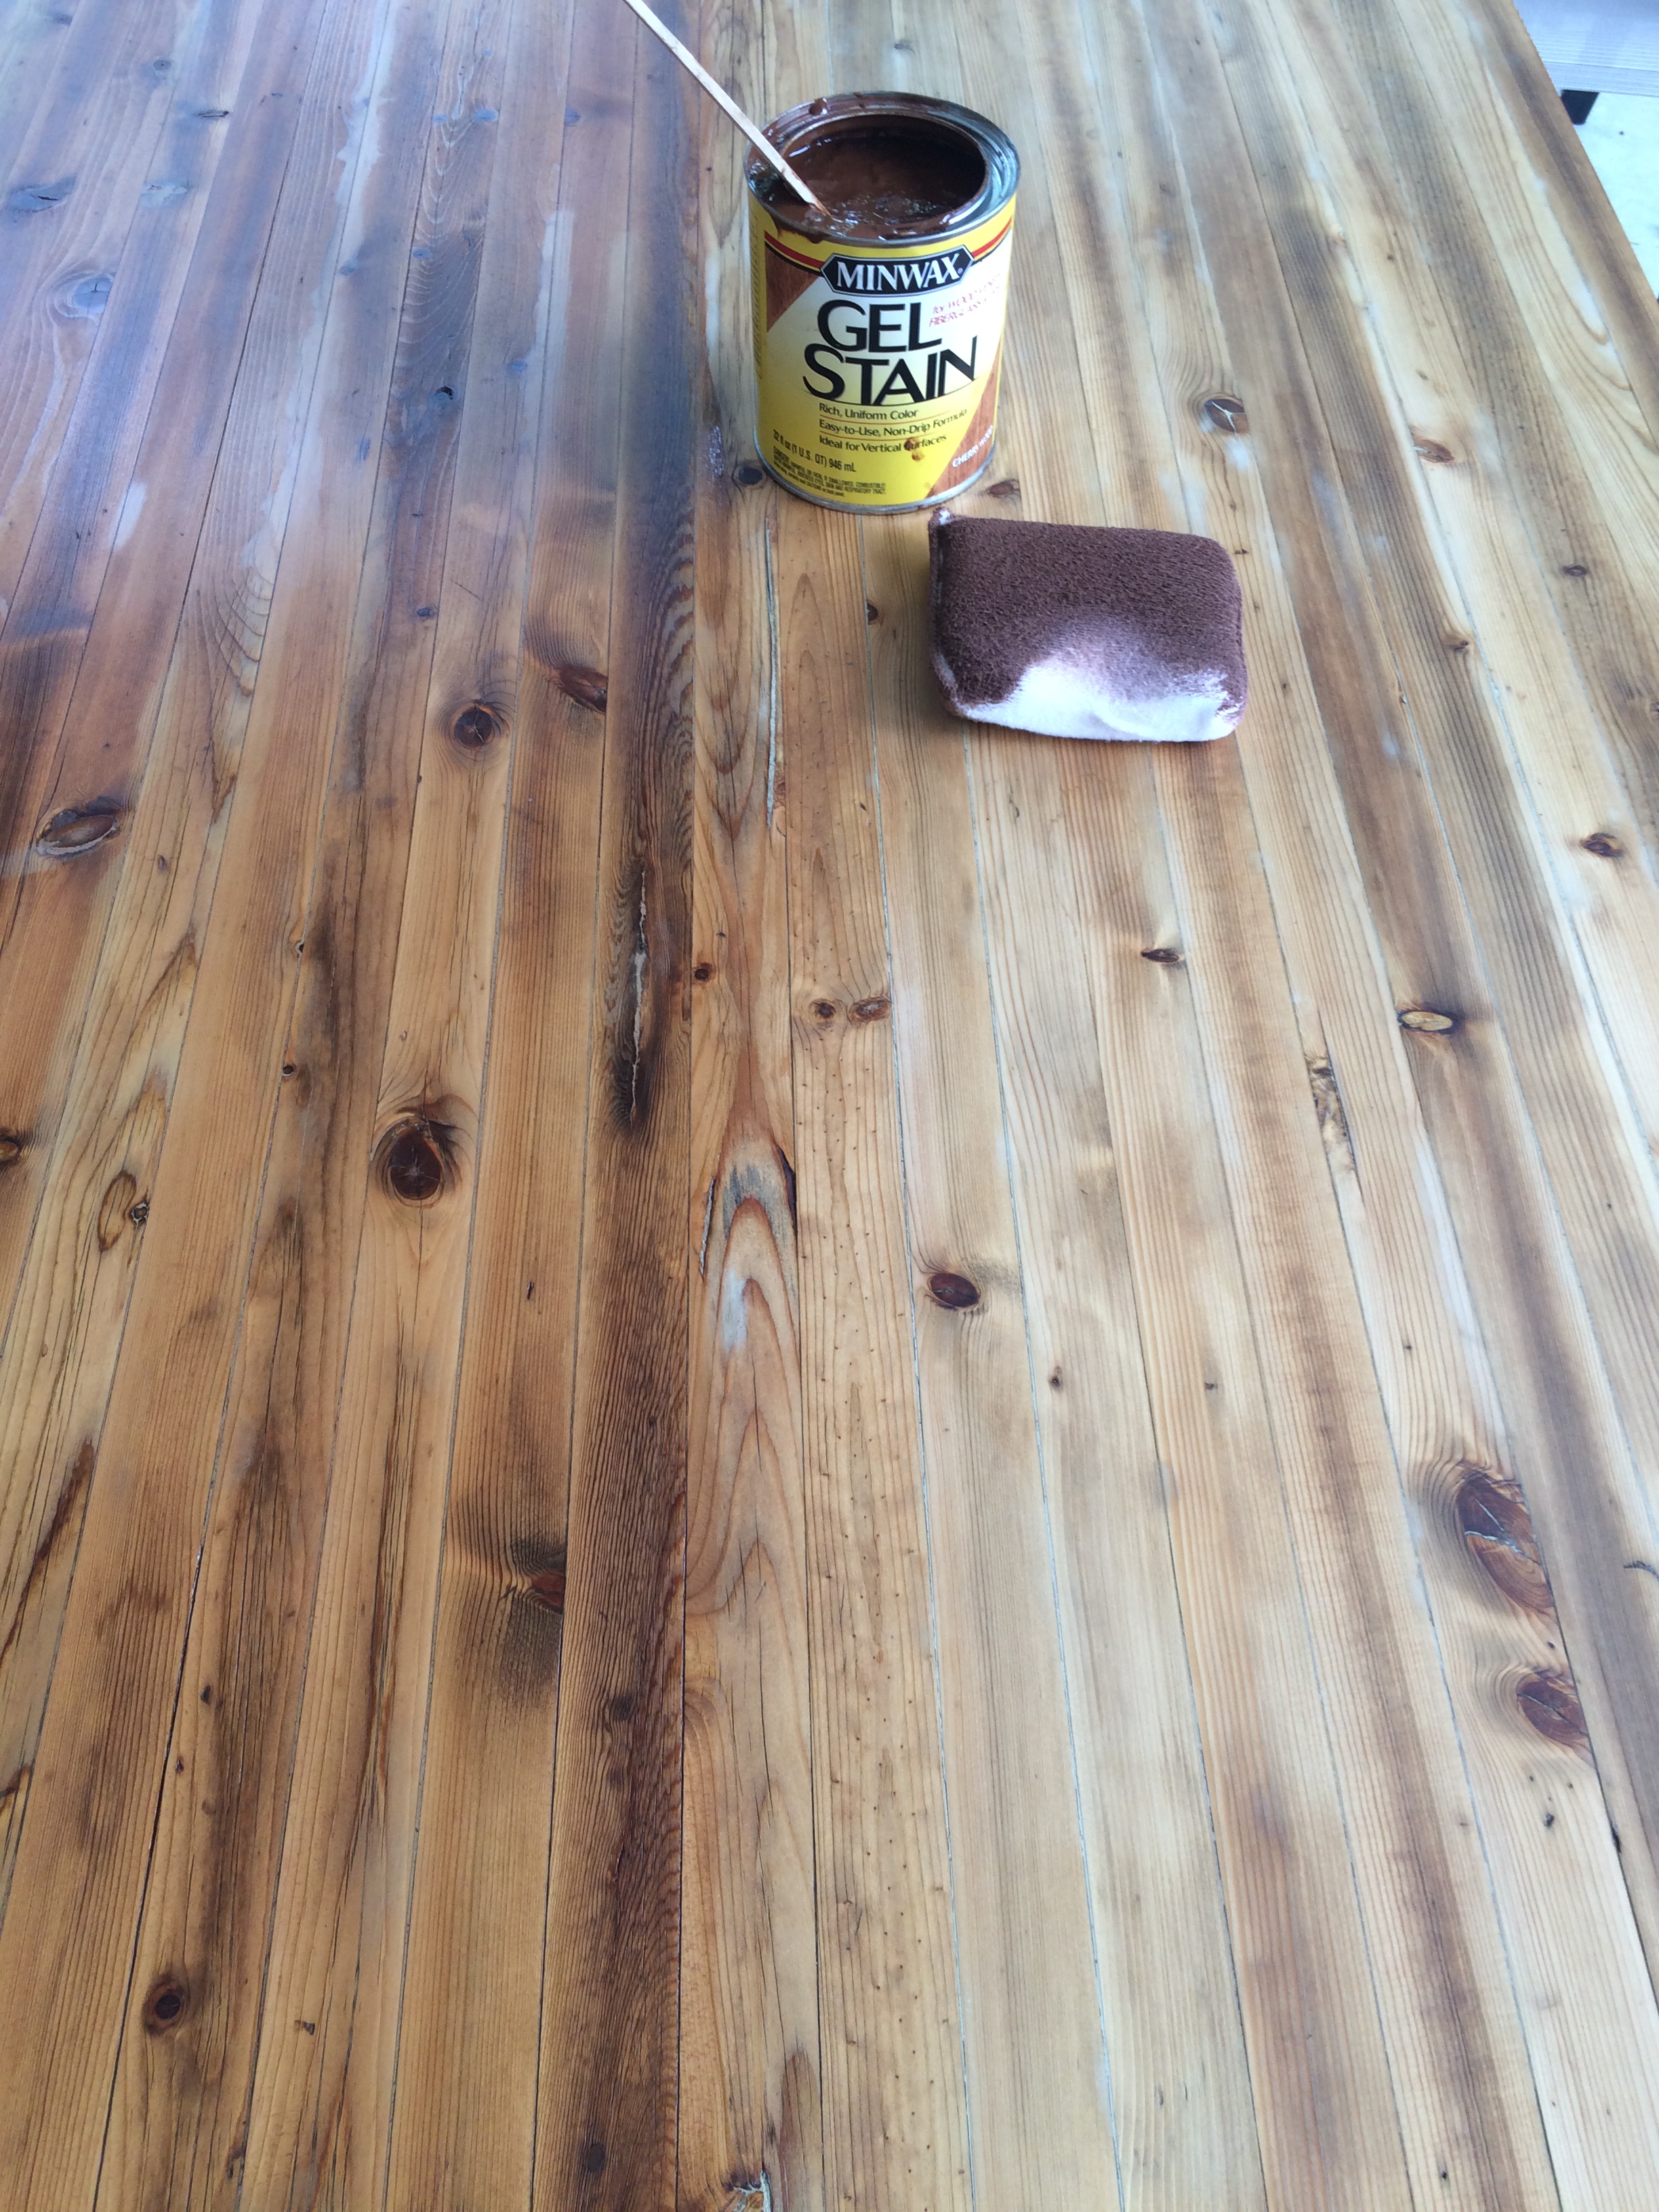
Next I applied two coats of Minwax Gel Stain, taking care to wipe it down as I worked on the table, assuring the color was evenly applied.
Last but not least, I applied two coats of indoor/outdoor clear semi-gloss Polyurethane, allowing a day of drying time between each application. The table finish is beautiful, if I do say so myself. Now I don’t have to disguise the dingy wood with a tablecloth. Loving it!


Great job, Cathy! I’ve done quite a number of these projects and I definitely recommend a polyurethane finish for a surface that will see a lot of use.
LikeLike
Thanks Barbara and I totally agree with the poly!
LikeLike