Twas the end of peach season and I had a few peaches left. I wanted a healthier version of Peach Cobbler and this fit the bill. It was very good but I substituted cinnamon for the nutmeg…a personal choice. A nice dessert to end summer and welcome Autumn!

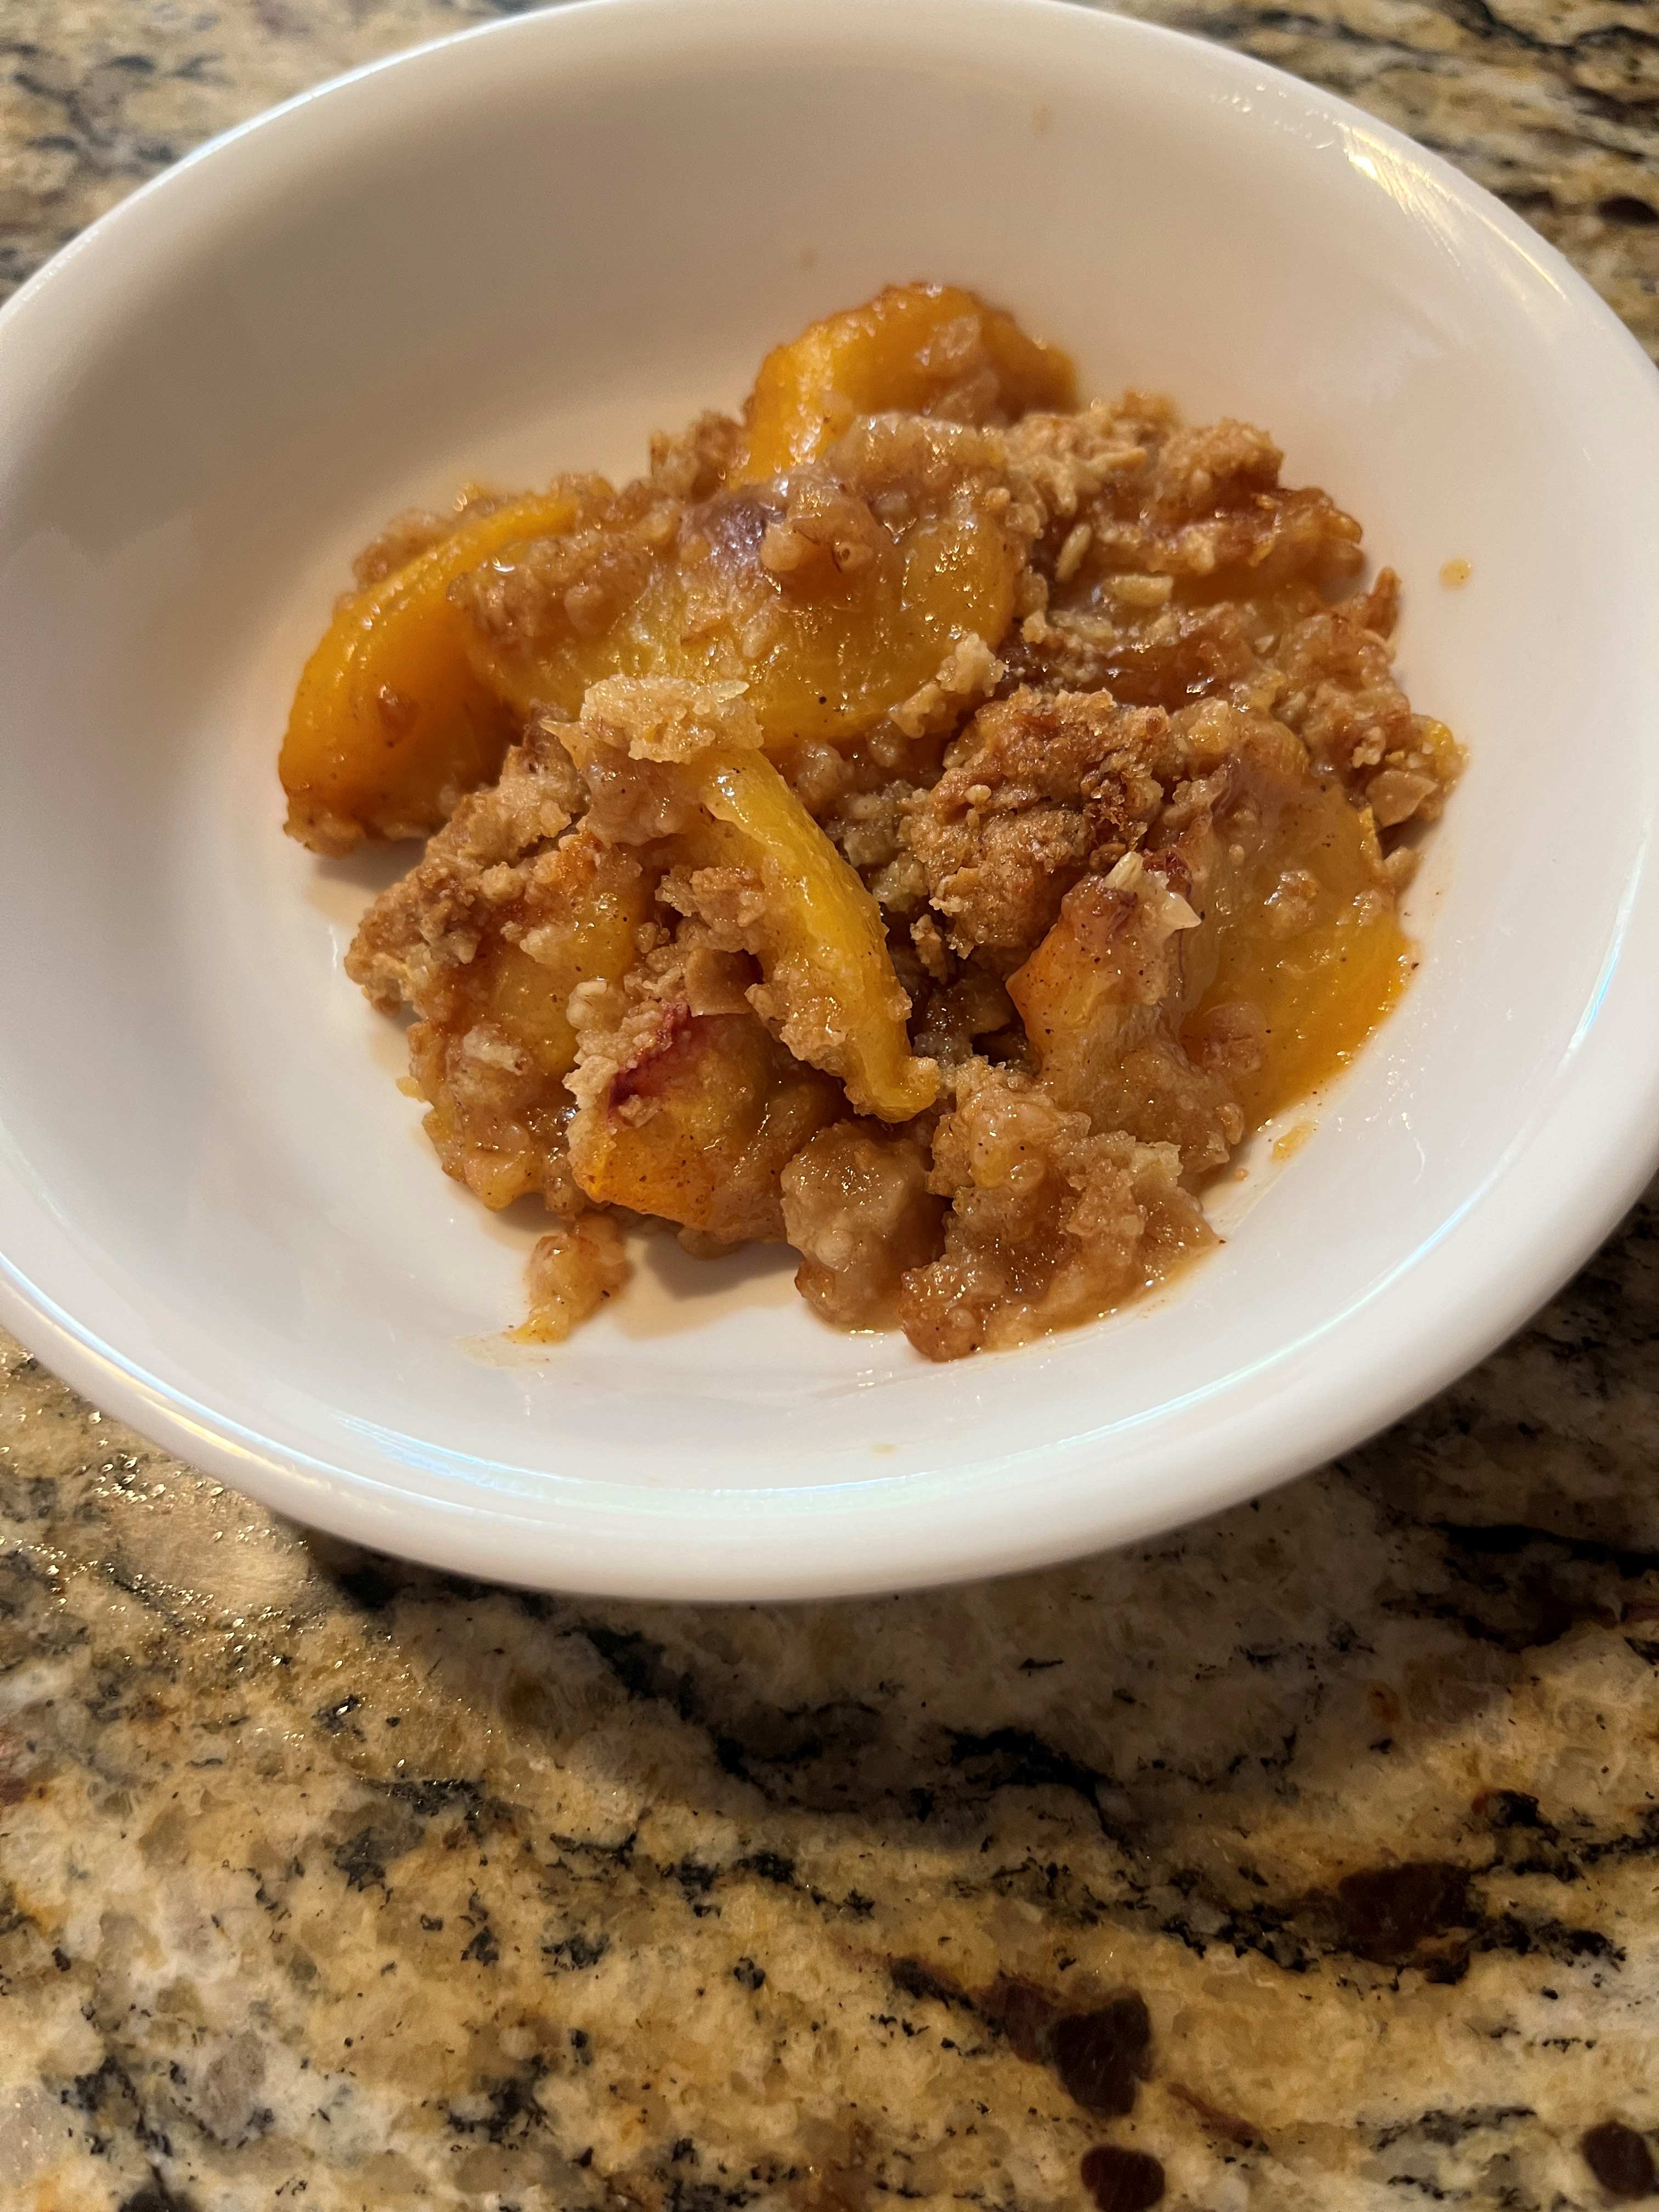
Peach Crumble
INGREDIENTS:
- 5 peaches
- 1/4 c. light brown sugar
- 2 tsp. lemon juice
- 1/2 tsp. fresh-ground nutmeg
- 1/2 c. granola
- 3 tbsp. flour
- 1 tsp. lemon zest
- 4 tbsp. butter
DIRECTIONS:
- Preheat oven to 350 degrees F.
- Toss the peaches, 2 tablespoons brown sugar, lemon juice, and nutmeg together in a small bowl. Transfer the peaches to an 8-inch tart dish and set aside.
- Mix the granola, flour, remaining brown sugar, and lemon zest together in the bowl of a food processor fitted with a metal blade. Add the butter and pulse just to combine.
- Sprinkle the granola topping over the peaches and bake until the peach mixture is bubbling and the granola crumble is golden brown and crispy — 30 to 40 minutes. (I cookied mine another 5 minutes). Cool slightly before serving.
Recipe from Country Living