I am a country girl, born and raised on a farm in Central Iowa. I am the youngest of three children by 9 and 14 years….I was the OOPS! Being younger had its advantages in that I was an Aunt at age 7 and grew up with my niece and nephews. My Father died from a farm injury when I was 12, which forever changed my life and strengthened my bond with my Mother. I tagged along with my Mother to visit older people in our community and learned about their lives in the early 1900s, enjoying the many wonderful traditional foods and family stories.
I graduated from a class of 25, which gave me the advantage of being involved in sports and clubs that would not have been possible in a large High School. At that time, Home Ec was still an elective and I loved the cooking lessons (not so hot on the sewing classes). While at the University of Northern Iowa, I began to collect and read cookbooks. Perhaps it was the absence of Mom’s home cooking that drew me to dream about cooking (and eating) wonderful food. After college I moved to St. Joseph, MO and then to Scottsdale, AZ and began to experiment with traditional recipes and discovering those of my own. It was such an adventure to discover new dishes and restaurants in historic St. Joseph, Kansas City, then Scottsdale, Phoenix, San Diego…and the list goes on.
In the early ‘80s, I moved to Denver, got married, started my telecommunications sales career and discovered the fabulous restaurants in Denver and Aspen. My career took me to cities never before experienced and the seafood in San Francisco, Cajun fare in New Orleans, Tex-Mex in Dallas, Italian in New Jersey, etc. are experiences I will cherish. In 1986 our first daughter, Megan, was born and then Sarah in 1988. Instead of indulging in dinners out, we were cooking more at home and seeking ways to have good meals with limited time. Dinners went from adult gourmet to more kid friendly meals. Megan’s tastes were more basic while Sarah adopted a gourmet palate at an early age. At age 6 her favorite meal was steamed artichokes and crab legs with drawn butter…still her favorite. Megan’s tastes expanded rapidly when she went to college and started cooking for her roommates and now loves to whip up gourmet dishes.
I am blessed to have many gal pals that also share my passion for good food. I love to try new restaurants and look forward to the ‘pot luck’ feasts at our book club meetings and other gatherings. It isn’t just the good food that brings us to together, but the great love and admiration we all have for each other.
We are addicted foodies…but we try to remember our 12-step foodie program is needed.
God grant me the serenity to only eat the food that I LOVE,
the courage to walk away from junk food,
and the wisdom to recognize the difference. Oh YEAH!
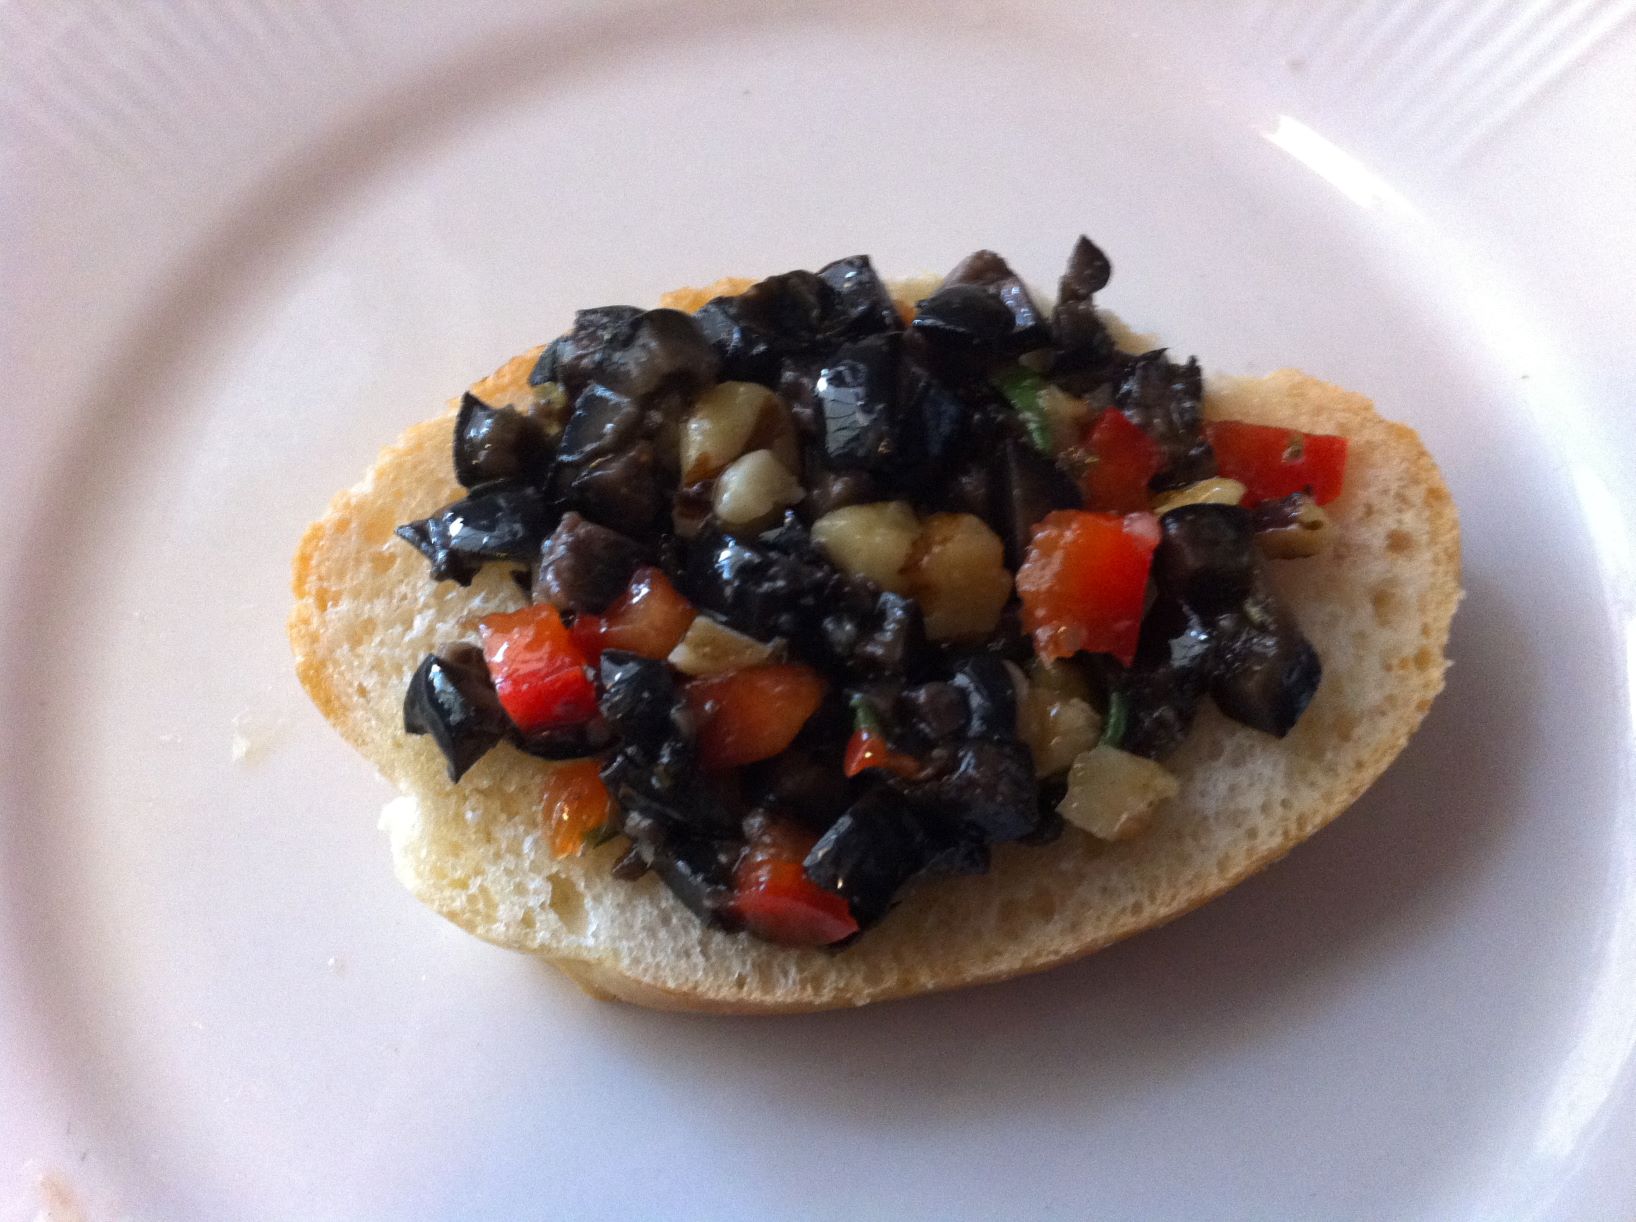
This recipe has become a favorite of my gal-pals and friends for appetizers and potlucks. Olive Tapenade would be a great appetizer for your New Year’s Gatherings. It is so easy, especially using my favorite dicing tool, the Vidalia Chop Wizard, to make easy work of the dicing, resulting in uniform pieces.
BLACK OLIVE TAPENADE
1 can pitted black (or kalmata) olives, drained 1/4 cup chopped walnuts 3 tablespoons capers, drained chopped red bell pepper 3 tablespoons olive oil 1 1/2 teaspoons fresh rosemary leaves, minced 1 teaspoon Italian seasoning 2 cloves garlic, minced assorted crackers, sliced French baguette
Finely chopped the black olives, walnuts and red peppers. Add olive oil, capers, rosemary, Italian seasoning, and minced garlic; stir together.
Spoon into serving dish. Garnish with fresh rosemary sprig or sprinkle of diced red pepper.
Optional: spread crackers with goat cheese and top with tapenade.
Kolaches originated in the Slovak countries and our Smaha family brought this Bohemian tradition to America when they immigrated to Iowa in the late 1800s. This tradition has been passed down in our family for many generations. Kolaches are wonderful any time of the year but especially wonderful at Christmas. My family tradition is to have them Christmas morning while we are opening gifts and sipping coffee or hot chocolate.
Christmas Morning and Kolaches 1987
This picture was taken in Christmas morning 1987 with my Mother, Mother-In-Law, and oldest daughter, Megan. Let the Kolache feast begin!
My all-time favorite Kolache is cherry. This season I was fortunate to buy a large container of fresh frozen tart cherries that I’ve been saving for Kolache filling this Christmas. Other years, I have used canned cherry pie filling. I have made Kolaches from old-fashioned sweet dough recipes but a new favorite is the sweet dough recipe for the bread machine. In a pinch, I have used frozen bread dough, even though not sweet, is very good.
Traditional Kolache come in many flavors including the timeless Bohemian prune or poppy-seed fillings. My Mother’s Kolaches were fabulous and we waited with excitement while they baked, poised to snatch one as soon as they came out of the oven.
Everyone’s Kolaches are a tad different. My Mother didn’t add the crumb topping to her Kolaches but a wonderful farm neighbor, Nellie, made Prune Kolaches with crumb topping in her old wood stove. You haven’t lived until you’ve had Kolaches from a wood cooking stove. My Aunt Lora, baked Kolaches that she pinched closed at the top and sprinkled with sugar. Equally wonderful.
Wishing all of you a wonderful Christmas and many cherished family traditions.
SWEET BREAD DOUGH (FOR BREAD MACHINE)
1 1/2 teaspoons dry yeast
4 cups bread flour
1 teaspoon salt
4 tablespoons sugar
2 tablespoons butter
2 eggs
1 cup less 1 T. water
All ingredients should be at room temperature. Add the ingredients in the order listed above.
Run the machine through the dough cycle. Remove and work on floured board to desired loaf, rolls, etc.
CHERRY FILLING
1 1/2 cups sugar
4 tablespoons cornstarch
3/4 cup juice from cherries
3 cups pitted tart red cherries (water pack)
1 tablespoon butter
1/4 teaspoon red food coloring
Combine 3/4 cup sugar with cornstarch. Stir in cherry juice.
Cook over medium heat, stirring occasionally, till mixture thickens and bubbles; cook 1 minute longer. Add remaining sugar, cherries, butter and food coloring and cook until thickened. Mixture will be very thick. Let stand while preparing bread dough for Kolaches.
PREPARING THE KOLACHES:
Pinch a piece of dough about the size of a walnut (or ping pong ball) and place on a greased baking pan. Cover with wax paper then a towel and let rise until double in size. When risen, push centers of balls down and fill with cherry filling (or filling of choice). Let rise again and bake at 400 degrees.
KOLACHE CRUMB TOPPING (Optional)
1 cup flour
1/2 cup sugar
1/4 cup butter or margarine
1/4 teaspoon salt (omit if using margarine)
1/4 teaspoon cinnamon
Mix all ingredients together (use a pastry blender) until crumbly and use as a topping for Kolaches or coffee cakes.
I first tasted Rum Cake in 1978 and have made it every year since then. I was living in St. Joseph, MO and picked up a recipe card at my local grocery/liquor store. That very worn but loved recipe card is still in my recipe box.
Original Bacardi Rum Cake Recipe Card
Original Bacardi Rum Cake Recipe
Rum Cake
My Oldest daughter, Megan, advises that she’s making two this year; one to have at home for her husband and guests and one to take to the in-laws for Christmas Eve. I’ll make one for our family to enjoy on Christmas Day, too. I may have to sneak a piece of rum cake for breakfast with a piping hot cup of coffee. And visions of Rum Cake dance in my head…
RUM CAKE
1 cup chopped pecans
1 package yellow cake mix
1 package instant vanilla pudding mix
4 eggs
1/2 cup cold water
1/2 cup cooking oil
1/2 cup Bacardi dark rum
GLAZE:
1 stick margarine
1/4 cup water
1 cup sugar
1/2 cup Bacardi dark rum
Preheat oven to 325 degrees. Grease and flour 10″ tube or bundt pan.
Sprinkle nuts over bottom of pan.
Mix first seven ingredients together. Pour batter over nuts.
Rum Cake Batter ready for the oven
Bake 1 hour. Cool. Invert onto serving plate. Prick top of cake.
Make glaze by melting butter, then stir in water and sugar. Boil 5 minutes, stirring constantly. Remove from heat and stir in 1/2 cup rum.
Drizzle and smooth glaze evenly over top and sides of cake. Allow cake to absorb glaze. Repeat until glaze is all gone.
Fruit Bread conjures up visions of old-fashioned fruit cake that is hard as a rock and entire communities have contests to see how far they can chuck the cake. NOT the case with this Fruit Bread recipe. In fact, it is really a banana bread with chocolate chips and chopped cherries. It makes a festive bread to give or to serve during the holidays.
This recipe originated with my Aunt Joyce. When I was younger, she made it every Christmas and it quickly became a family, and personal tradition. Each year I make several batches and give to family and friends. I hope that you’ll try the bread and it will become one of your traditions!
FRUIT BREAD
Double or triple the recipe to make several loaves.
1/2 cup butter
1 cup sugar
2 eggs
2 cups flour (plus 2 T. if baking at high altitude)
1 tsp. baking soda
1 cup mashed banana
1/2 cup maraschino cherries
1/4 cup chocolate chips
Cream butter & sugar. Add eggs & beat well. Sift baking soda & flour; add to egg mixture alternatively with mashed bananas. Stir in remaining ingredients. Pour into greased loaf pan and bake at 350 degrees for 1 hour.
When I was a little girl, my Mother and I would visit our elderly Norwegian friends, the Butlers, and feast on amazing home-baked goods. Anna would make Norwegian Kringla (pictured above), Lefse (potato flatbread), and other delights. I loved everything, but my favorite was Kringla. My Mother learned to make it and the recipe below is well over 100 years old. It quickly became a Christmas tradition and I’ve made it for my family. This year is no different. The slightly sweet dough with the slight anise taste is truly a delight. Kringla paired with a hot cup of coffee or hot chocolate is heavenly.
Think I’ll head to the kitchen for a hot chocolate and a Kringla….YUM!
KRINGLA
I usually double the recipe and freeze several to enjoy long after the holidays are gone.
1 egg 1 cup sugar 1/4 teaspoon Anise Extract 2 tablespoons melted butter 1/2 cup buttermilk 1 cup sour cream 1 teaspoon baking soda 1 teaspoon baking powder 4 cups flour
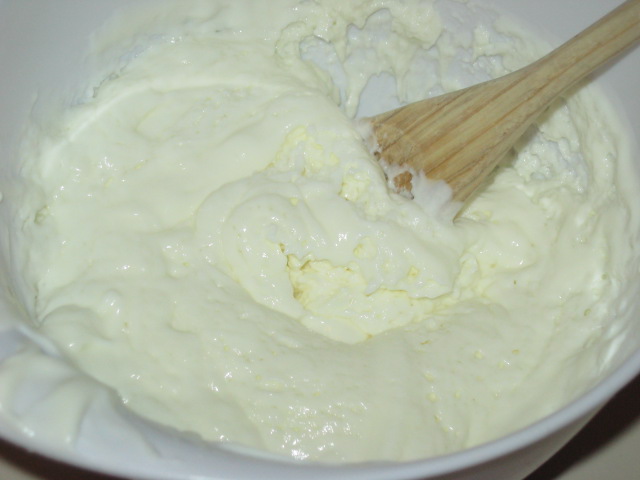
Beat egg and sugar together. Add anise extract, melted butter, buttermilk and 1/2 of sour cream.
Kringla Step 1 ingredients blended together
Mix 1/2 teaspoon baking soda with remainder of sour cream and let sit for about 5 minutes.
Sour cream and baking soda after 5 minutes
Mix together flour, baking powder and remaining 1/2 teaspoon baking soda.
Mix together flour mixture alternately adding egg mixture and sour cream mixture.
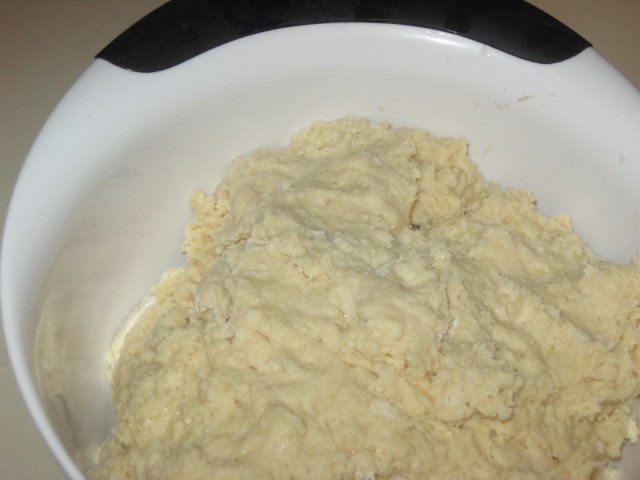
Dough will be very stiff and you will need to finish mixing with your hands.
Kringla dough
Chill dough overnight. Remove 1-2 cups of dough at a time so the dough remains chilled. Take a small piece of dough (size of a small walnut) and roll into a ball and then into a pencil shape. Shape the dough into a pretzel shape and place on a greased cookie sheet.
Kringla Rolled into BallDough rolled into pencil shapeKringla shaped and ready for the oven
Bake at 425 degrees for 5 minutes on the bottom rack of the oven and then on top rack of oven for 2-3 minutes. Bottom of Kringla should be golden brown–tops may not be brown. (I have found that every oven is different. Mine tends to run hot so I decrease the amount of time on the bottom shelf to 3 minutes.)
Cool and store in airtight container. Great warm with butter and a cup of coffee or hot chocolate.
Cinnamon hard candy is a holiday tradition that began in my household about 12 years ago. Daughter, Megan, received a bag of candy from a friend and we were instantly in love with it. We’ve made several batches every year to give to family and friends. The sumptuous smell of cinnamon lingers in your home for the day. The candy keeps for a long time, especially in the dry Colorado climate. It’s pretty to wrap up in festive bags for gifts.
Cinnamon Candy Gift Bag
CINNAMON HARD CANDY
1 cup white sugar
1 cup karo syrup
1 cup water
1/4 teaspoon cinnamon oil (usually behind the prescription counter at your grocery store)
1/4 teaspoon red food coloring powdered sugar
Ingredients for Cinnamon Hard Candy
Combine sugar, syrup and water in a sauce pan.
Boil without stirring, over medium-high heat until it reaches hard crack stage (300-310 degrees).
Once the candy starts to thicken and turn golden brown, watch carefully or it can scorch.
When done, remove from heat and quickly add cinnamon oil and food coloring
Pour into a metal pan that has been lined with about 1/4 to 1/3″ powdered sugar.
Cinnamon Hard Candy Mixture poured into pan with powdered sugar
Sprinkle powdered sugar on top of candy immediately. Let cool until the edges start to firm up and then immediately begin to score the pieces from around the edges and keep cutting inward, in squares, as the candy hardens. This makes it easier to break into more uniform pieces once the candy has hardened.
Recently I discovered this recipe on the bag of mini peppers I bought at Costco. I’ve experimented with the recipe and love a variation of this recipe, combining goat cheese with the Savory Seasoning of Tarragon Shallot Citrus. The sweetness of the red peppers combined with the goat cheese and citrus blend is scrumptious. When the peppers come out of the oven, you can also top with half of pecan (or walnut). A very simple appetizer for your holiday parties.
Mini Red Peppers stuffed with herbed goat cheese
Mini Red Peppers
Softened goat cheese (or cream cheese)
1/4 cup snipped fresh herbs (chives, parsley, thyme, basil) or Savory Seasoning Tarragon Shallot Citrus Seasoning
Heat oven to 350 degrees. Rinse red peppers and cut a slit down the side of the pepper. Remove seeds.
Combine softened cheese and herbs. Place a heaping teaspoon of the goat cheese mixture in each pepper. Bake for 20 minutes until peppers are soft-crisp and goat cheese is hot.
Optional: Serve with pecan or walnut half (or basil leaf) on each pepper.
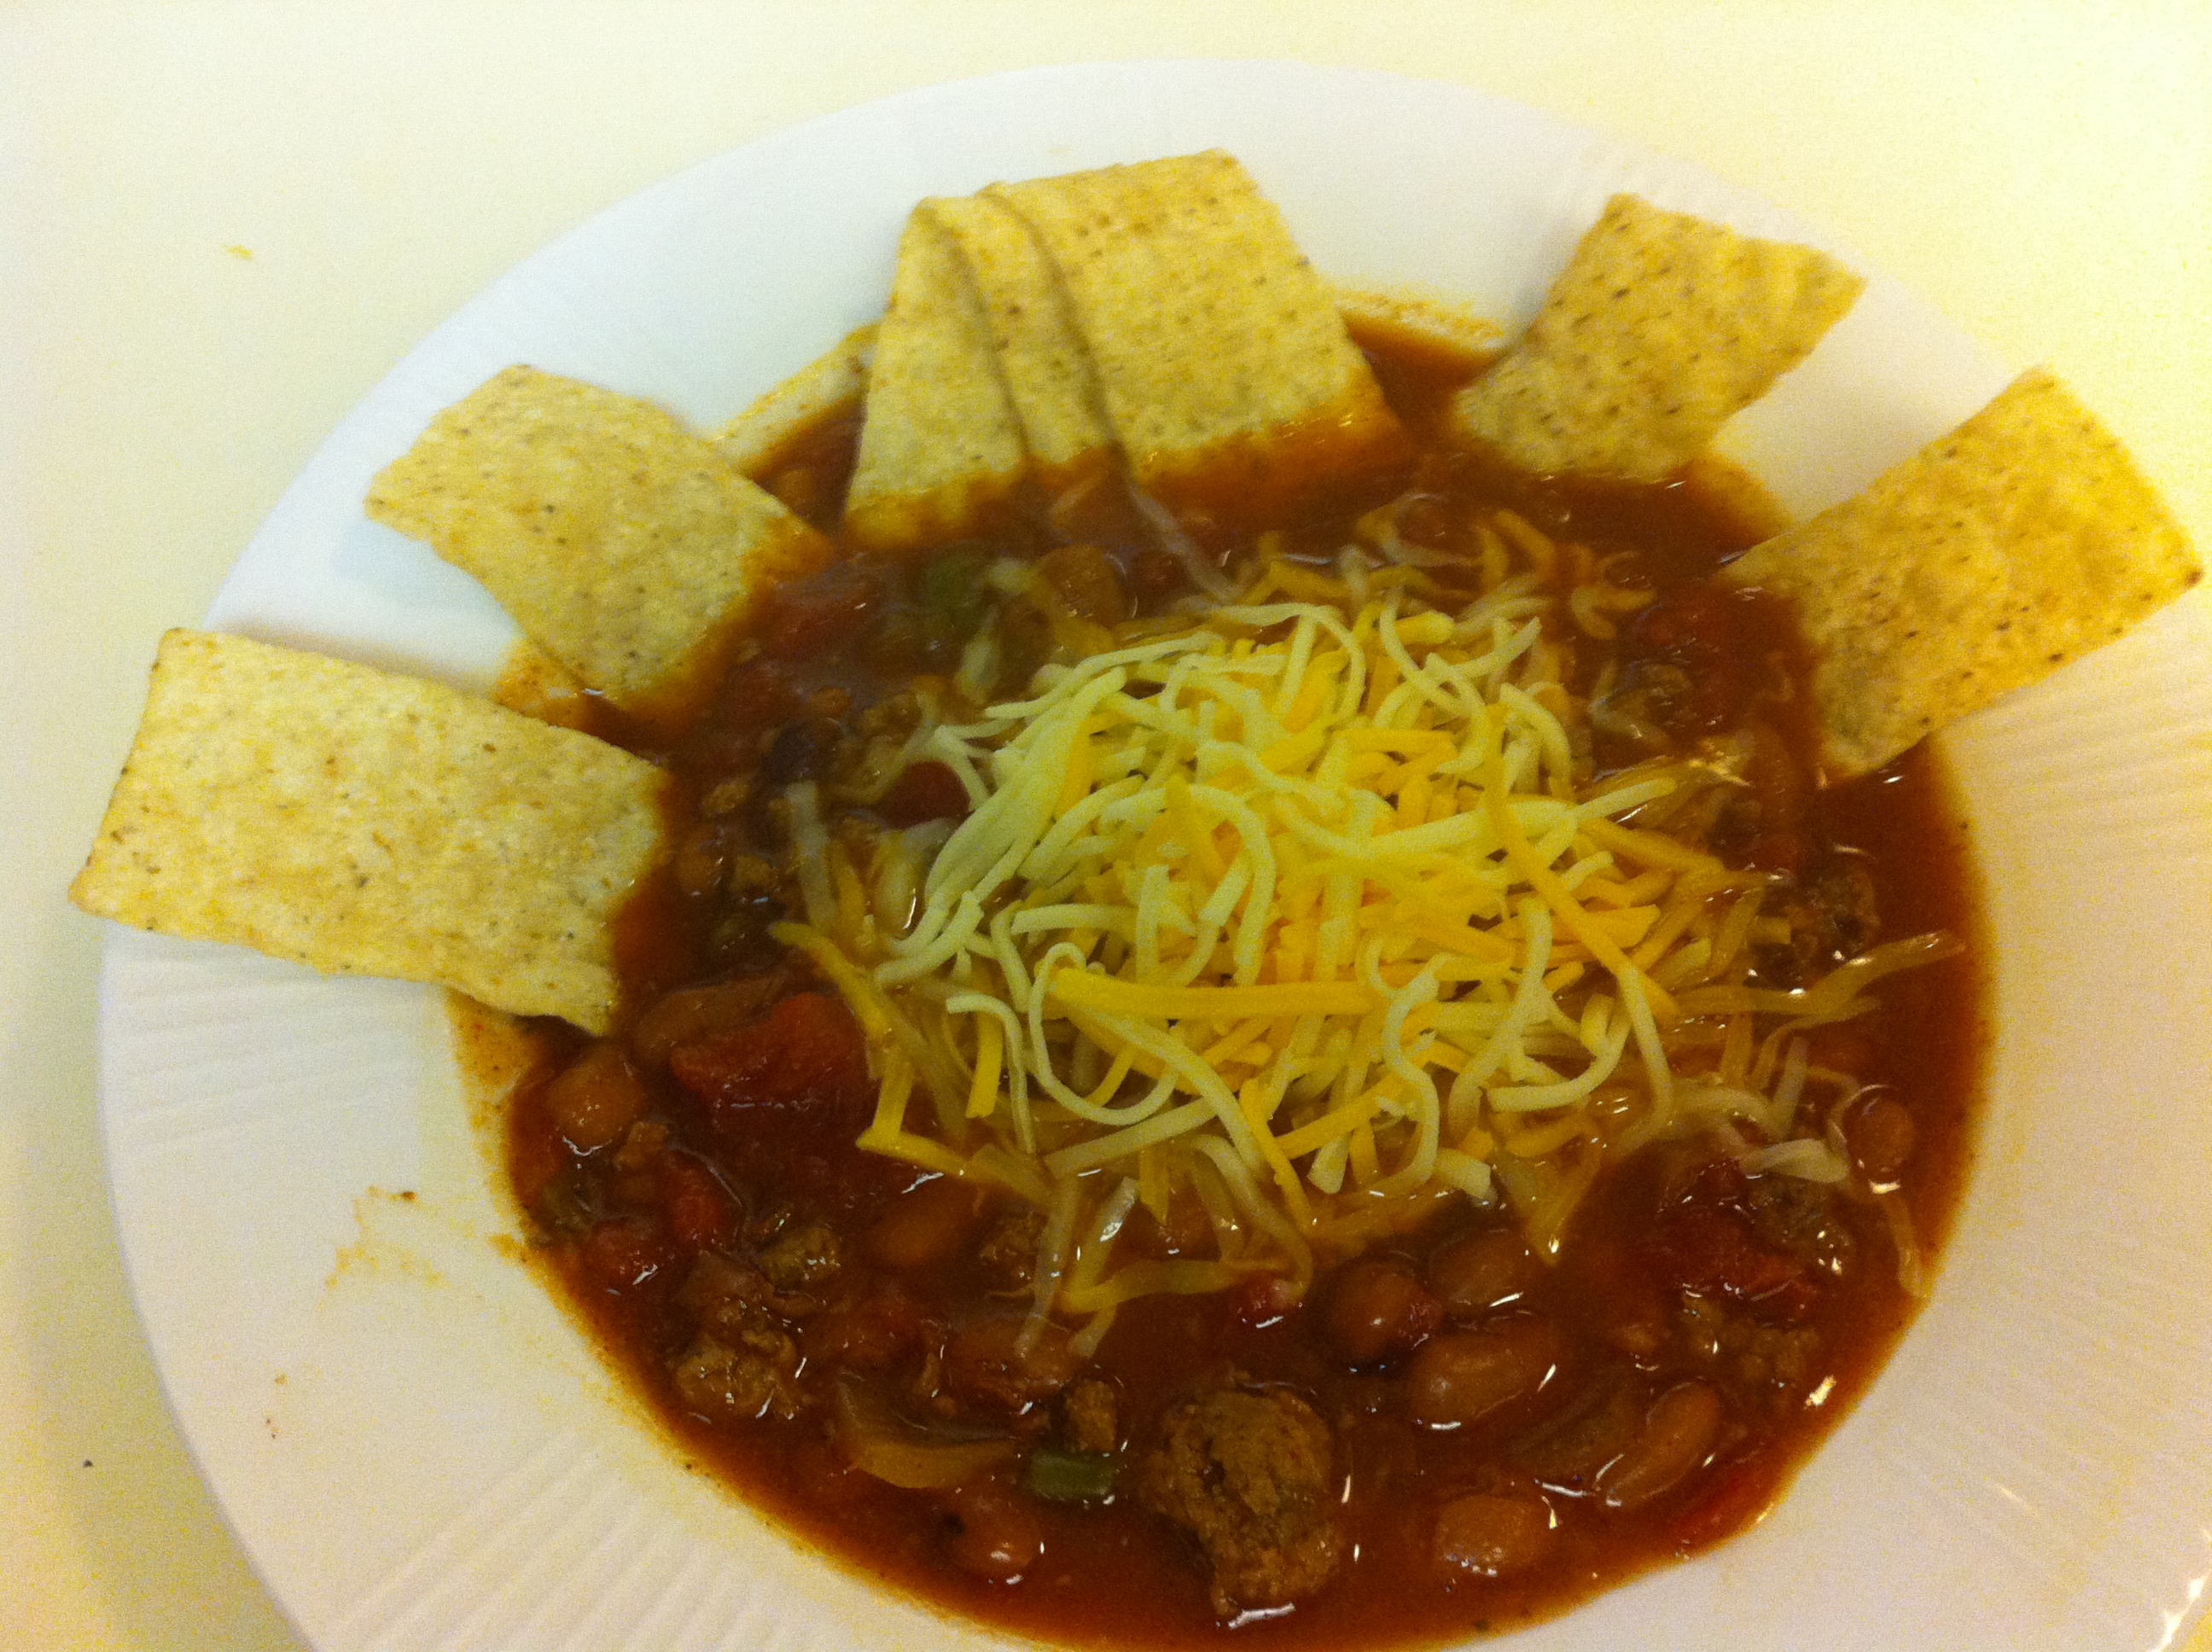
Cold weather means it’s chili time! My mother’s traditional red chili is still a favorite of mine, but I confess I now used canned, diced or crushed tomatoes instead of whole tomatoes.
When I was a child, the only thing served with chili was saltines. Who knew there were so many ways to serve Chili (or is it Chile?).
Now I have been awakened the versatility of chili and how to serve it. Here are a few of my favorites:
Chili served on top a baked potato with shredded cheese (add sour cream if desired)
Chili served on top of a half of peeled and seeded avocado
Chili with crushed tortilla chips, shredded cheese, green onions
Chili with cornbread
Chili on top of hot dogs with onion
Red Chili on baked potato with grated cheese
What are unique ways that you serve chili?
Today, I am sharing my Mother’s chili recipe. Add as much chili powder or crushed peppers as desired and enjoy!
MOM’S RED CHILI
1 pound ground beef
1 medium onion, chopped
1/2 cup chopped green bell pepper
1 can chili beans
1 quart tomatoes (I prefer crushed)
1 tablespoon sugar
chili powder to taste
salt & pepper
Brown and drain hamburger. Add onions and cook until tender.
Add rest of ingredients and simmer, covered, for 1 hour.
Red Chili simmers
Serve naked (as is) or with chopped onions, cheese, tortilla chips, crackers or try one of the versions listed above.
My mother made a very mild, traditional Midwestern tomato chile. As a child, I was not fond of the chili because of the perceived HUGE tomatoes chunks my mother would add from her stash of home-canned tomatoes. How I long for her homemade red chile now.
In my late 20s, I moved to Arizona and then settled in Colorado and was introduced to green chile. Trust me, in Iowa, the spiciest thing you would come across was a pickled pepper! Green chile sounded like red chile gone bad until I tasted it. Oh my gosh, it was a spoonful of heaven upon any burrito, relleno, or enchilada that came my way.
I love the smell of fresh roasted chiles at the Farmer’s Markets in the fall. I can peel and eat them fresh and warm and if any are remaining, I use them in green chile or freeze them (after peeling and seeding) for future use.
One of my favorite green chili recipes is:
GREEN CHILE
3 tablespoons vegetable oil
2 pounds lean pork, cubed
1 medium onion, cut into large chunks
2 cloves garlic, minced
salt and pepper
28 ounce can whole peeled tomatoes
8-10 Anaheim chiles, roasted, peeled, seeded and chopped
2 cups water
1 1/2 tablespoons flour
1/3 cup water
flour tortillas, warmed
Heat oil in large stockpot. Add pork, onion, garlic, salt and pepper. Saute until pork is browned.
Green Chili — browning pork and onions
Drain juice from tomatoes into stockpot. Chop tomatoes and add to pork with chiles and 2 cups water. Stir well and simmer covered for 45 minutes.
Green Chile–add tomatoes
Whisk together flour and 1/3 cup water until smooth. Add to chile mixture and stir constantly until well blended and slightly thickened.
Cover and simmer for 15 minutes. Serve with warm tortillas or freeze.
Enjoy a nice bowl of chile with a warm tortilla or use it as a sauce for enchiladas, burritos or chile rellenos.
Last month I found myself staring at a new box of Honey-Nut Cheerios in the pantry. The cereal was purchased for guests who decided they liked yogurt better. Oh well…surely I can invent a creative treat…result was Cereal Snackeroos.
This treat was a hit with family, neighbors and older folks at an assisted living center. Get creative…what’s in your pantry?
Cereal Snackeroos
3 cups Honey Nut Cheerios®
3 cups Honey Nut Grahams
1 cup Honey peanuts
1 cup diced orange candy slices (or gumdrops)
1 cup chocolate chips
1 cup Karo syrup
2/3 cup sugar
1 cup peanut butter
Mix the ingredients above in a large bowl. Butter 9×13” pans.
In a small saucepan, combine white Karo and sugar. Bring to boil. Take from heat and stir in peanut butter. Stir until smooth.
Pour over cereal mixture and toss to coat mixture completely. Pour into buttered pans and let cool. Cut into squares. You can decorate the top of each square with an orange slice, if desired.