Do you have dishes that you dream about and can’t wait to have again? Peach Prosciutto Hot Honey Orzo Salad is one of mine. This dish is so easy to make and a wonderful cool salad for those hot summer days.
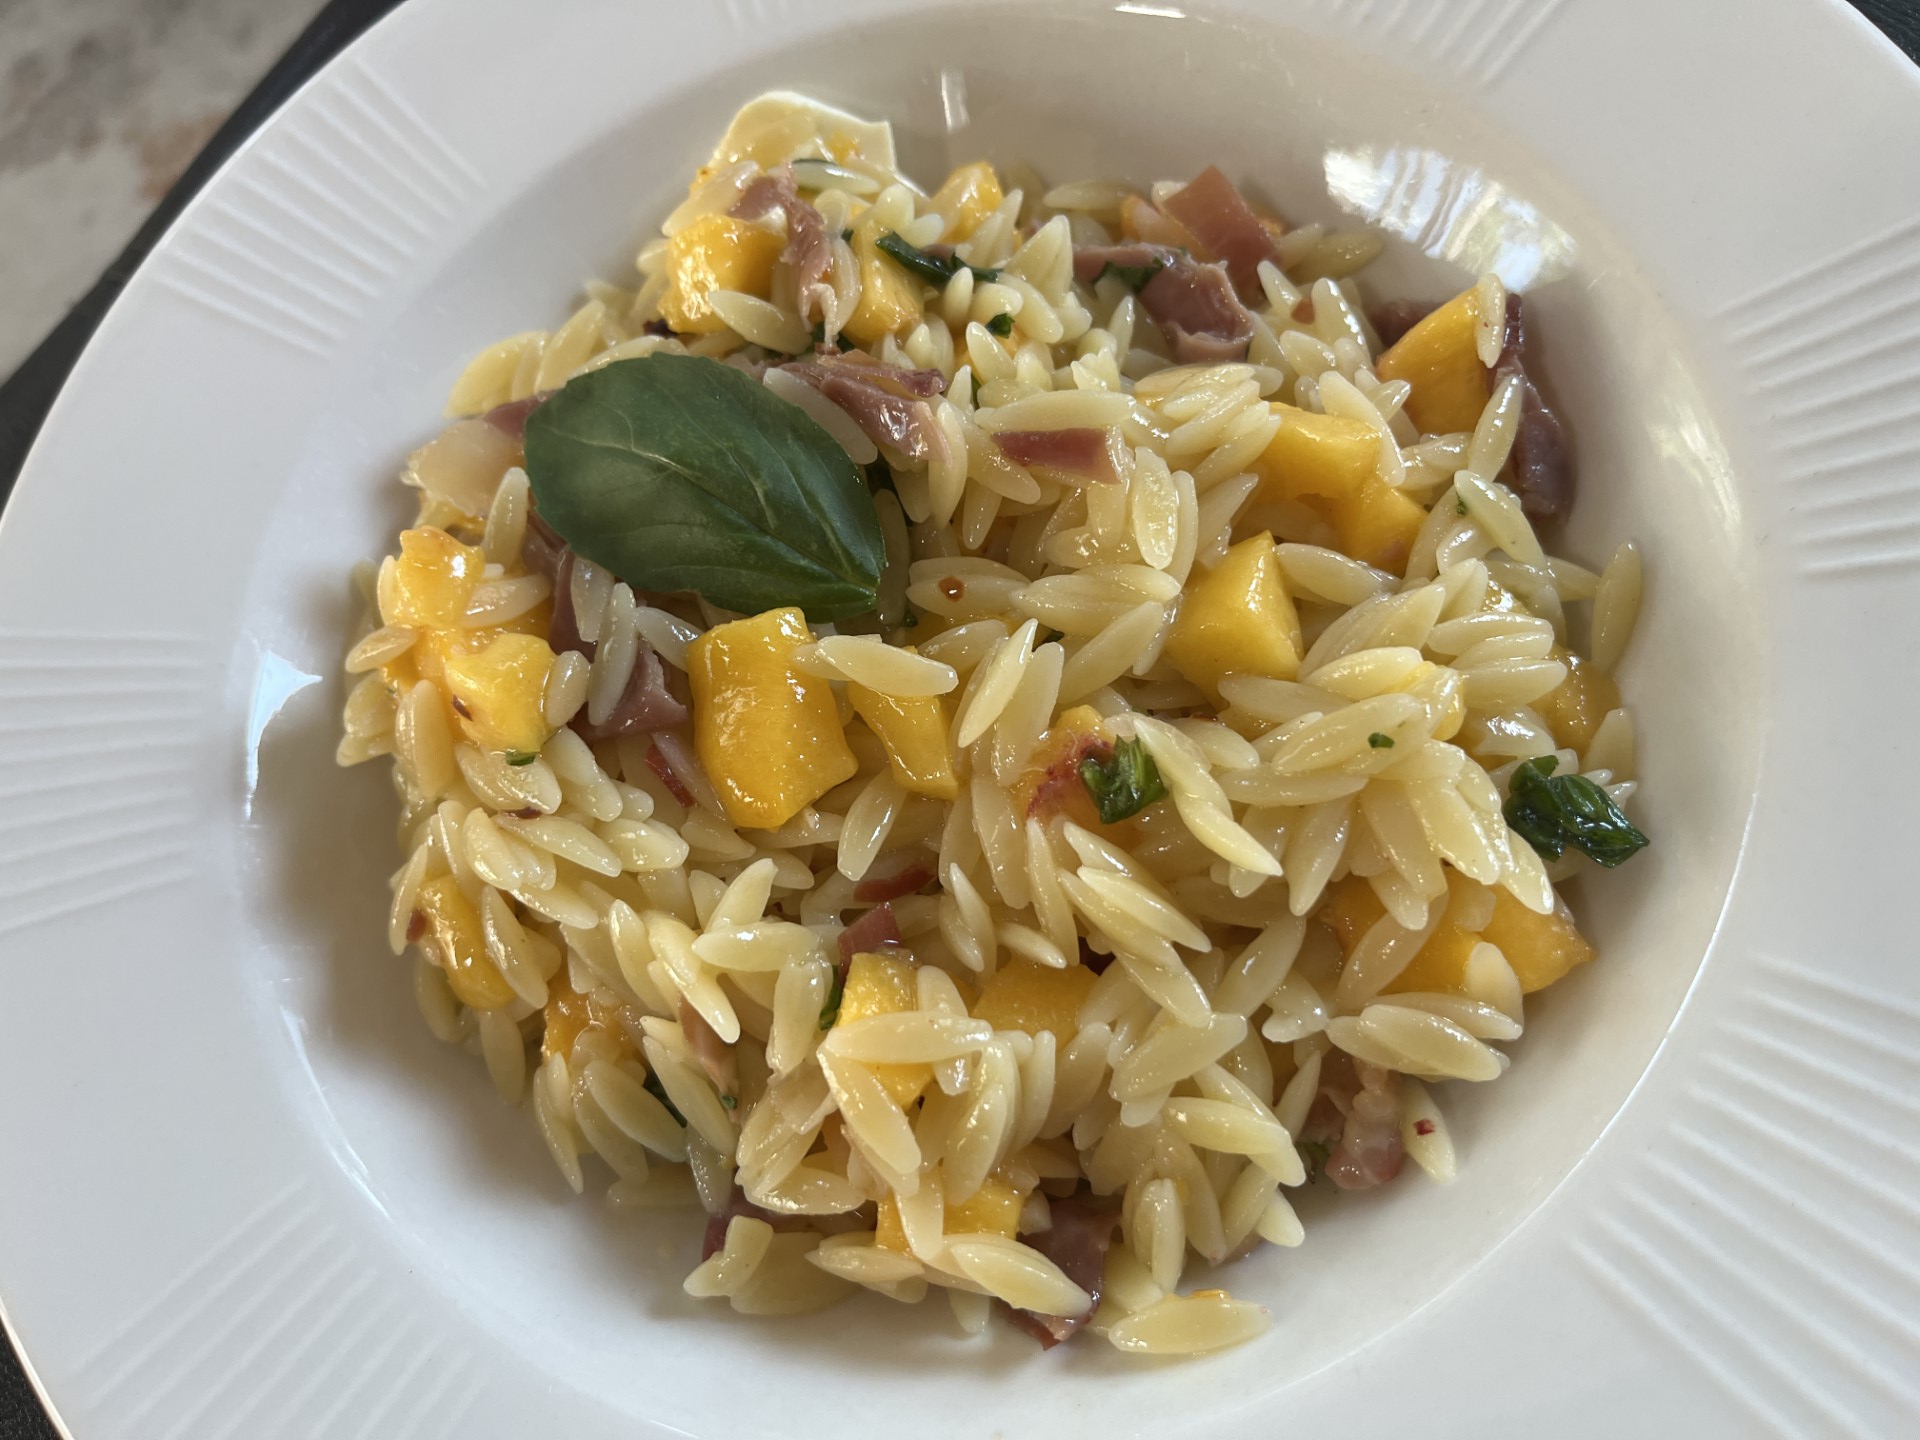
Peach Prosciutto Hot Honey Orzo Salad
INGREDIENTS:
- Hot Honey Vinaigrette
1/2 cup olive oil
2-3 tbsp hot honey*
1 tbsp apple cider vinegar
1 & 1/2 tsp dijon
1 clove garlic, minced
salt to taste - Orzo Salad
4 oz prosciutto or pancetta, chopped
4 cups cooked orzo
2 large yellow peaches, chopped
8 oz mozzarella pearls
1/4 cup fresh chopped basil
DIRECTIONS:
- First make the honey honey vinaigrette by combining all of the ingredients in a jar or container. Mix well and taste. Add more hot honey or salt if desired. Cover and refrigerate until ready to use.
- Add the chopped prosciutto to a skillet over medium heat. Cook until crispy then set aside.
- Assemble your orzo salad by combining orzo, chopped peaches, crispy prosciutto, mozzarella pearls and chopped basil in a large bowl.
- Drizzle on the hot honey vinaigrette. Toss and enjoy!
Recipe from DashofMandi