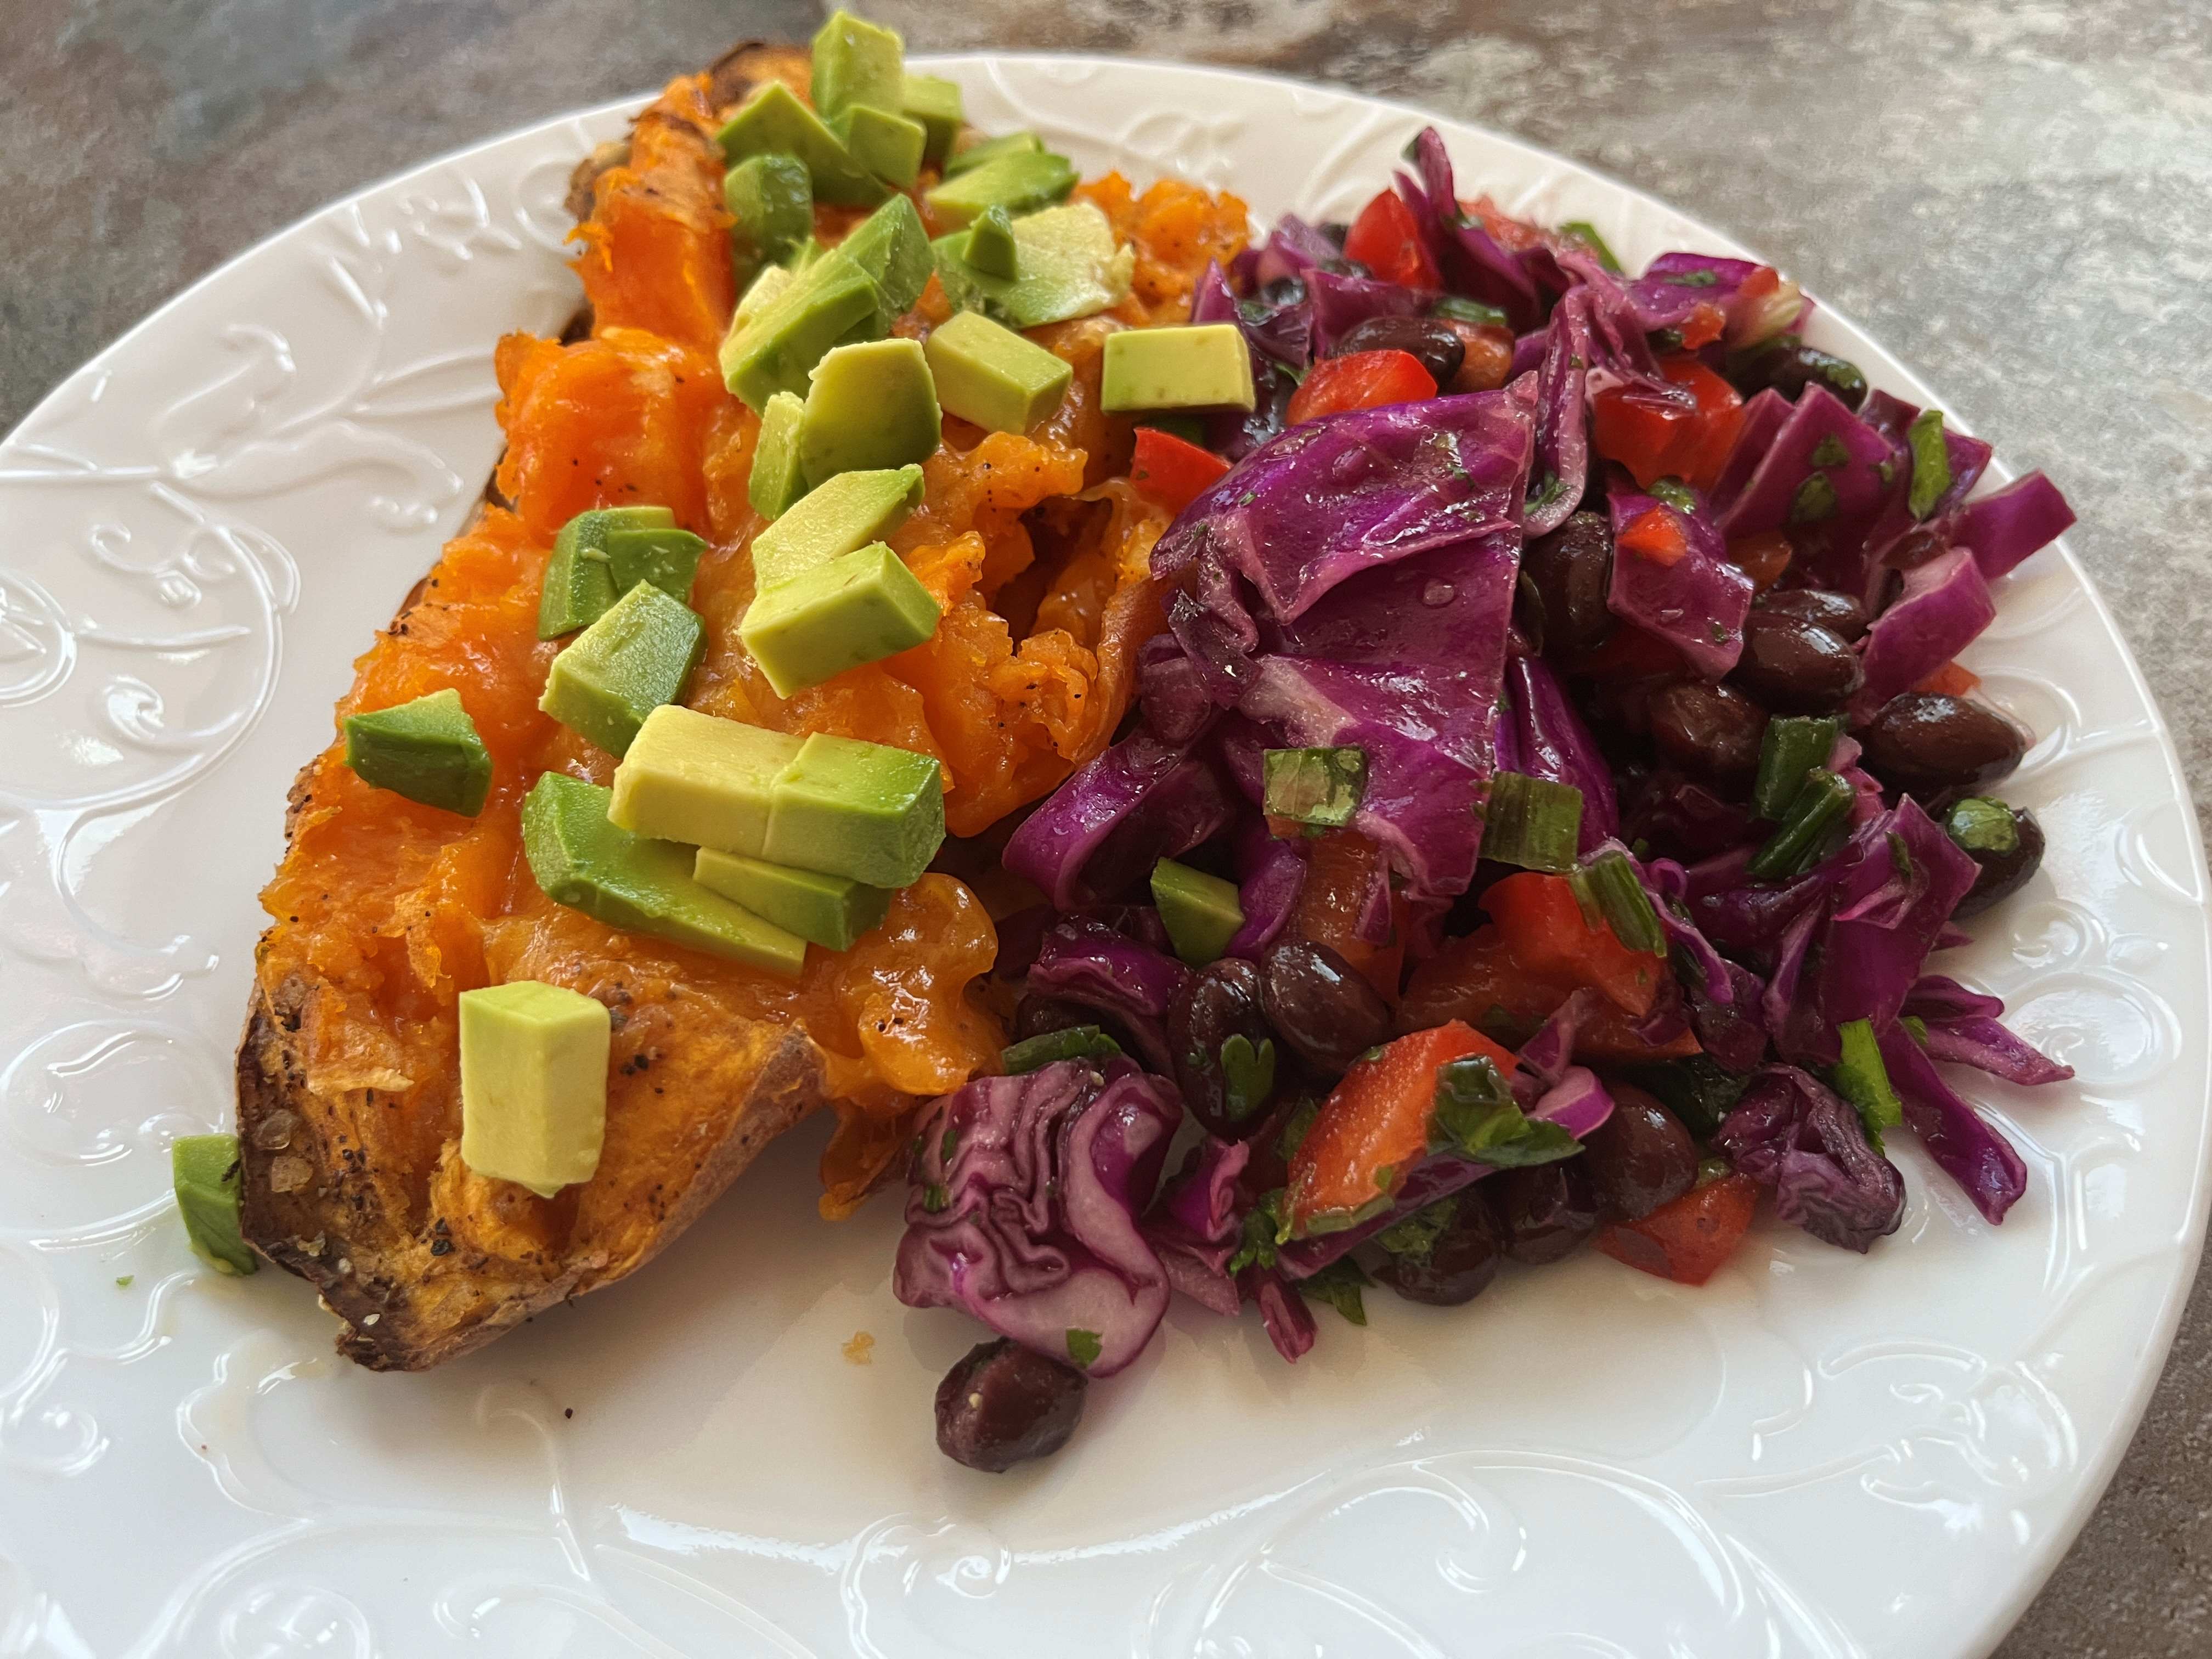
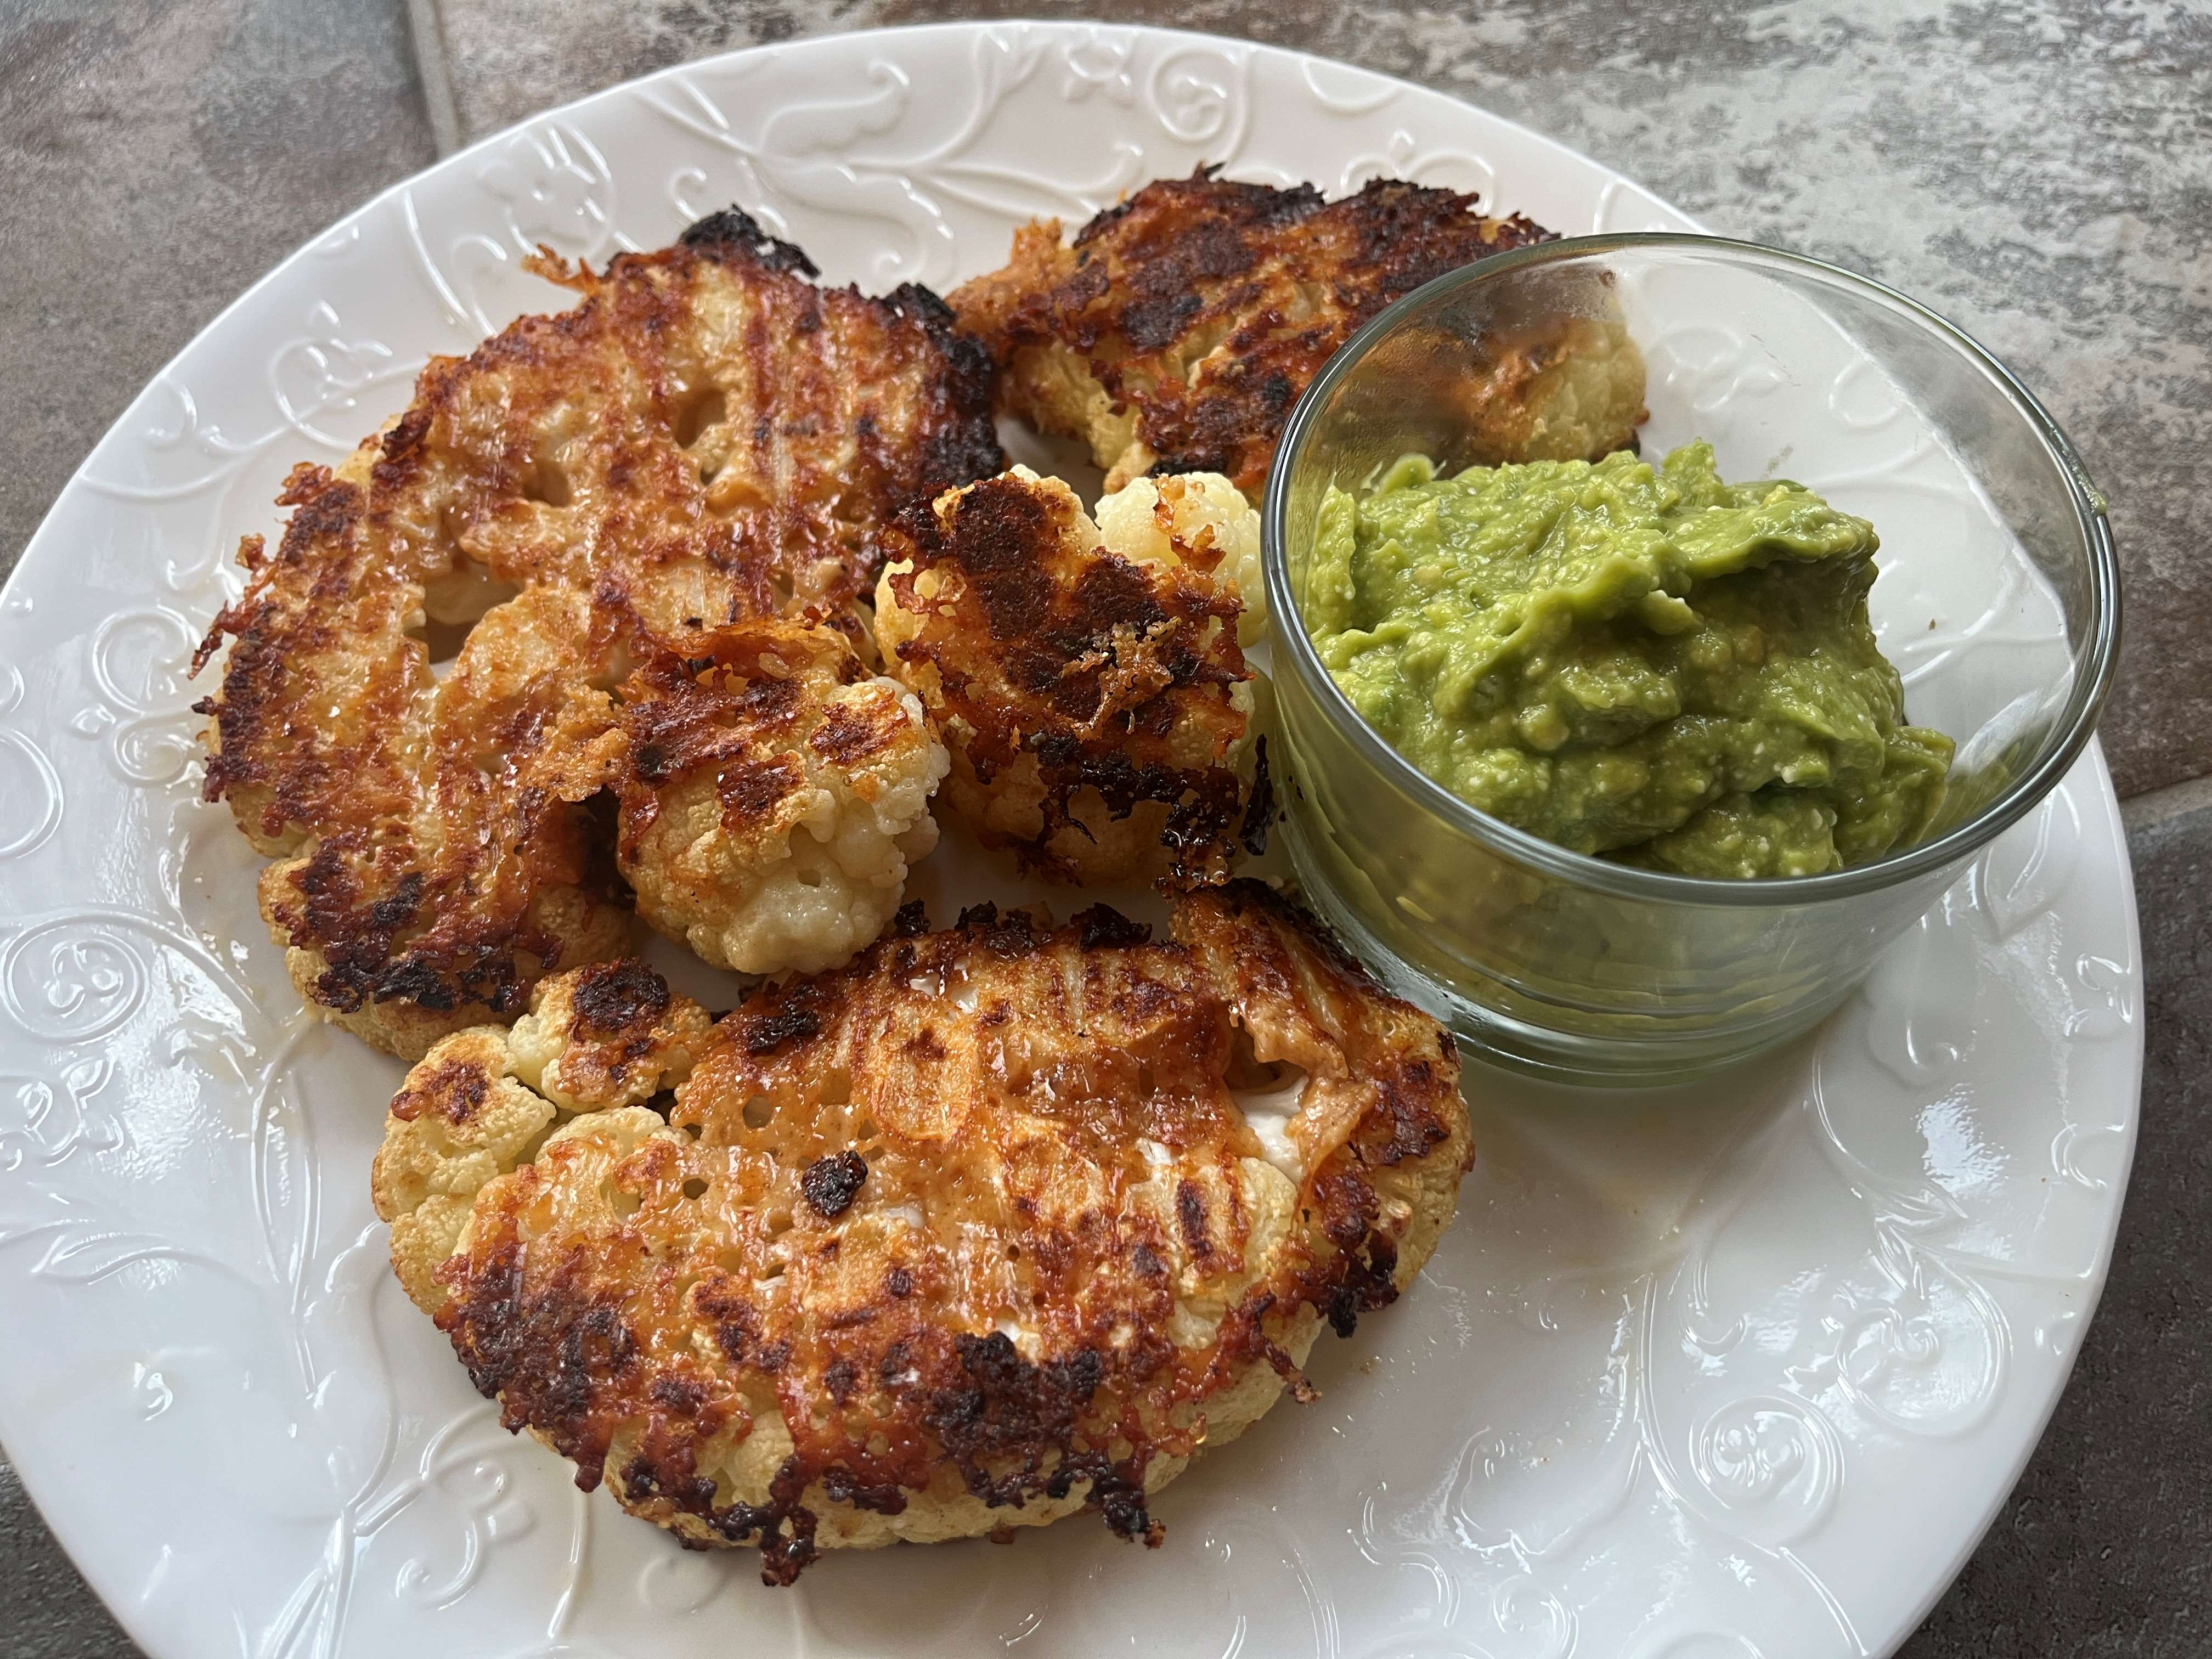
Crispy Brussel Sprout Chips are so delicious. They were wonderful hot (sans dip since I didn’t have the ingredients) and later straight from the frig with Tzatziki dip. I often laugh because, as a kid, I wouldn’t have touched Brussel Sprouts with a ten-foot-pole. It wasn’t until mid-life that I actually ate them roasted and loved them. Never stop trying new things…you might be surprised!
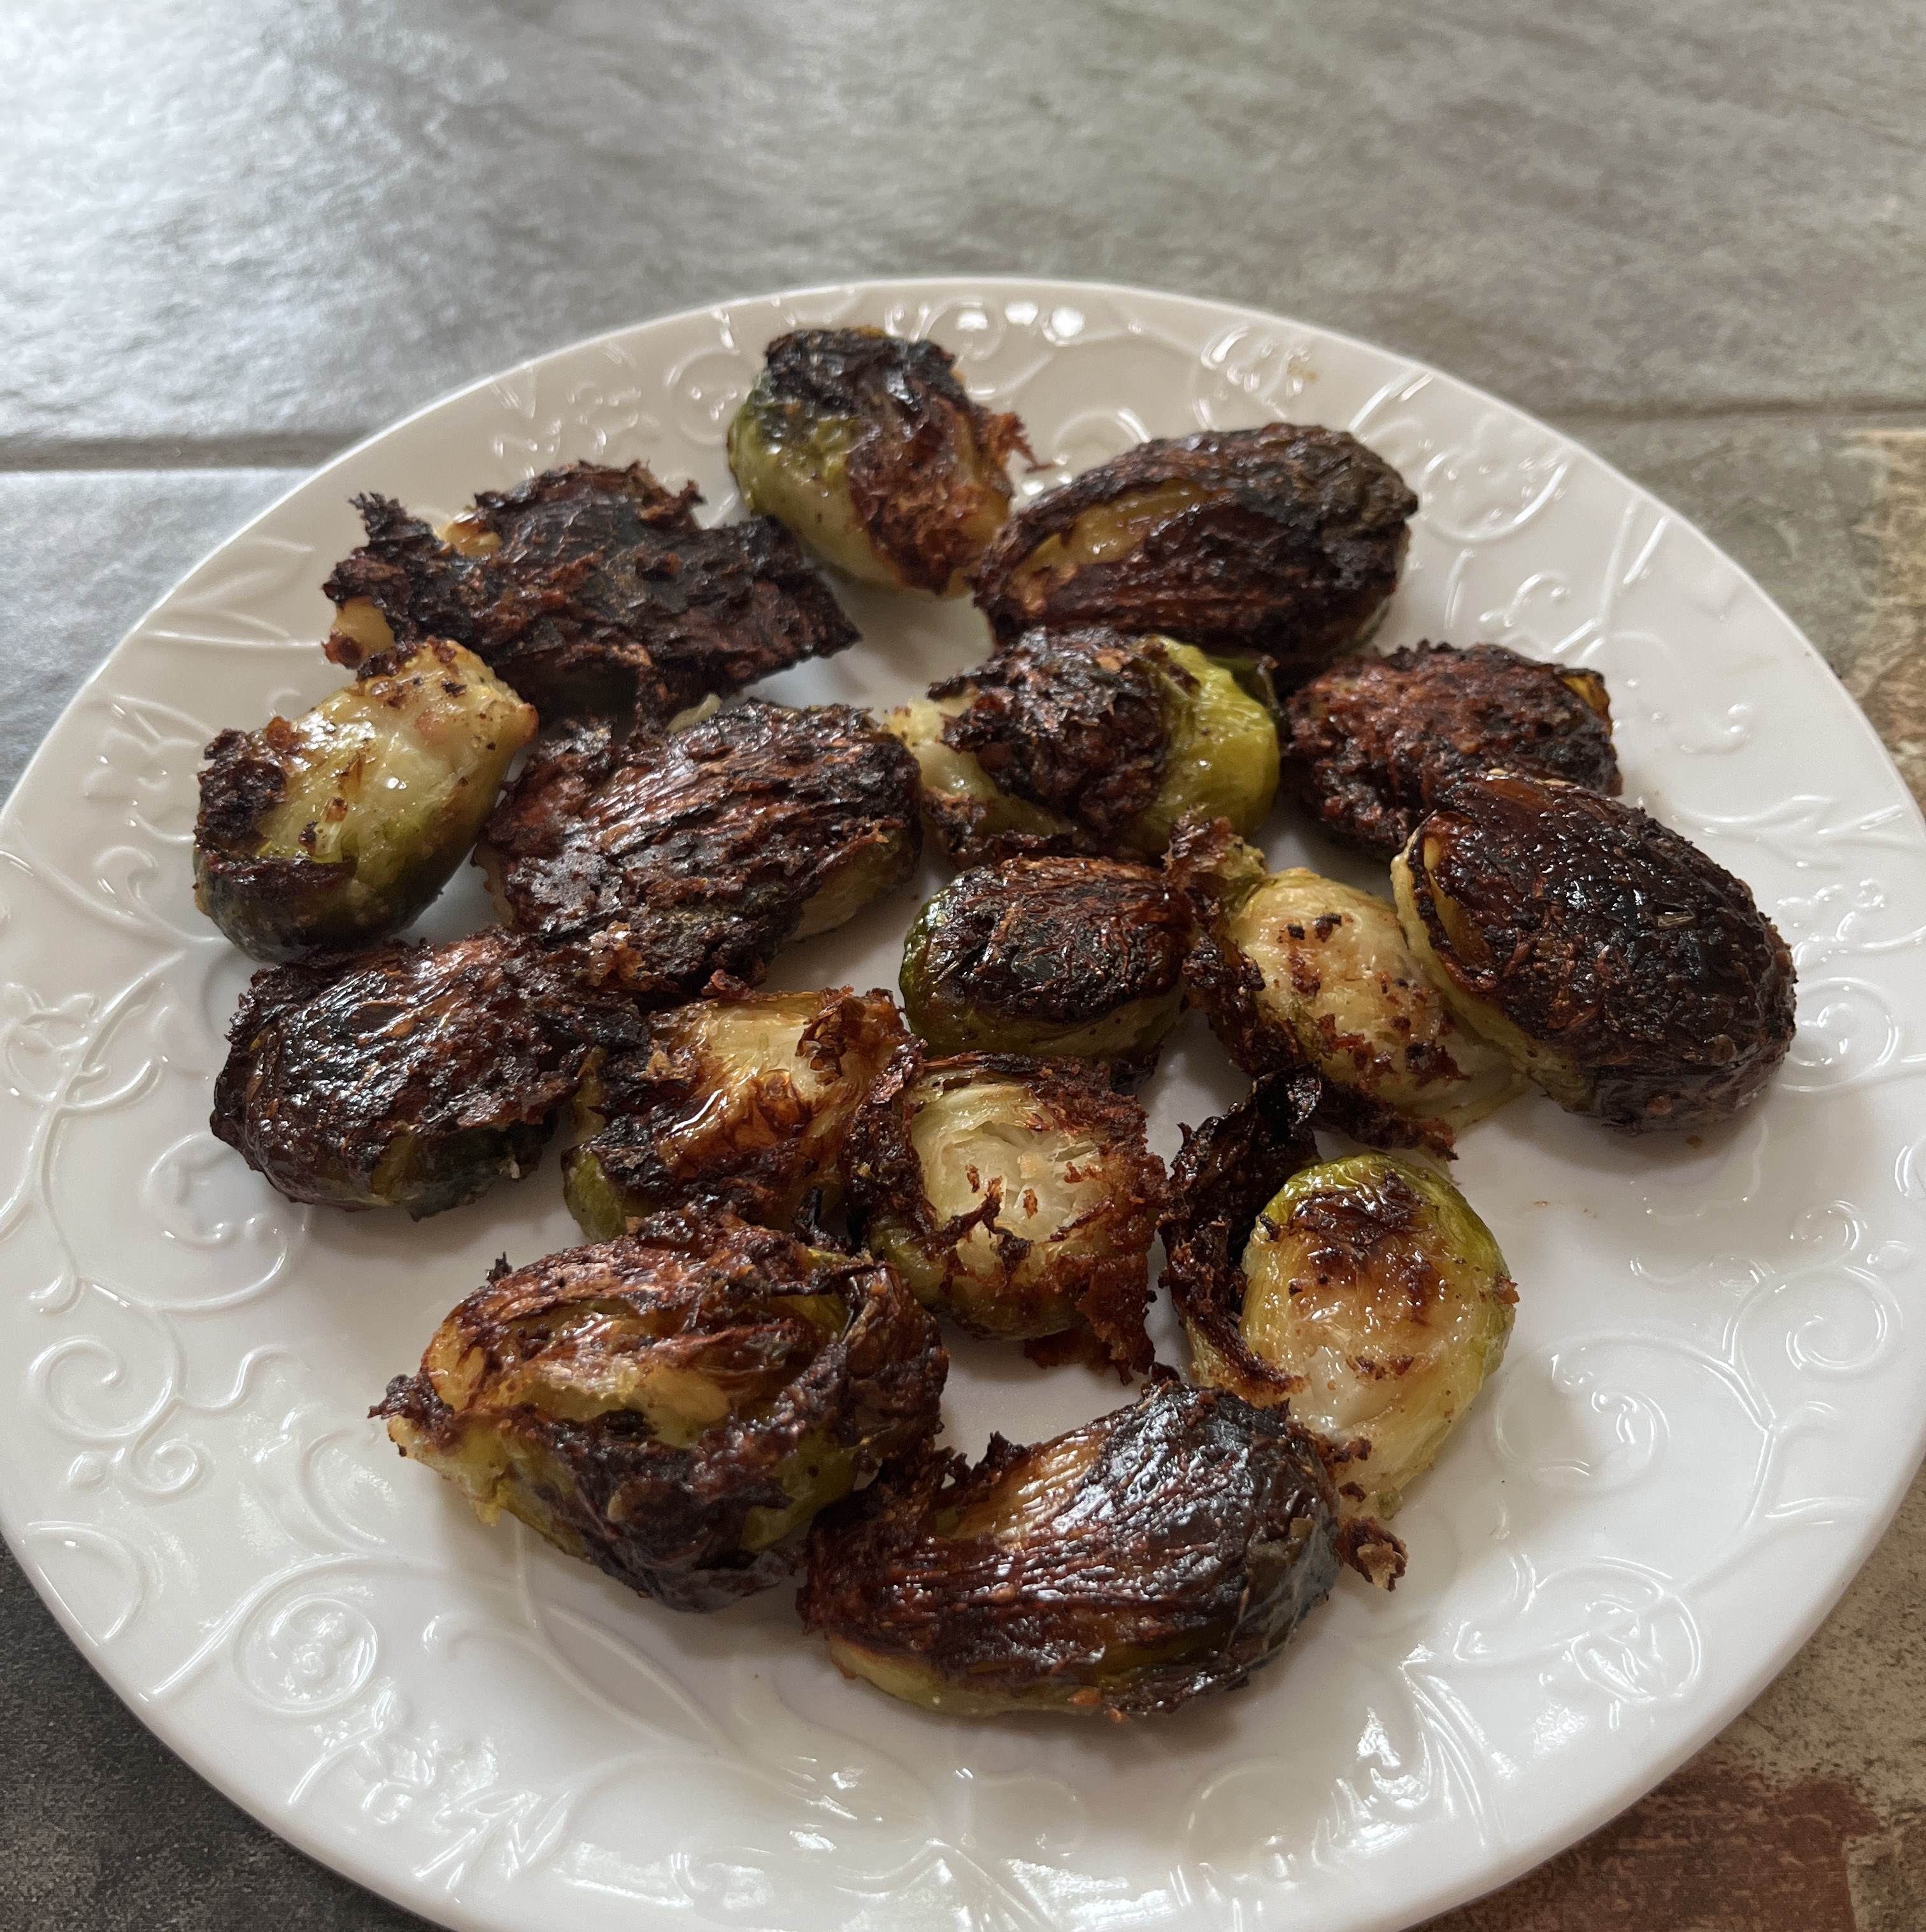
Crispy Brussel Sprout Chips
INGREDIENTS:
- 1½ lbs Brussel Sprouts, stemmed
- 2 tbs olive oil
- 1/4 cup grated parmesan cheese
- 1 tsp garlic powder
- 1 tsp onion powder
- 1/2 tsp chili pepper flakes
- salt and pepper to taste
- 1/2 cup freshly grated parmesan cheese
- garnish with fresh parsley + more cheese
- Dip: Lazy Tzatziki
- 1 cup 5% Greek yogurt
- 1 medium lemon juiced (or 1-2 tbs red wine vinegar)
- 1 tbs olive oil
- 1/2 heaping tsp garlic powder
- 1 tsp dried mint (not fresh)
- salt to taste
- 2 tbps milk (to thin it out)
DIRECTIONS:
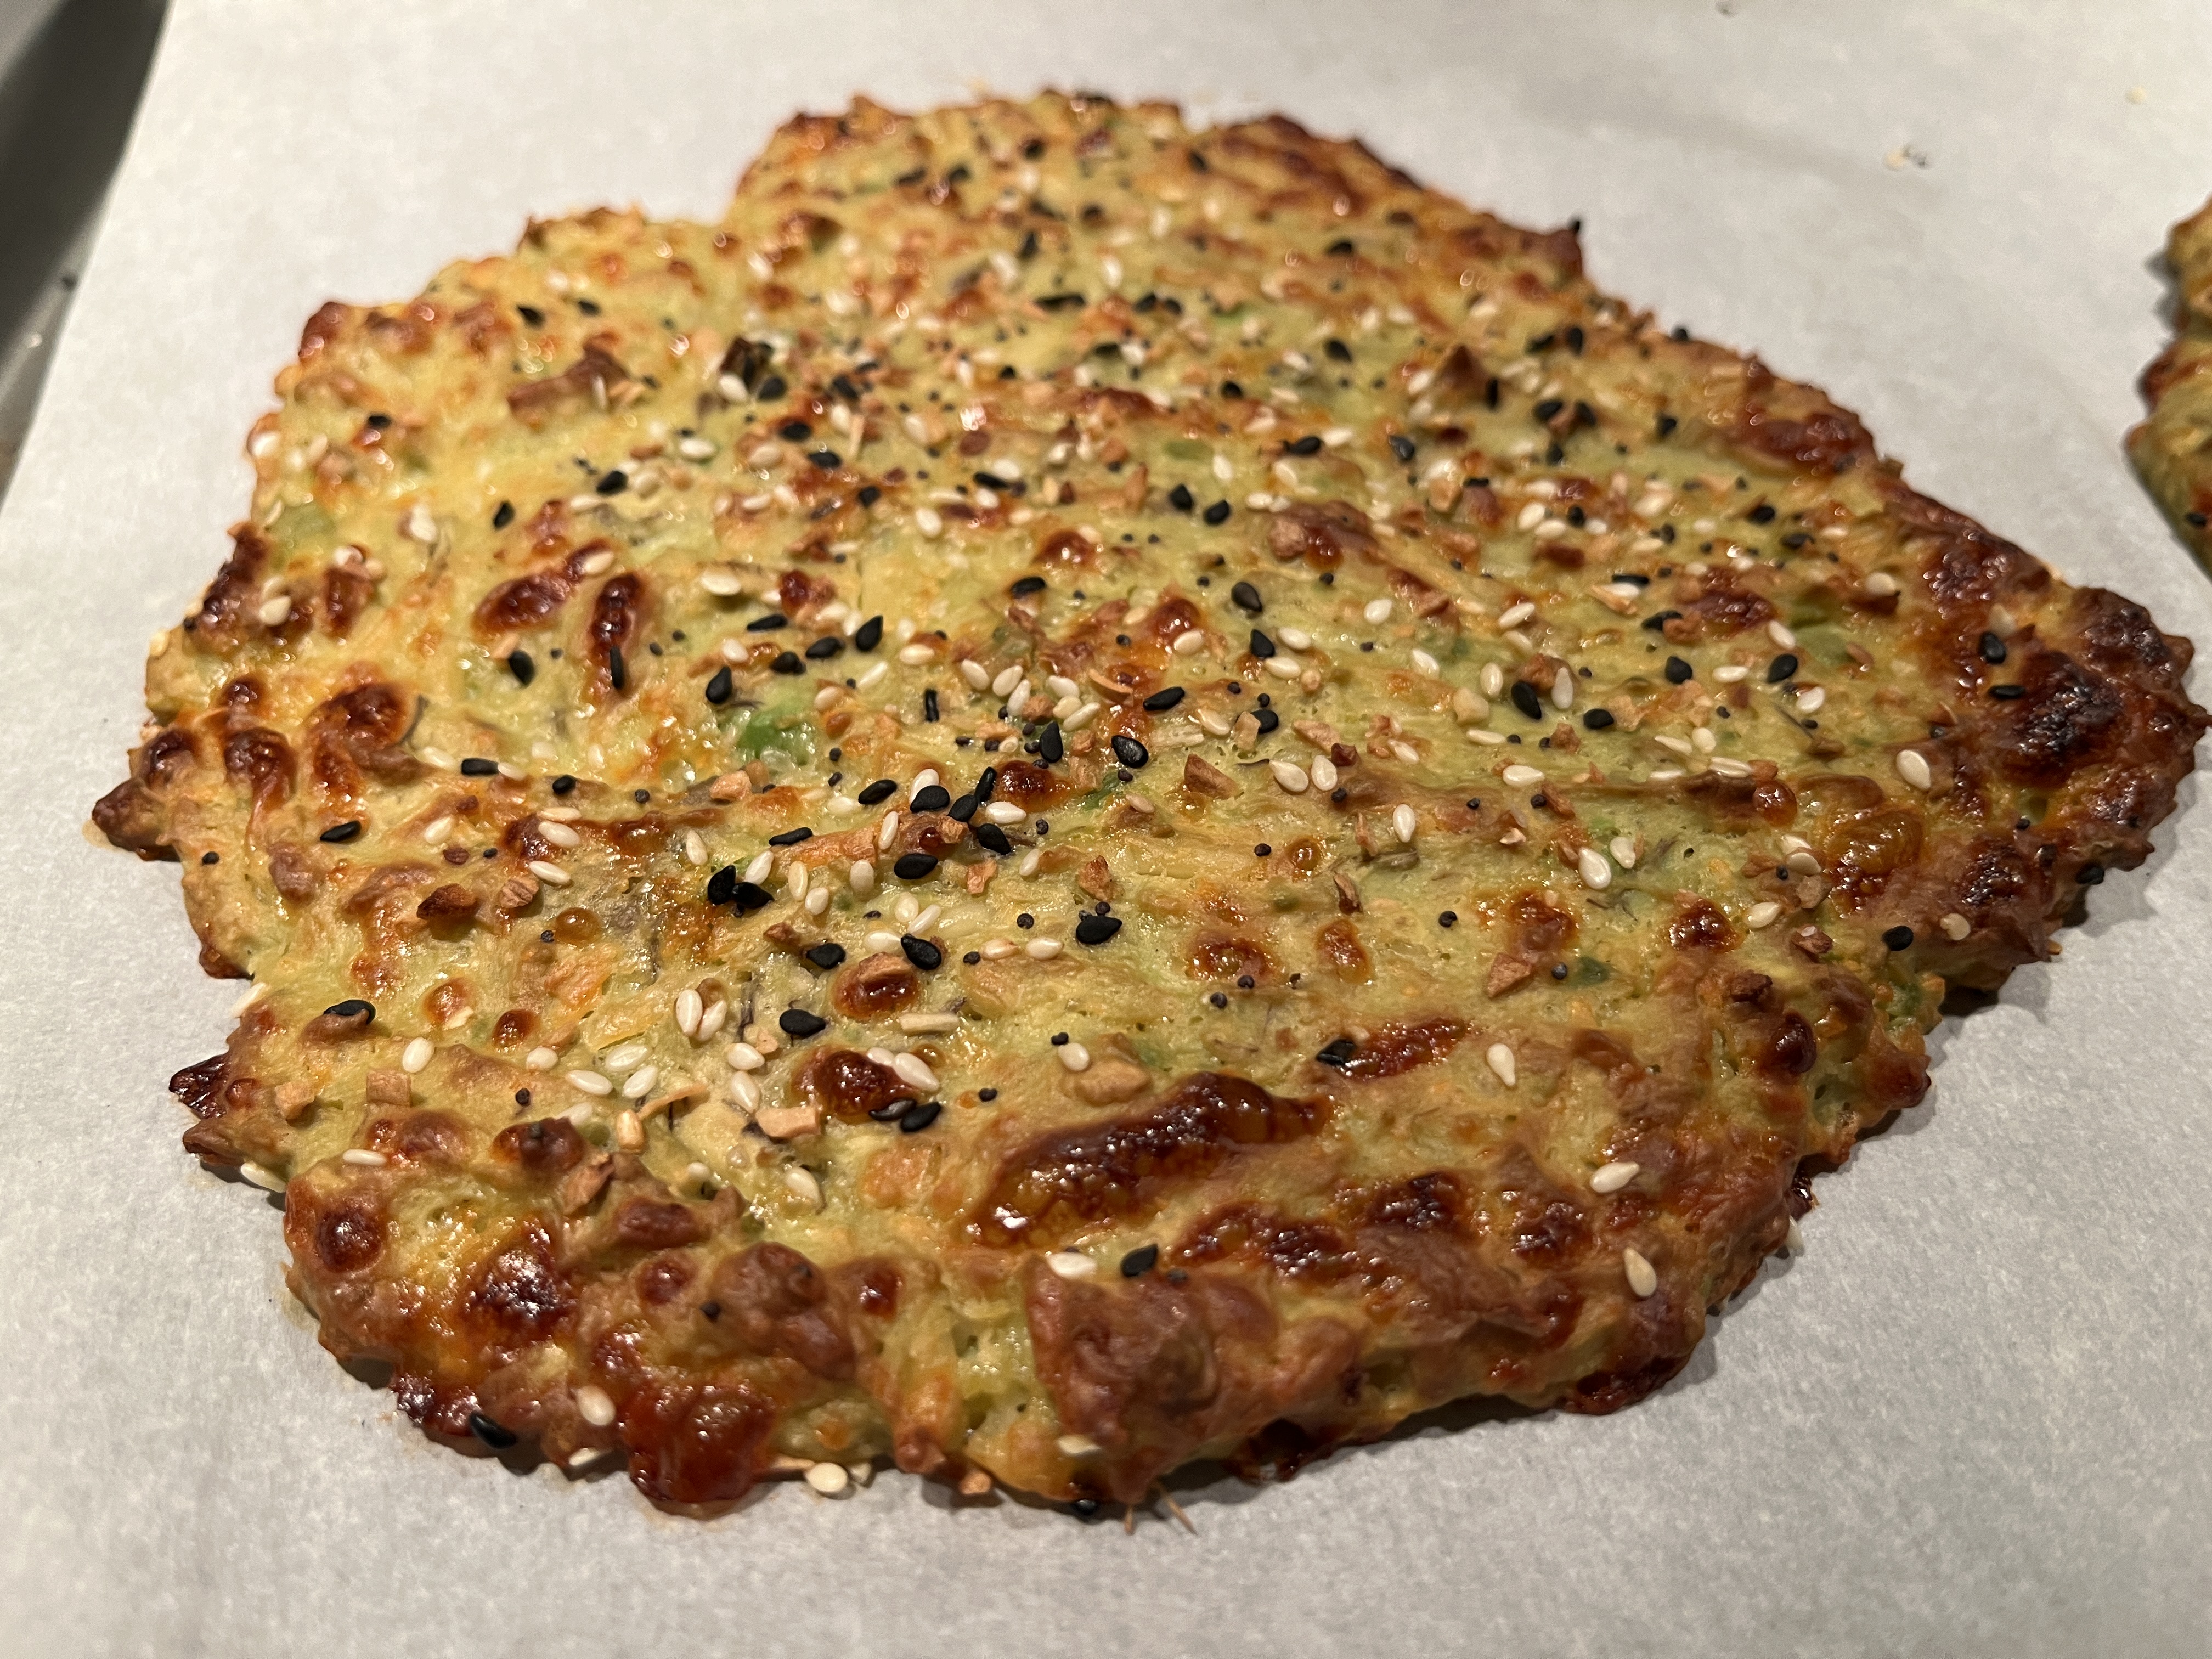
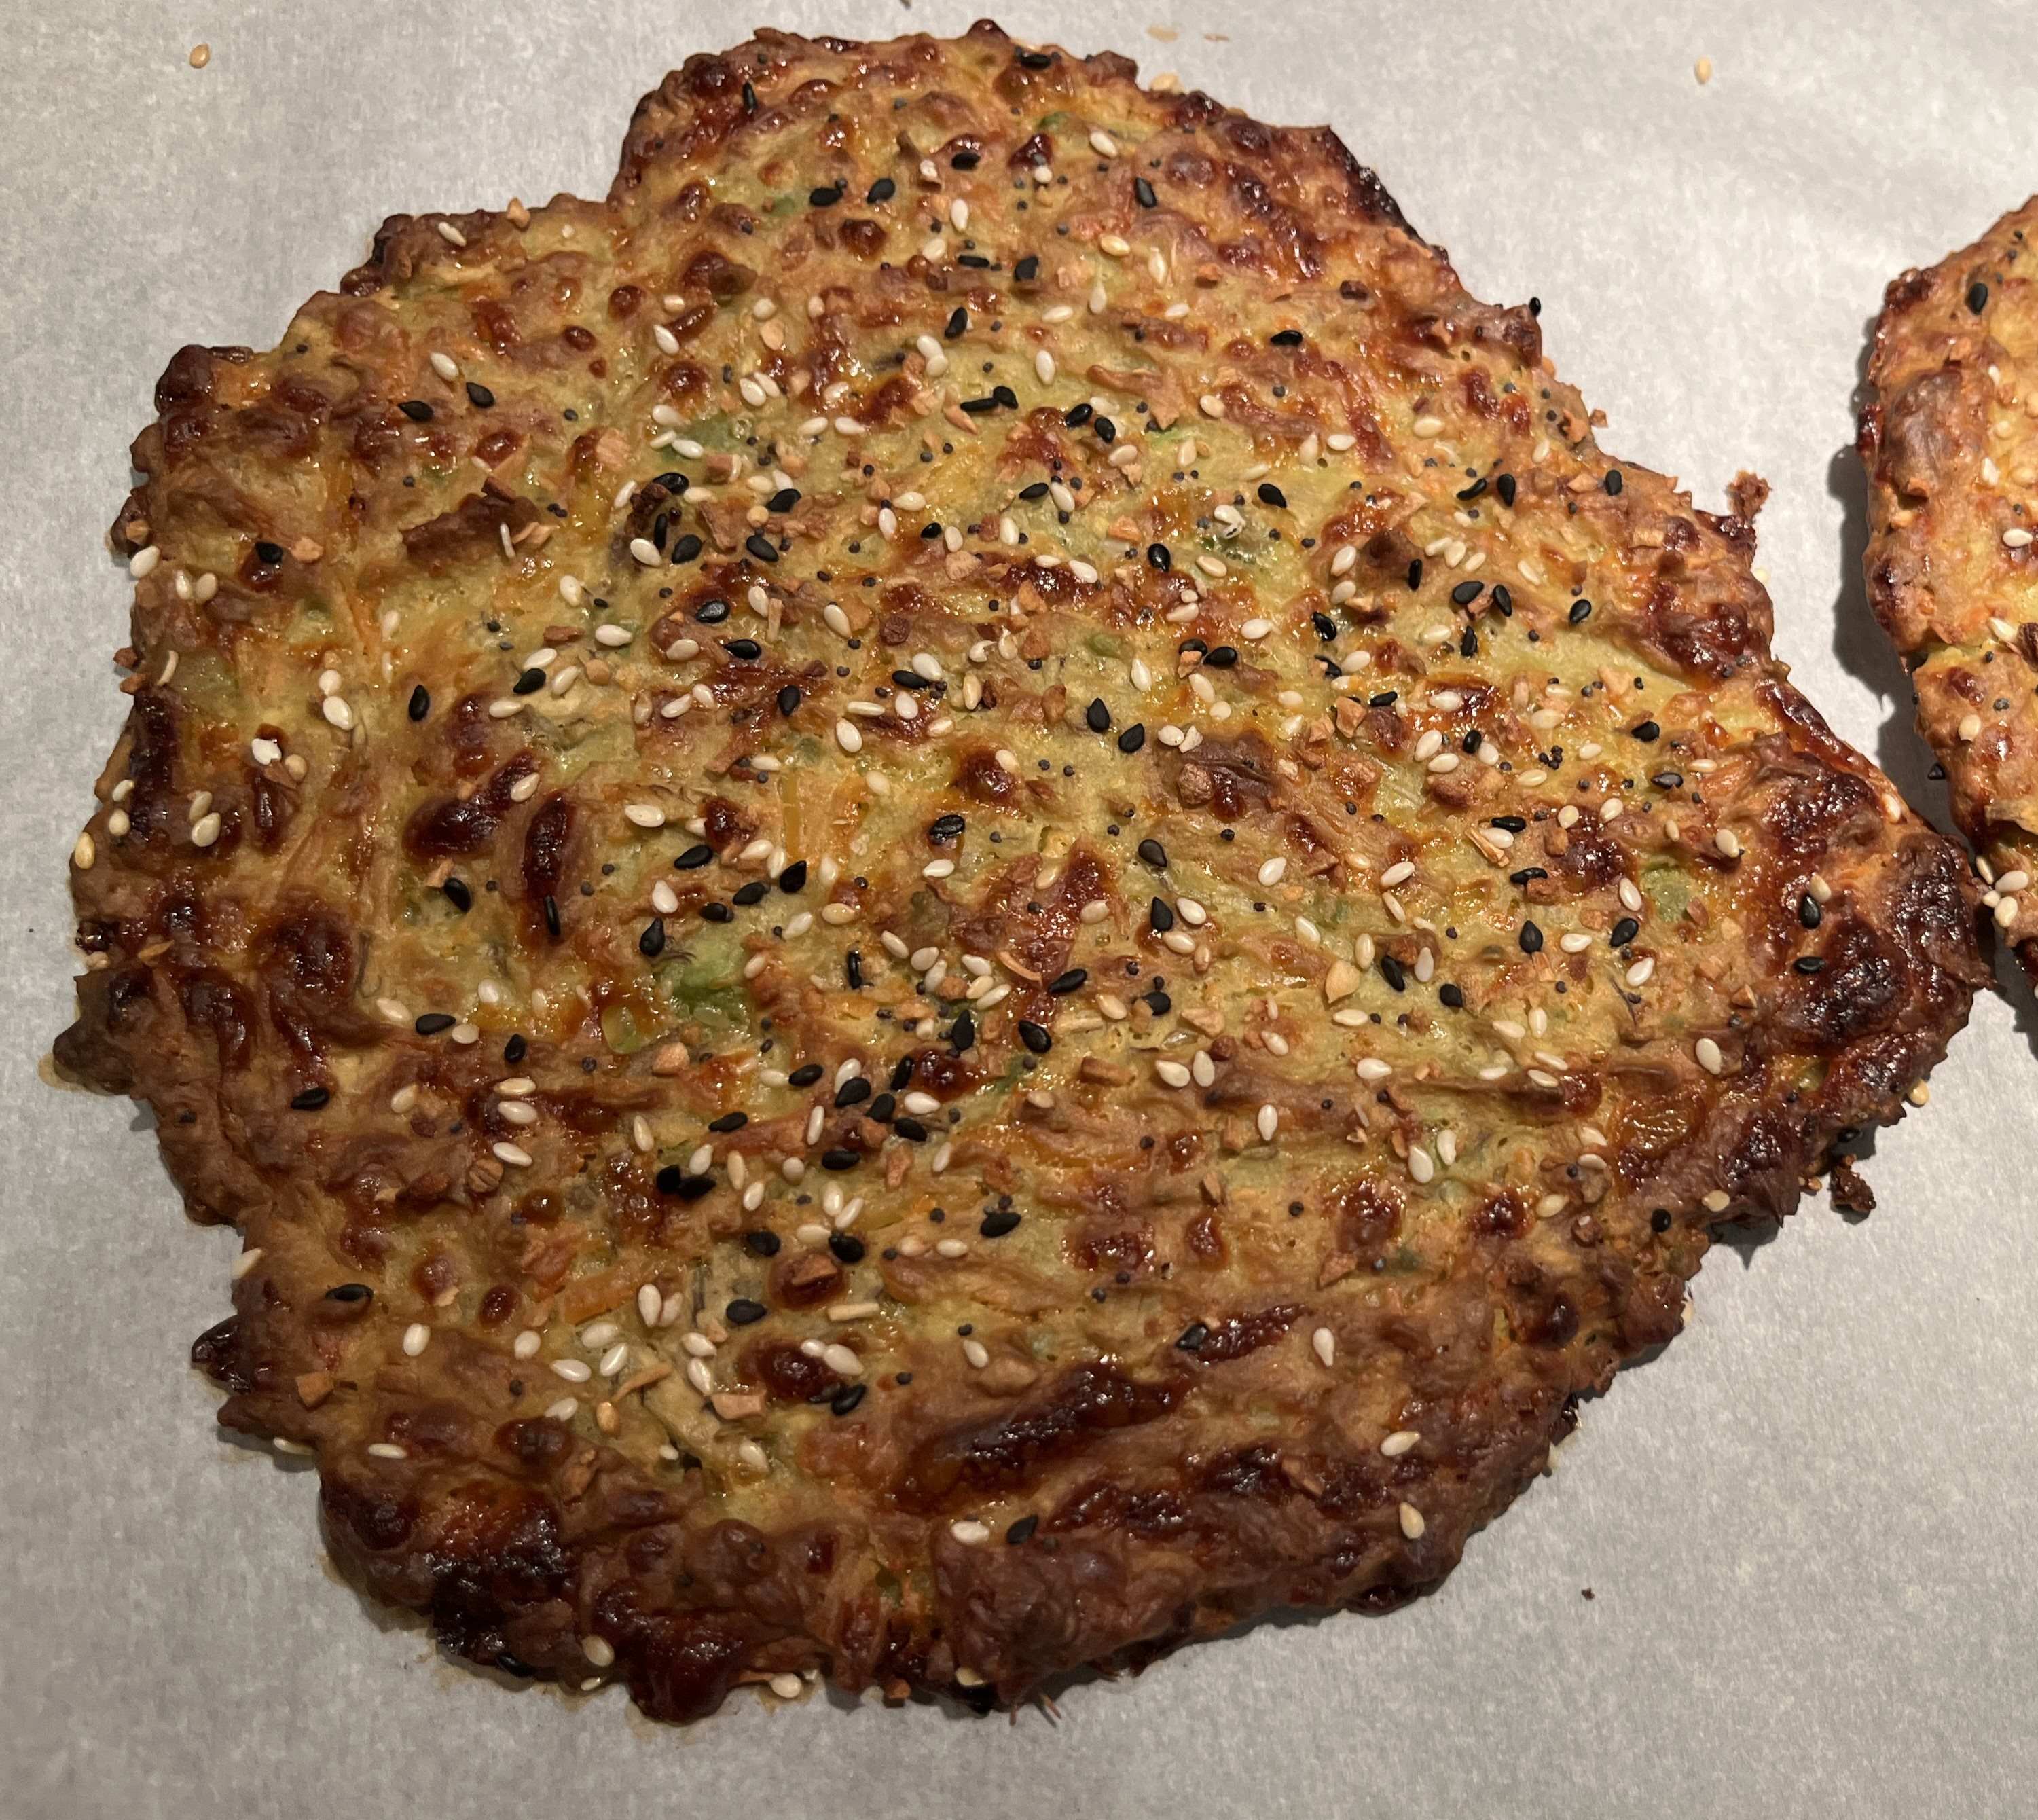
- Preheat your oven to 425° F. In this recipe I prefer not to line my sheet pan with parchment to get them crispy, but many people have stated that it didn’t work out for them so I urge you to do what feels right.
- Bring a pot of water to a boil. Add 2 tsp salt and your brussel sprouts to the pot. Boil until tender and bright green but not full cooked – about 7-8 minutes. Drain and dry the brussel sprouts.
- Add the brussel sprouts, olive oil, 1/4 cup parmesan cheese, garlic powder, onion powder, chili pepper flakes, salt and pepper to taste to a large bowl and toss to coat. Transfer the brussel sprouts to your baking sheet and use a small glass to smash them flat.
- House the freshly grated parmesan in a shallow bowl and take each brussel sprout and dip one side into the cheese. Place them cheese down on the baking sheet and bake for 20-25 minutes or until crispy and golden brown.
- Serve with fresh parsley and more freshly grated parmesan on top.
- Lazy Tzatziki: Whisk together all of the ingredients until smooth. Taste and adjust seasonings if needed. Optional (not shown): Add Sriracha to make this spicy!
Recipe from HungryHappens