Appetizers · Vegetables · Vegetarian

Crispy Parmesan Cauliflower Steaks

Crispy Parmesan Cauliflower Steaks with the Avocado dip are scrumptious! I am a big fan of roasted vegetables and this recipe takes them to a new level. I made it originally as a side dish but it would be great as an appetizer, cutting the steaks into smaller pieces before serving.
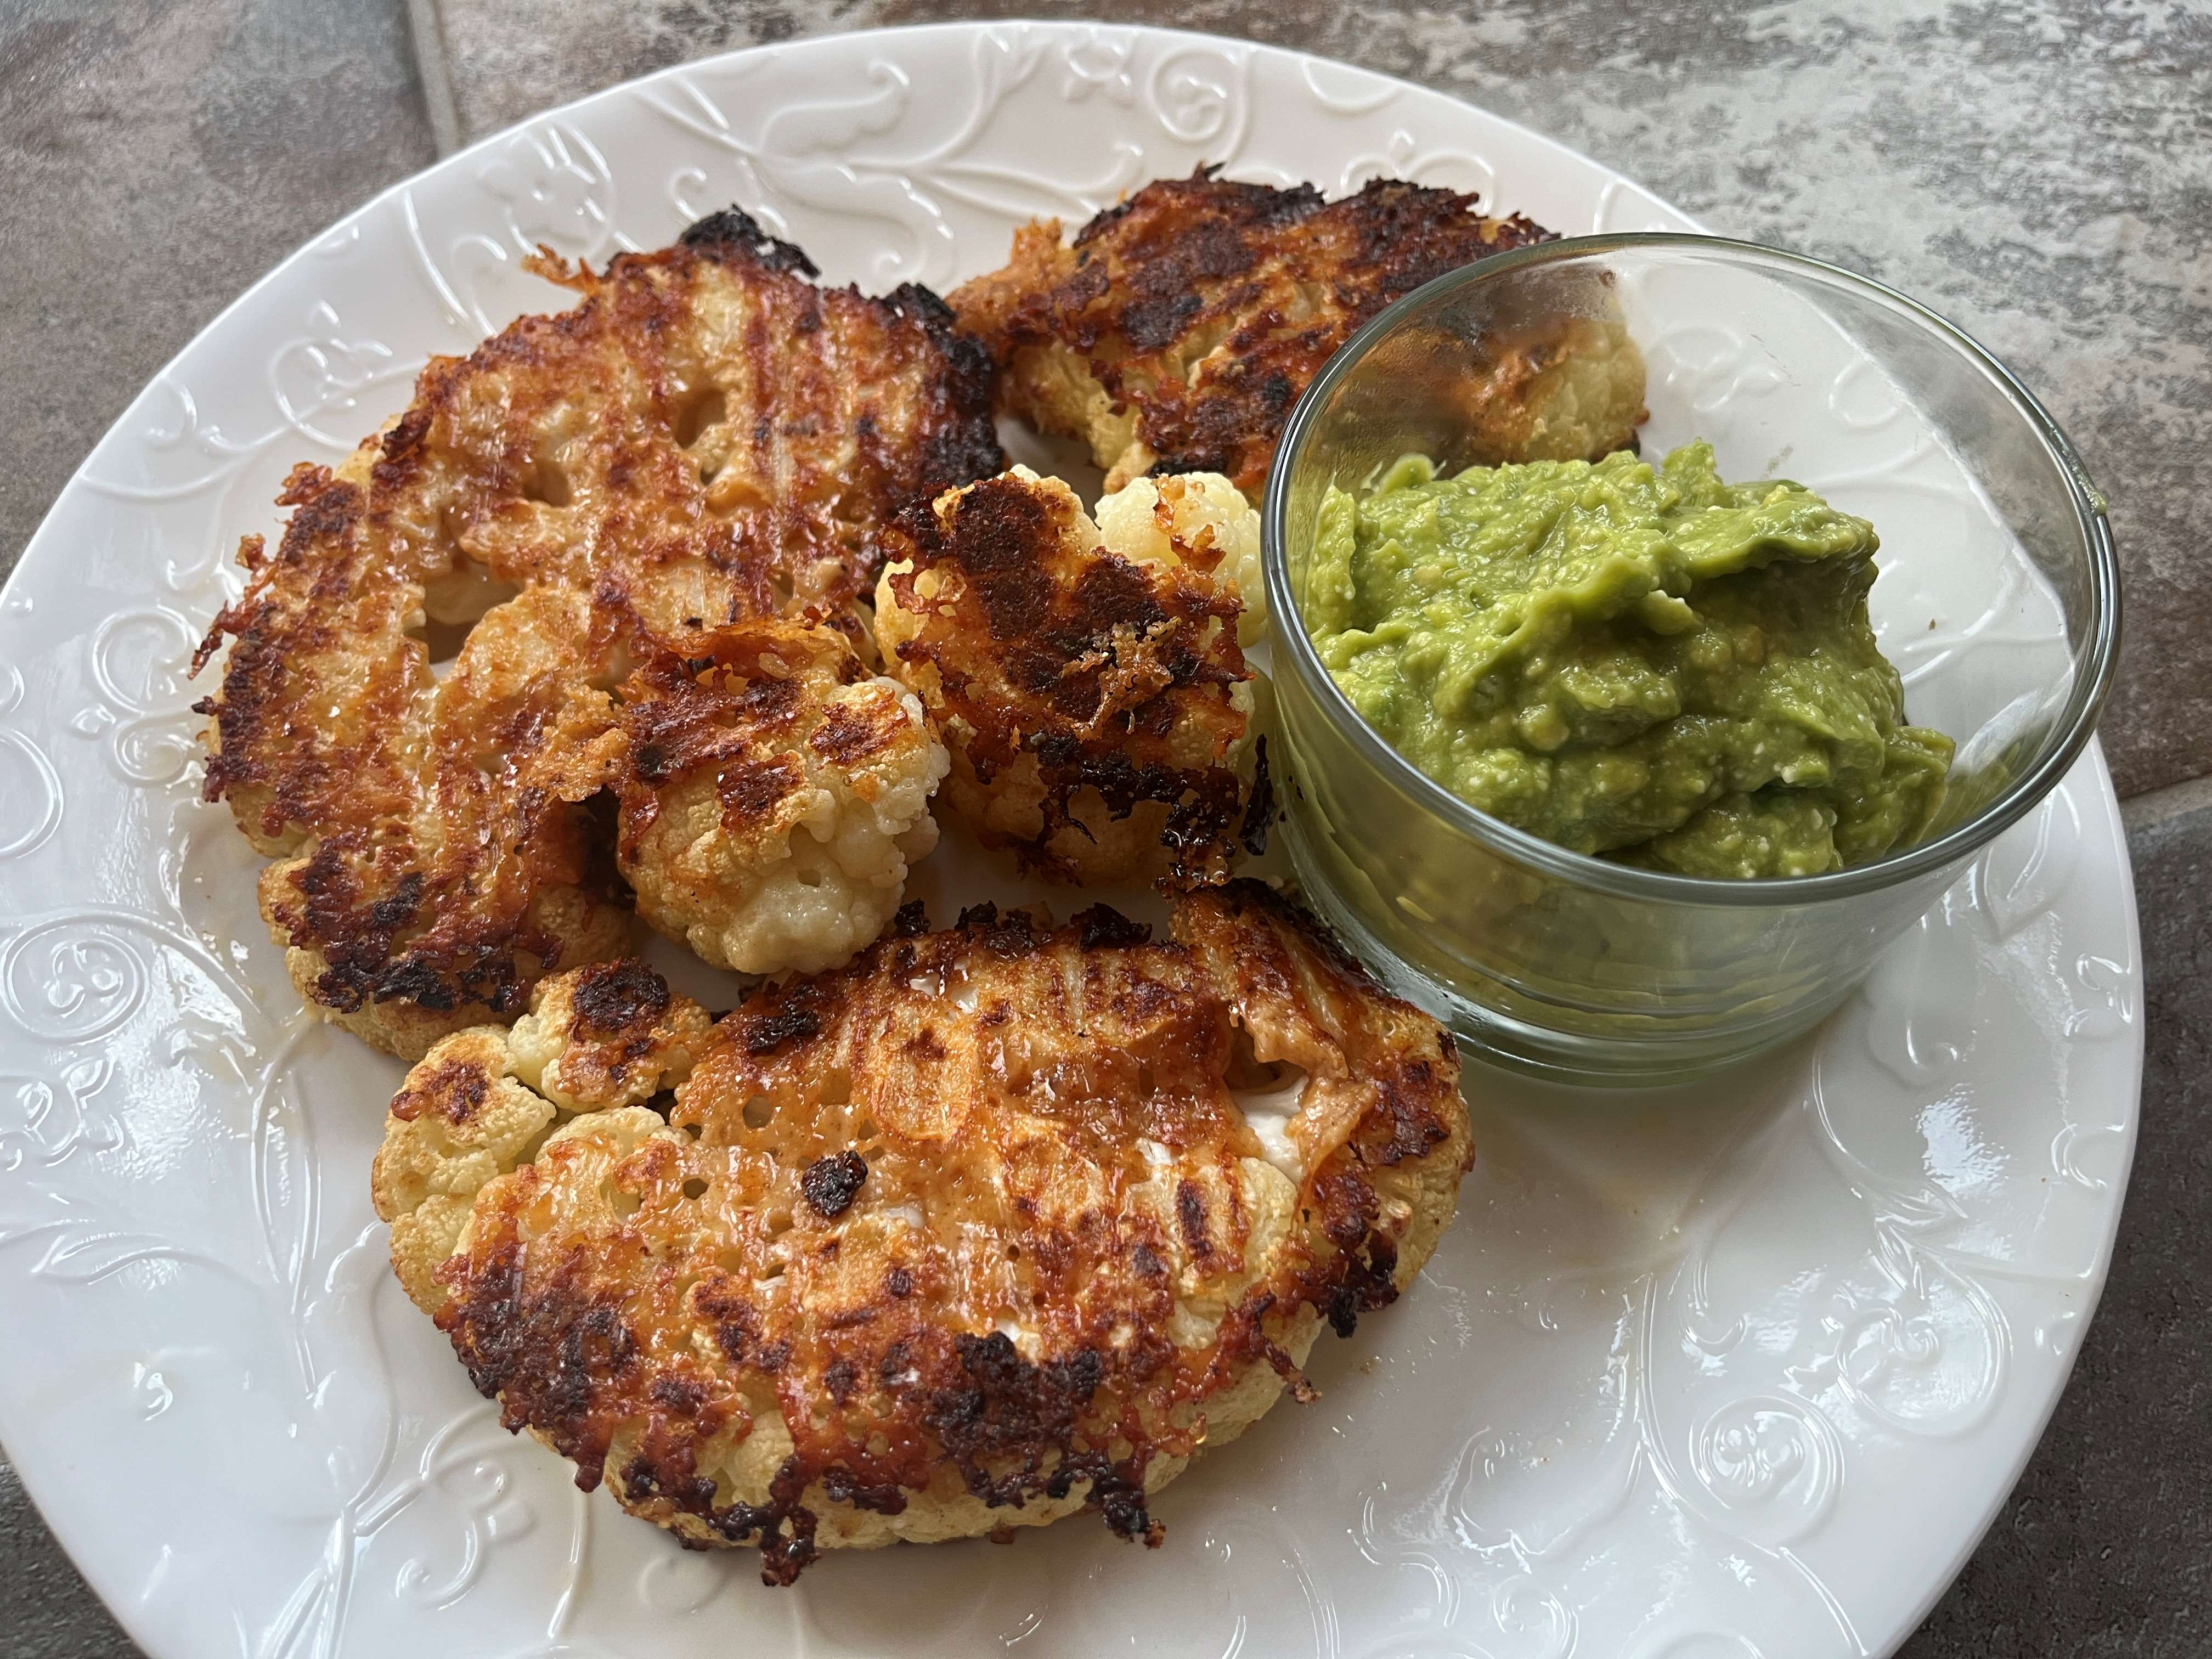
Crispy Parmesan Cauliflower Steaks

INGREDIENTS:
  • 1 cauliflower head
  • 1/4 cup olive oil
  • 2 tbps. grated parmesan
  • 2 cloves garlic
  • 1/2 tsp each paprika, onion powder + salt
  • 1/4 tsp chili pepper flakes
  • 1/2 cup freshly grated parmesan cheese
  • Optional Garnish: fresh chives, chopped
  • Avocado dip:
    • 1 avocado, halved
    • 2 scallions, rough chop
    • 1/2 lime, juiced
    • 1 jalapeño, deseeded + rough chop
    • 1 tbps. olive oil
    • 1 tbps. grated parmesan (or nutritional yeast)
    • 1/4 cup parsley
    • 1/3 cup water
    • salt + pepper to taste
DIRECTIONS:
  1. Preheat your oven to 450°F.
  2. Dry your cauliflower well and slice in half, then slice those in half to create your steaks. Transfer to your baking sheet pan.
  3. In a small bowl, whisk together your olive oil, 2 tbps. grated parmesan, garlic and spices. Brush the steaks with this mixture front, back and sides. Dip ONE SIDE of the steaks into the freshly grated parmesan and place parm side down on the pan.
  4. Bake for 10 minutes at 450° F. then bump down the temperature to 425°F and bake for 20-25 more minutes. Time varies with thickness of steaks. Remove from baking tray and serve crispy side up with some fresh chives on top.
  5. Avocado dip:
    • Add everything to your mini food processor and blend until smooth. Taste and adjust if needed.

Recipe from HungryHappens.net

Appetizers · Breads · Vegetables

Avocado Bread

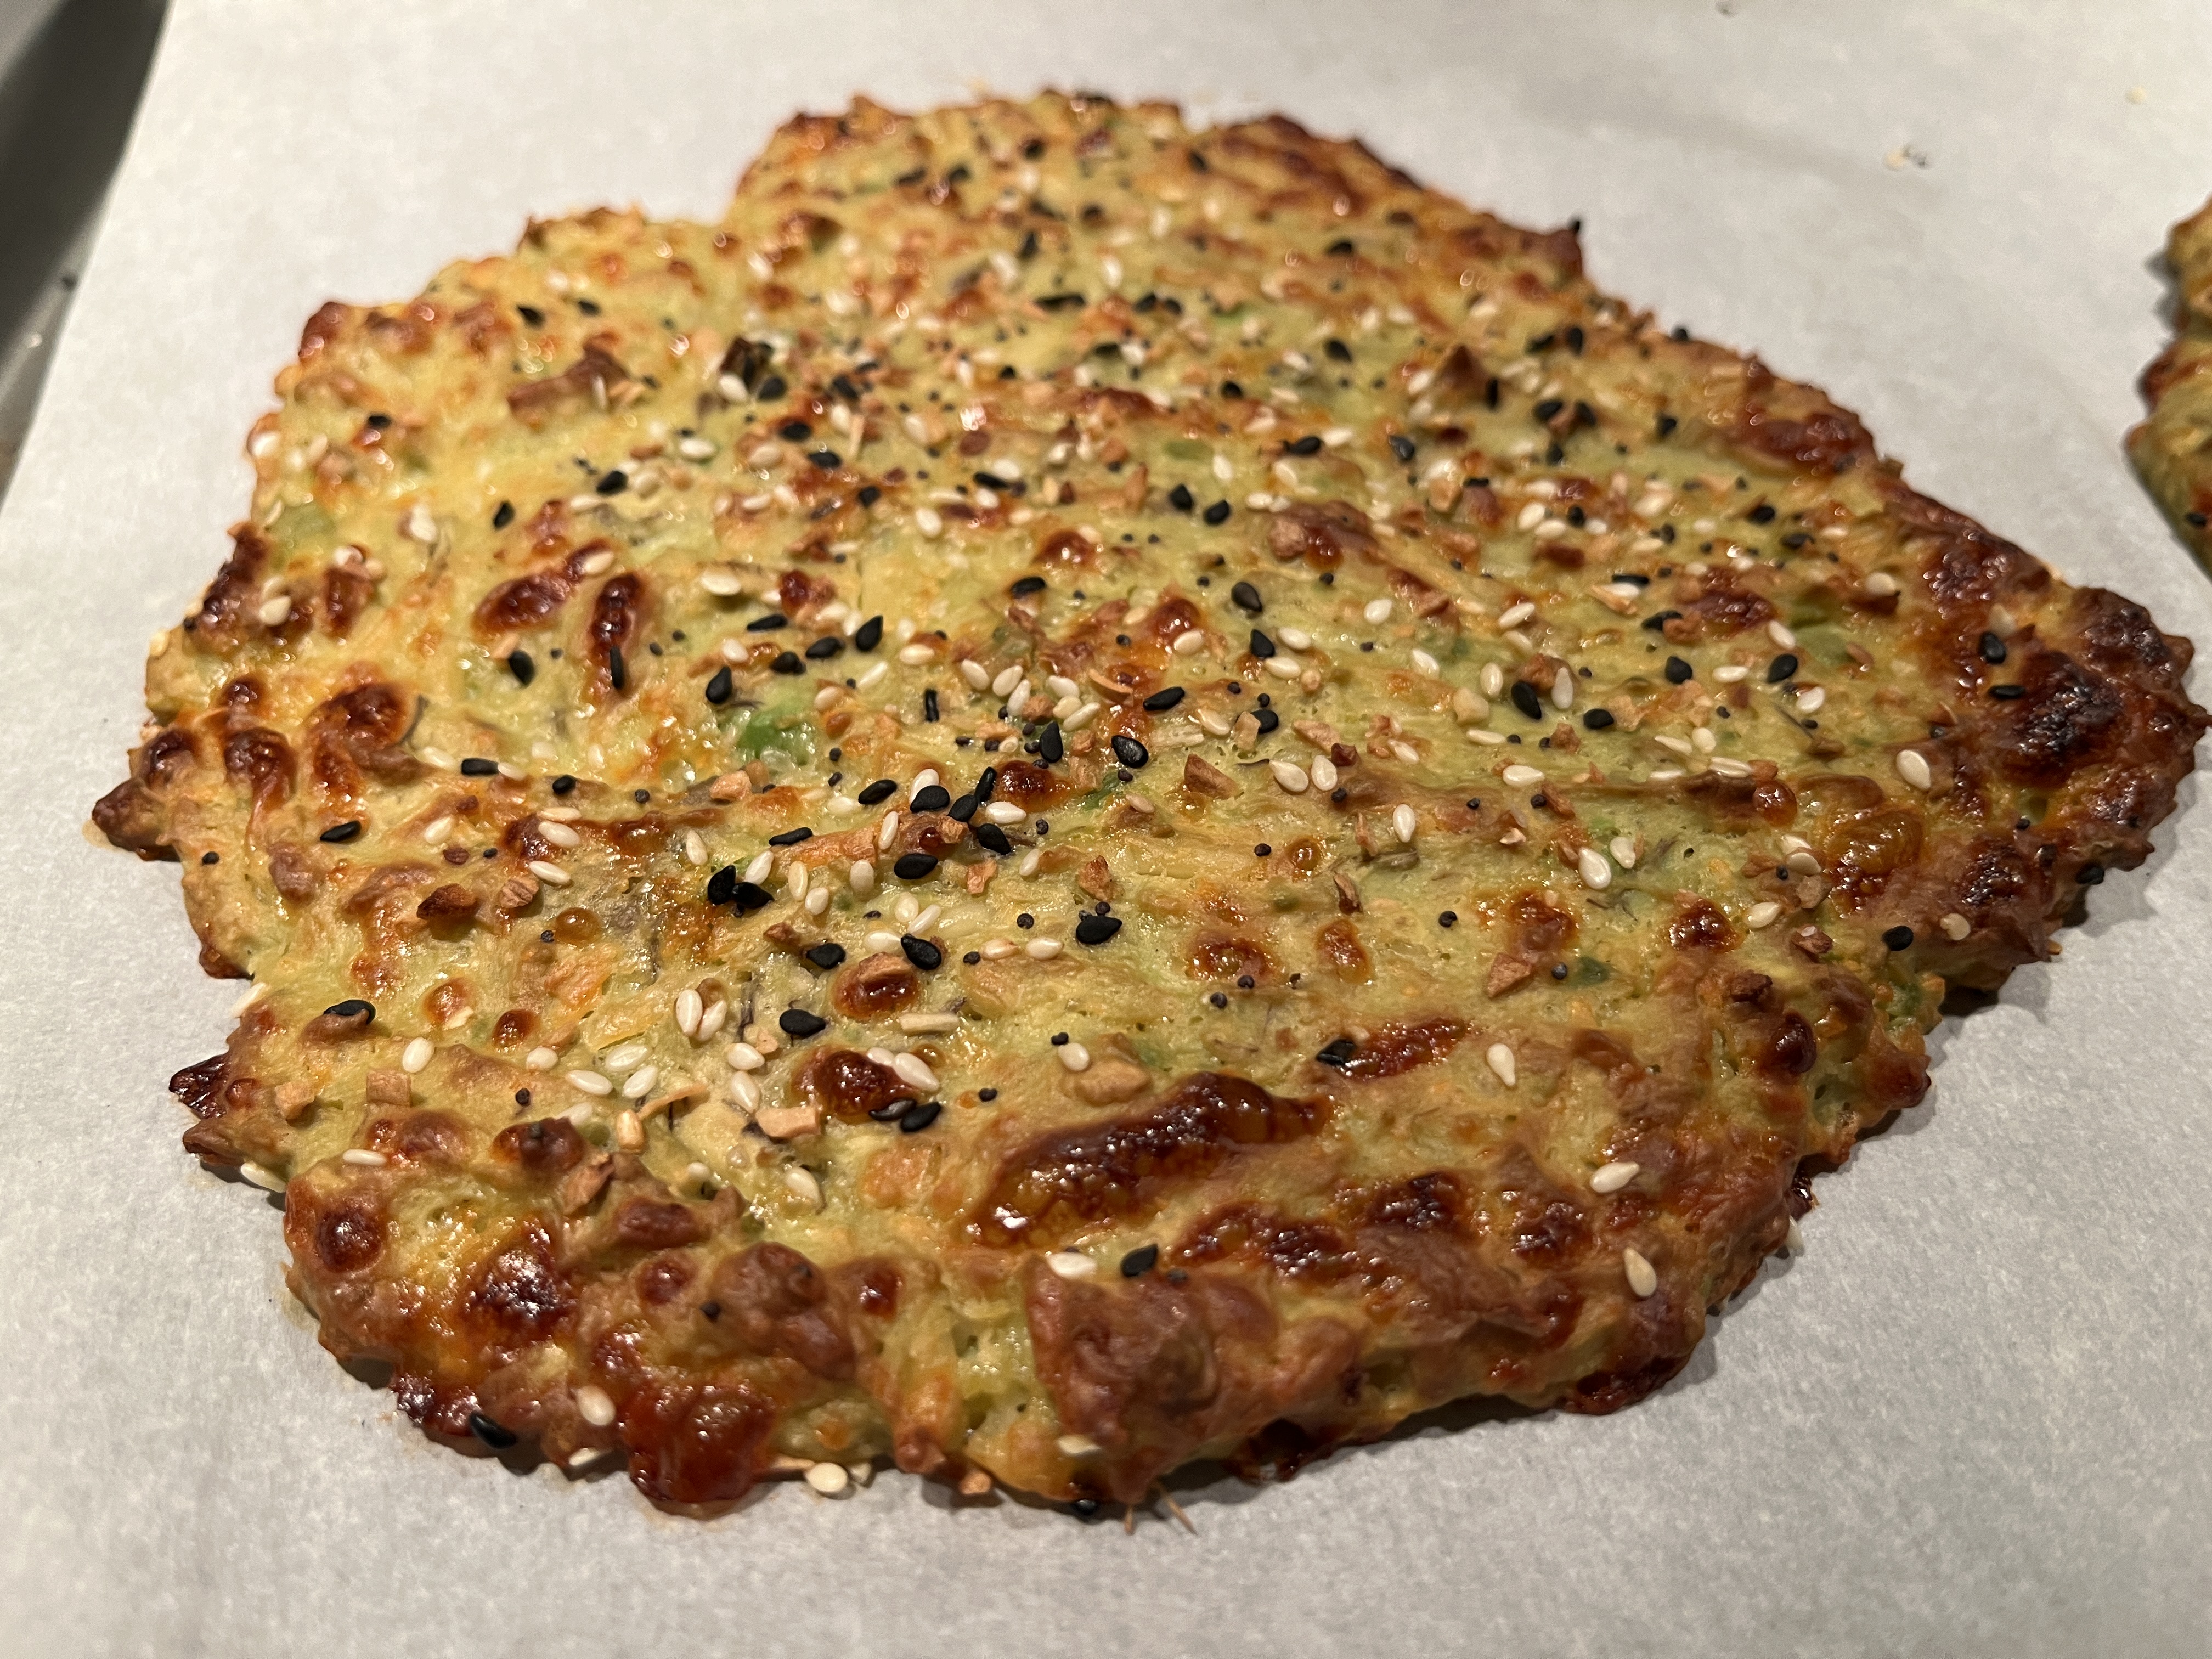
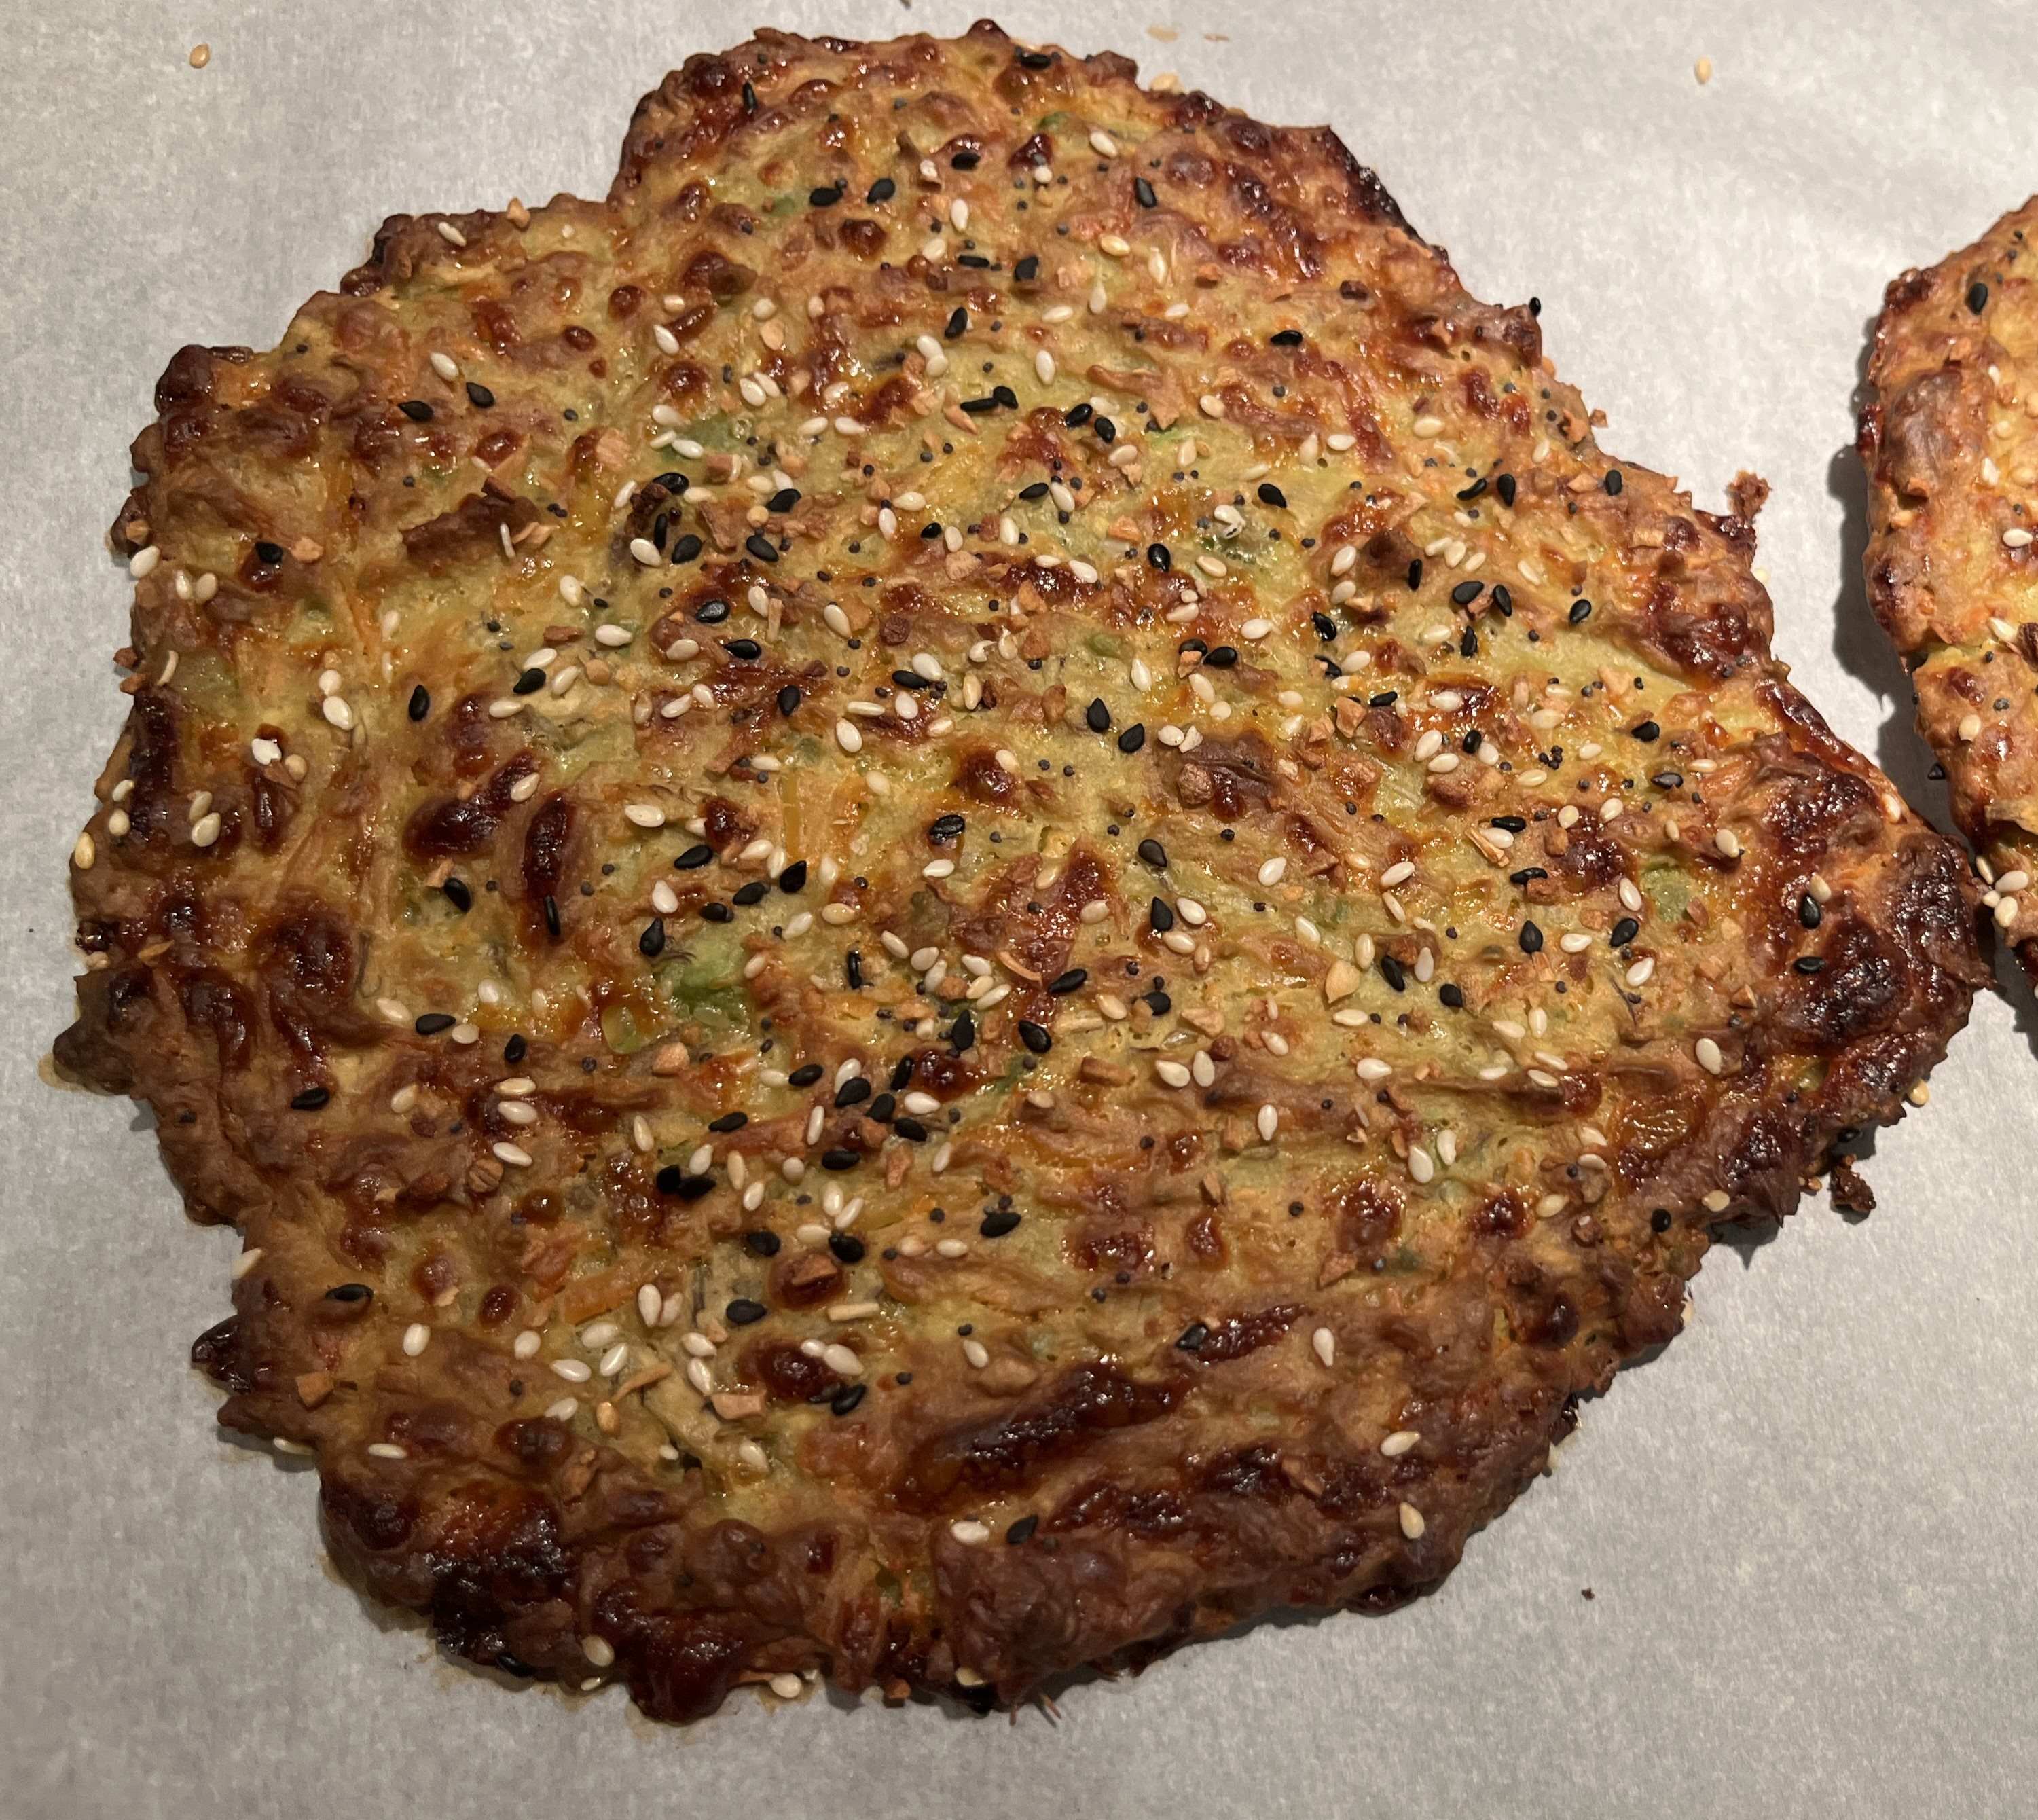
Avocados are a favorite of mine and this recipe was intriguing. With a very ripe avocado on hand, I decided to try it and was not disappointed. The baking time was 25 minutes but I found it to be too soft inside and baked for another 8-10 minutes (picture on the right). It was delicious as a side to my meal and would be interesting to make into a sandwich. If you have a perfectly ripe avocado and don’t know what to make, this is worth a try!

Avocado Bread

INGREDIENTS:
  • 1 avocado, mashed
  • 1 egg, beaten
  • 1 cup shredded Parmesan cheese
  • Everything but the bagel seasoning (optional)
DIRECTIONS:
  1. Preheat oven to 400 degrees Fahrenheit.
  2. Combine avocado, egg and cheese together.
  3. Form into two patties on greased baking sheet. Sprinkle with seasoning.
  4. Bake for 25 -35 minutes. (I baked for a little longer–see difference between 25 minutes and 35 minutes above)

Recipe from katwalkboutique

Family Favorites · Holidays · Vegetables

Broccoli with Garlic Egg Sauce

Broccoli with Garlic Egg Sauce is a family favorite and served with holiday meals or gatherings. Now I know it sounds somewhat disgusting, but, trust me, it’s delicious. I came across this recipe several years ago in the cookbook from popular Denver restaurants. The cookbook is long gone but the memory of the recipe is still with me. If anyone knows of the origin of the recipe at a Denver establishment, please comment.

Broccoli with Garlic Egg Sauce

INGREDIENTS:
  • 1 pound fresh broccoli, washed and cut into flowerettes
  • 3 hard-boiled eggs, shelled and diced
  • 3-4 T. olive oil
  • 1-2 garlic cloves, minced
  • bread crumbs, about 1/2-1 cup
  • salt and pepper to taste
DIRECTIONS:
  1. Steam the broccoli until tender.
  2. Heat olive oil in pan. Add minced garlic and saute. Add chopped eggs, salt and pepper. Stir in bread crumbs.
  3. Place broccoli in a serving dish and top with the garlic egg sauce.

Attribution

Appetizers · Vegetables

Crispy Parmesan Cauliflower Bites with Creamy Onion Dip

Crispy Parmesan Cauliflower Bites are absolutely delicious. This recipe is easy to prepare and great as an appetizer or as a side dish. I haven’t tried this with my grandkids buy I think they would eat it, too. I do love a roasted vegetable, and this one is over the top!

Crispy Parmesan Cauliflower Bites with Creamy Onion Dip

INGREDIENTS:
  • 1 small head cauliflower, cut into thinly sliced florets (about 1/2″ thick)
  • 3/4 cup freshly grated parmesan cheese
  • 2 1/2 to 3 tbps unsalted butter
  • 1/2 tsp dried oregano
  • 1/2 tsp garlic powder
  • 3/4 tsp salt
  • 1/2 tsp pepper, divided
  • 1 tbsp olive oil
  • 2 tbsp chopped parsley (I used dried parsley)
  • For the dip:
    • 1/2 cup sour cream or Greek yogurt
    • 2 tbsp chopped parsley (I used dried parsley)
    • 2 tbsp chopped chives
    • 1/2 tsp onion powder
    • 1/4 tsp salt
    • pinch of black pepper
  • Toppings (optional): fresh chopped parsley
DIRECTIONS:
  1. Preheat over to 400 degrees Fahrenheit.
  2. Add the butter to a large casserole dish or cookie sheet and place in the oven while it preheats to melt.
  3. Add the parmesan cheese, oregano, garlic powder, 1/4 tsp salt and 1/4 tsp pepper to a small bowl. Mix to combine. Set aside.
  4. Add the cauliflower to a large bowl, then add the olive oil, remaining salt and pepper, and parsley. Toss to combine.
  5. Remove the casserole dish from the oven, add the parmesan cheese mixture to the bottom of the dish and spread evenly.
  6. Place the cauliflower florets into the dish, flat down. Sprinkle any of the remaining parsley or cauliflower bits over the top, then sprinkle a little bit more parmesan cheese.
  7. Place in the oven for 30-35 minutes until the parmesan on the bottom has browned. Remove the dish from the oven and allow to cool for a few minutes.
  8. While the cauliflower roasts, make the dip. Add the sour cream or yogurt to a small dish, then add salt, onion powder, parsley, chives and pepper. Mix to combine.
  9. Place the cauliflower on a plate, top with parsley and serve with the dip.

Recipe from StarInfiniteFood

Appetizers · Vegan · Vegetables · Vegetarian

Balsamic Roasted Tomatoes

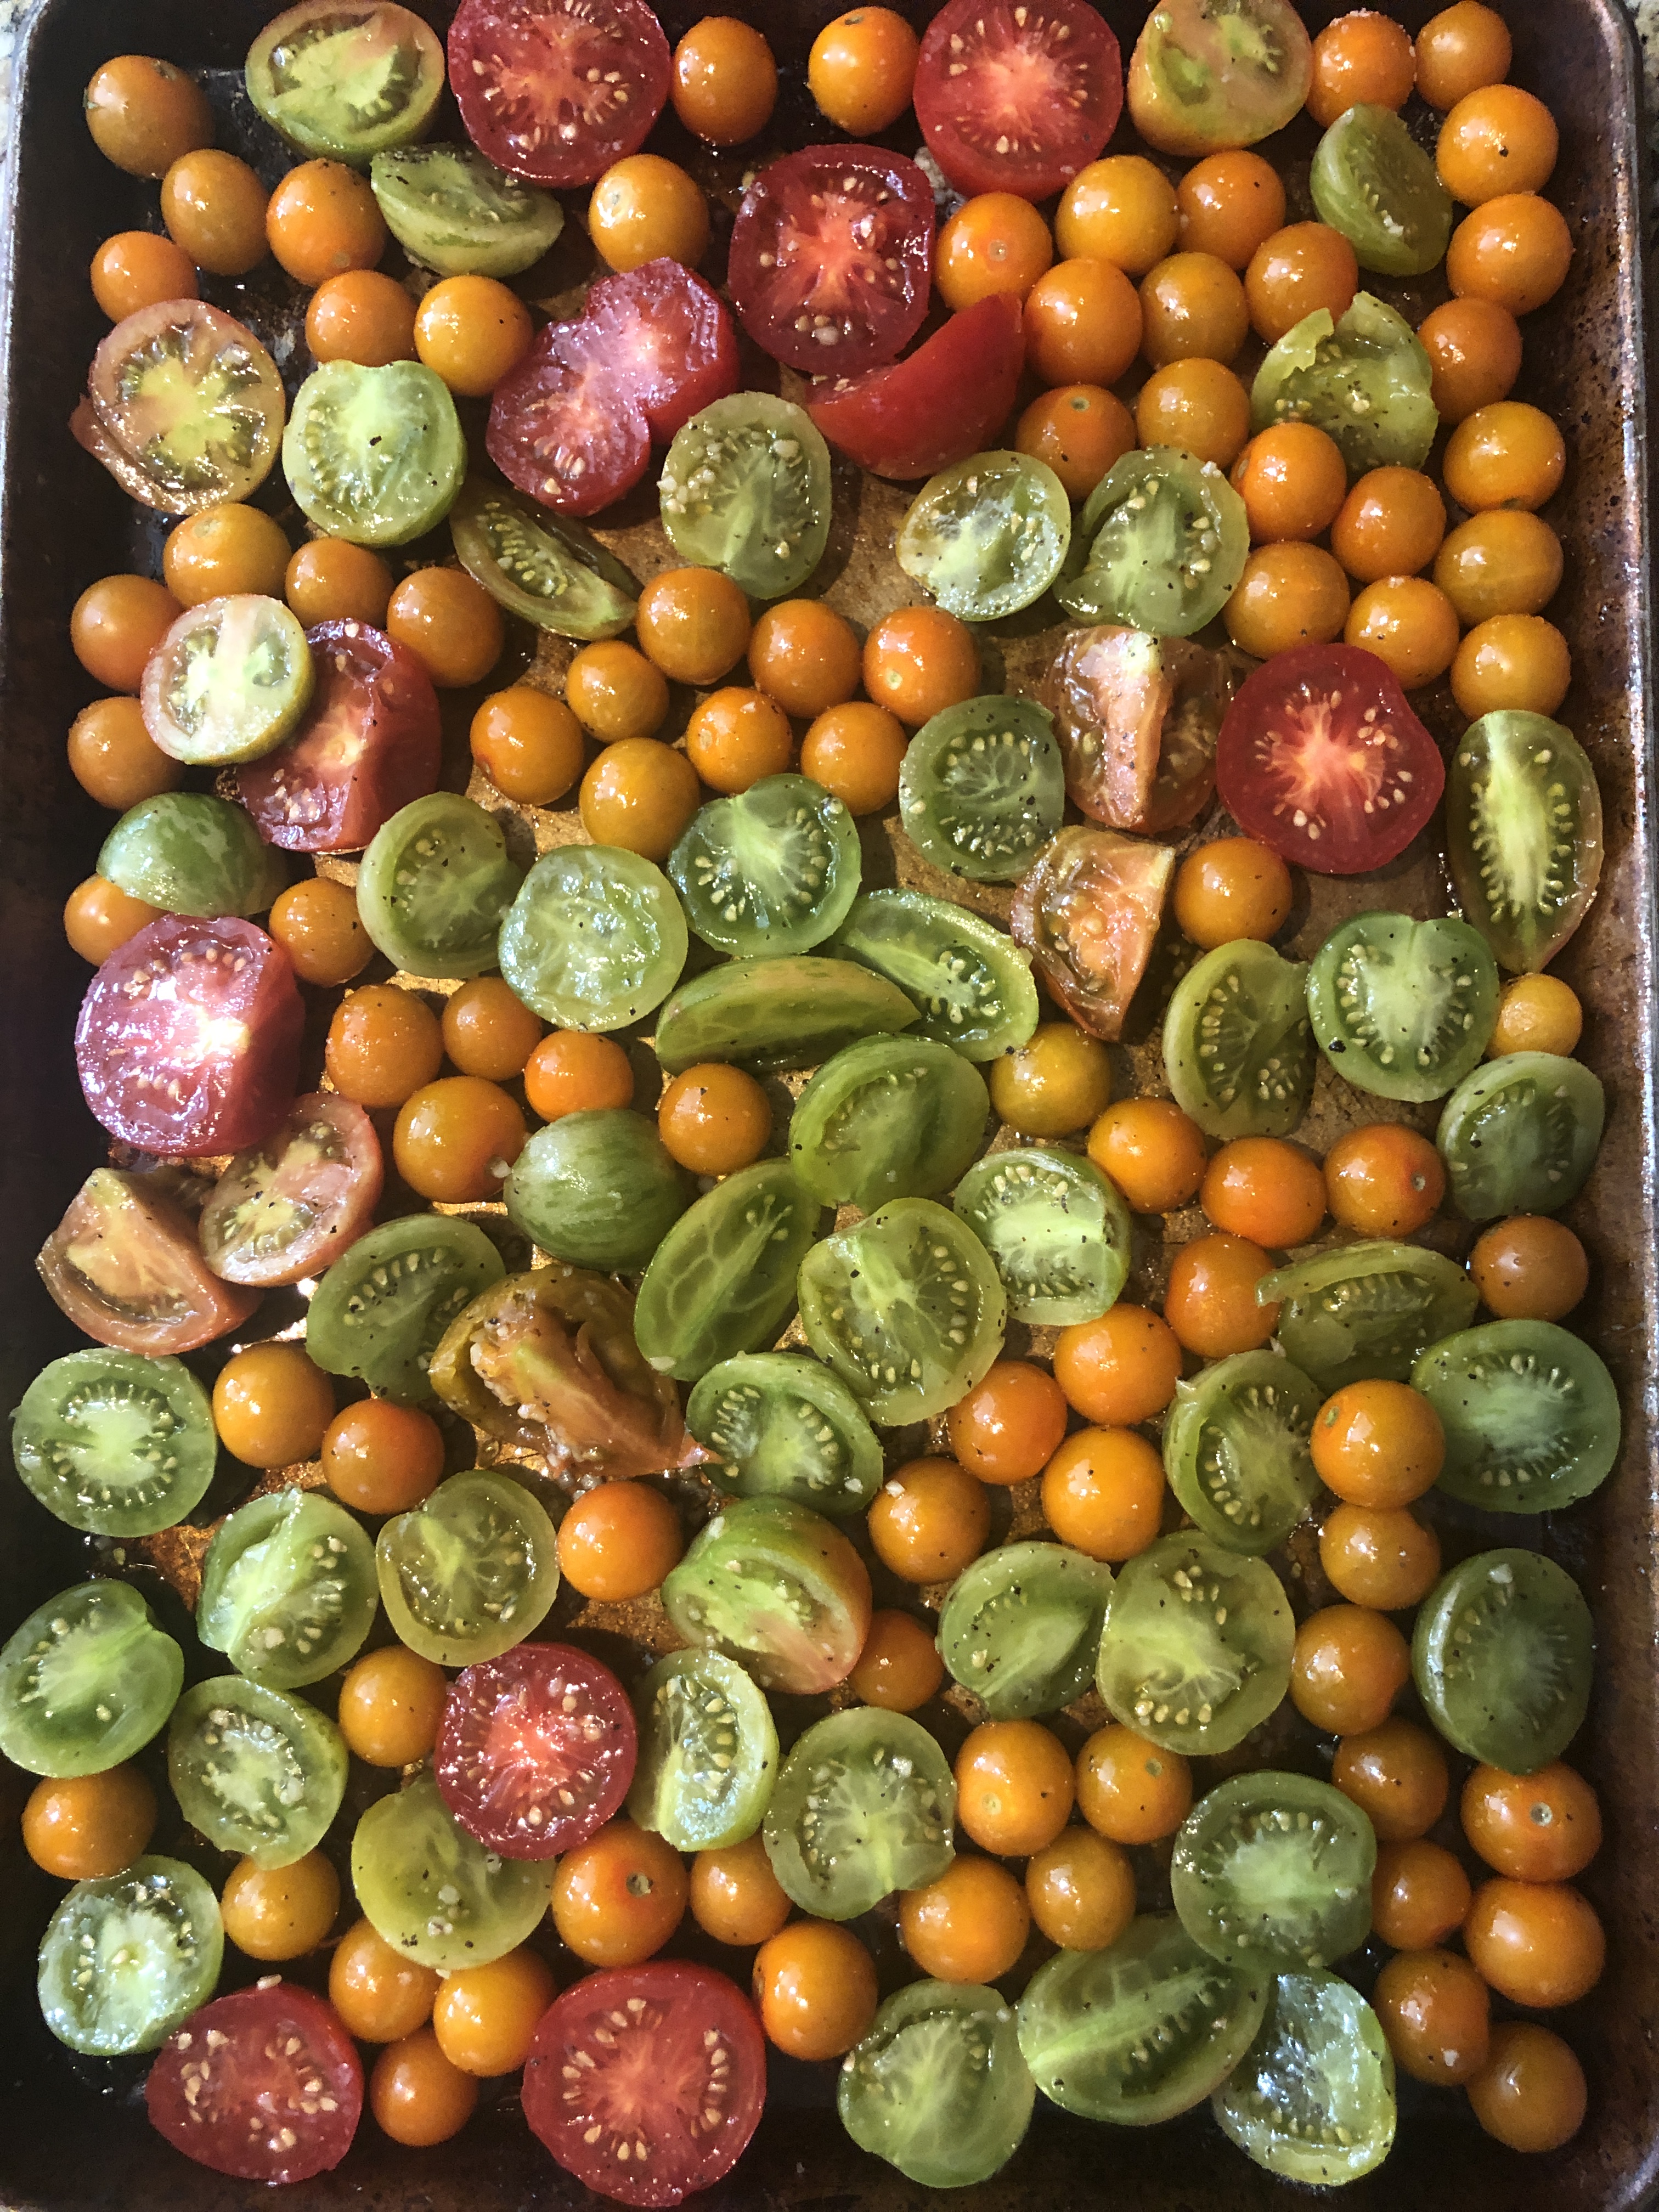
Roasted Tomatoes are a family favorite and are delicious served in a variety of ways. When my garden tomatoes are overwhelming, I turn to roasting them. Sometimes I roast them without the balsamic vinegar, with just olive oil, garlic and occasionally strips of anaheim peppers. The tomatoes are delicious by themselves or served with cream cheese, feta or goat cheese as an appetizer. Try them on a pizza or in egg cups. I’ve frozen the roasted tomatoes with good success and find them to be quite a treat in the winter

Balsamic Roasted Tomatoes

INGREDIENTS:
  • 12 plum tomatoes, halved lengthwise, cores and seeds removed (I used a variety of tomatoes from my garden, halved and not seeded)
  • 4 tablespoons good olive oil
  • 1 1/2 tablespoons balsamic vinegar
  • 2 large garlic cloves, minced
  • 2 teaspoon sugar
  • 1 1/2 teaspoons kosher salt
  • 1/2 teaspoon freshly ground pepper
DIRECTIONS:
  1. Preheat the oven to 450 degrees F.
  2. Arrange the tomatoes on a sheet pan, cut sides up, in a single layer. Drizzle with olive oil and balsamic vinegar. Sprinkle the garlic, sugar, salt, and pepper over the tomatoes. Roast for 25 to 30 minutes, until the tomatoes are concentrated and beginning to caramelize. (I had to roast mine for 10-15 minutes longer). Serve warm or at room temperature.

Recipe from Food Network Ina Garten

Garden · Italian Dishes · Sauces · Soups and Stews · Vegetables

Freezing Basil in Olive Oil

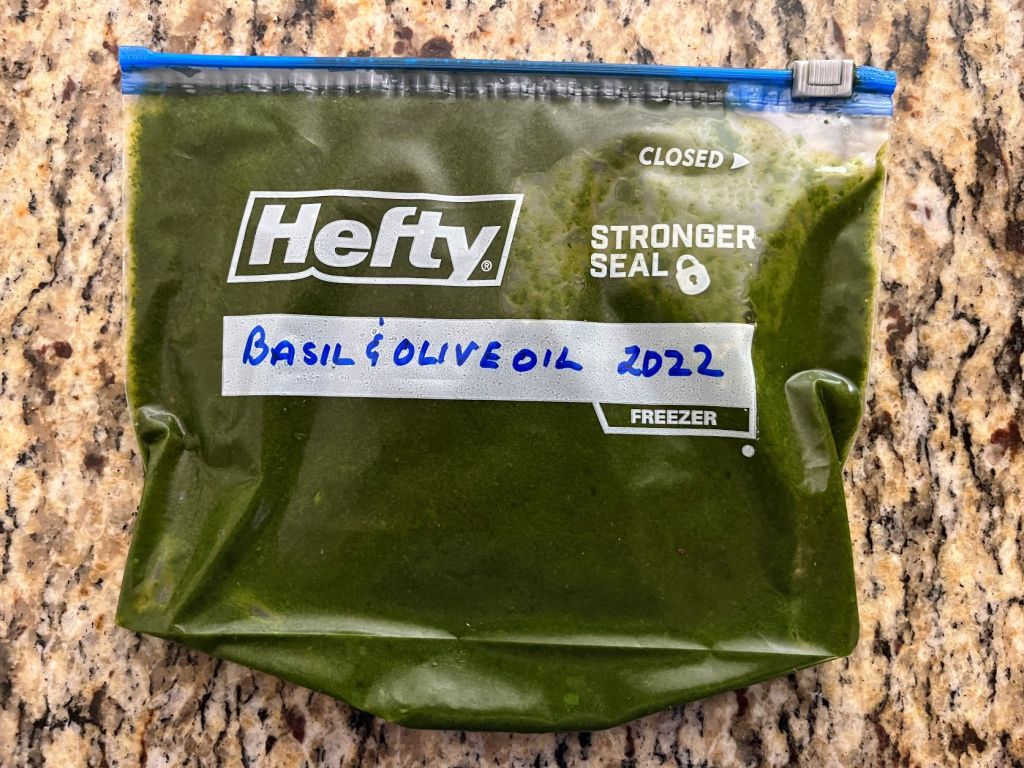
What is better than having fresh basil! Unfortunately, when the growing season ends and frost is in the forecast, I pick all of the remaining basil leaves and blend with olive oil. It is frozen, flat, in a freezer bag for use all winter long. I just break off a piece and add to sauces, soups, and other recipes.

Freezing Basil in Olive Oil

INGREDIENTS:
  • Fresh basil of your choice (I used two handfuls of fresh basil)
  • Olive oil (I used 3/4 cup olive oil)
DIRECTIONS:
  1. Rinse your basil well and shake off excess water. Remove all the leaves from the stems. Place leaves in the blender.
  2. With the blender on high (or the purée setting), begin to very slowly drizzle olive oil into the blender (using the removable section of the blender lid to reduce splatter).
  3. Stop the blender as needed and use a rubber spatula to scrape down the sides of the blender and/or stir up the leaves.
  4. Continue running and drizzling just until the mixture begins to purée and turn into a liquid. Run the blender until the mixture is smooth.
  5. Pour into an ice cube tray being careful to not over fill. Freeze for 3-5 hours, or until the cubes will easily pop out. Transfer the cubes to a freezer bag, label, and put in the freezer.
  6. Grab 1-2 cubes and place them into your dish towards the end of cooking to melt, as desired.

Recipe from SavoryMoments

Vegetables

Dehydrated Tomatoes in Olive Oil

Sungold cherry tomatoes are my favorite and they produce for weeks. I often oven roast the tomatoes but I had access to my dear friend’s dehydrator and took advantage of it. The process took several hours and resulted in wonderful dried tomatoes. I followed the directions below to preserve the dried tomatoes with olive oil, fresh basil, garlic, oregano, salt. The result was delicious seasoned, dried tomatoes for pizza, chicken, and other dishes.

Title

INGREDIENTS:
  • 3-4 cups of olive oil depending on the size of canning jar
  • Fresh basil (you’ll need a good amount of leaves to include in each layer, more on this below)
  • 4-5 cloves of minced garlic
  • ½ cup of dried oregano
  • Kosher salt
  • 3-5 pounds of sun dried tomatoes (try and find the imported variety; here’s a link to some organic sun dried tomatoes just in case you can’t get them from Italy) (Note: I used my Sungold tomatoes from my garden)
DIRECTIONS:
  1. Note: I used a dehyrator to first dry the Sungold tomatoes from my garden. It took several hours and did a great job.
  2. Start by finding a large, wide mouth, mason jar; pint size is fine, but if you can find larger jars they’ll store more tomatoes. Wash your mason jar very well and you can even go as far as sterilizing the jar. Moreover, it’s vital that your hands and any other tool used for the process are exceptionally clean.
  3. Next, begin layering your unseasoned sun dried tomatoes in the jar in the following order: 1. layer of tomatoes, 2. sprinkle of kosher salt, 3. garlic, 4. pinch of dried oregano, 4. layer of fresh basil leaves
  4. Repeat the above layering process until you’re nearly at the top of the jar (don’t over stuff the jar because your last step includes filling the jar with olive oil).
  5. When you’re finished with each layer push down with a flat object to compress the ingredients.
  6. Finally, fill the jar with olive oil, making sure that the tomatoes are completely submerged (note: the oil will need some time to settle so make sure all of the tomatoes are covered).
  7. Screw on the lid tightly and store the jar in a cool, dark, closet or cupboard.
  8. You’ll need to let the tomatoes sit 6-8 days before consuming them (the oil needs to soften the tomatoes and you also need to let the garlic, basil, and oregano do it’s thing).
  9. Note: I refrigerated the tomatoes to make sure they would not spoil!

Note and Disclaimer (viz a viz Clostridium Botulinum) It’s vital when you cure vegetables in olive oil that you thoroughly clean the jar itself as well as all the ingredients and utensils used in the preparation. My family has been curing and pickling vegetables (as well as tomatoes for tomato sauce) for well over 50 years and we haven’t had any health issues. Although our family has been doing this for many years without incident, there aren’t good studies establishing this practice as safe. Many food safety authorities advise against preserving tomatoes and garlic in oil due the risk of bacterial contamination and proliferation of spores, especially clostridium botulinum, which could be fatal.

Recipe adapted from Scordo.com

Appetizers · Holidays · Vegetables

Easter Bunny Vegetable Platter

Who doesn’t love a relish tray to graze on instead of filling up on heavy appetizers? Well, it’s a healthy thought! I do enjoy putting together a creative relish tray that the grandkids will enjoy before we jump into it. This idea popped up on Pinterest and I had to try it. I’ve tried the Turkey Relish Tray and had fun with that. What’s next? Can I sculpt my older women self for Mother’s Day?

Easter Bunny Relish Tray

INGREDIENTS:
  • Cauliflower
  • Broccoli
  • Red Pepper, cut into strips and square for nose
  • Baby Carrots
  • Celery, cut into sticks
  • Raisins
  • Ranch Dip or Dip of choice
DIRECTIONS:
  1. Wash and prepare vegetables.
  2. Arrange into design as shown.

Attribution

Vegetables

Best Cauliflower

Best Cauliflower

INGREDIENTS:
  • Cauliflower – 1 head
  • 2 Eggs
  • Milk – 125 ml (.52 cups)
  • Vegetable oil – 125 ml (.41-.52 cups)
  • Yoghurt without additives – 200 ml (.833 cups)
  • Flour – 2 tablespoons
  • Paprika – 1 tsp
  • Ground black pepper
  • Salt -1 tsp
  • Baking powder – 1 tsp
  • Cheese – 70-10 grams (1/4-1/2 cup)
DIRECTIONS:
  1. Preheat oven to  200 degrees Celsius (375 to 400 degrees Fahrenheit).
  2. Wash and cut the cauliflower in flowerets.
  3. Parboil the cauliflower in salted water for about 3 minutes, or until it starts to get tender.  Remove the cauliflower to a bowl.
  4. Beat the eggs and add milk.  Stir to combine.
  5. Add oil.  Stir to combine.
  6. Add yoghurt. Stir to combine.
  7. Add paprika, salt, pepper, flour and baking powder. Mix to combine.
  8. Pour the sauce over the cauliflower until it is coated.
  9. Pour the sauce over the cauliflower and stir to assure the cauliflower is coated.
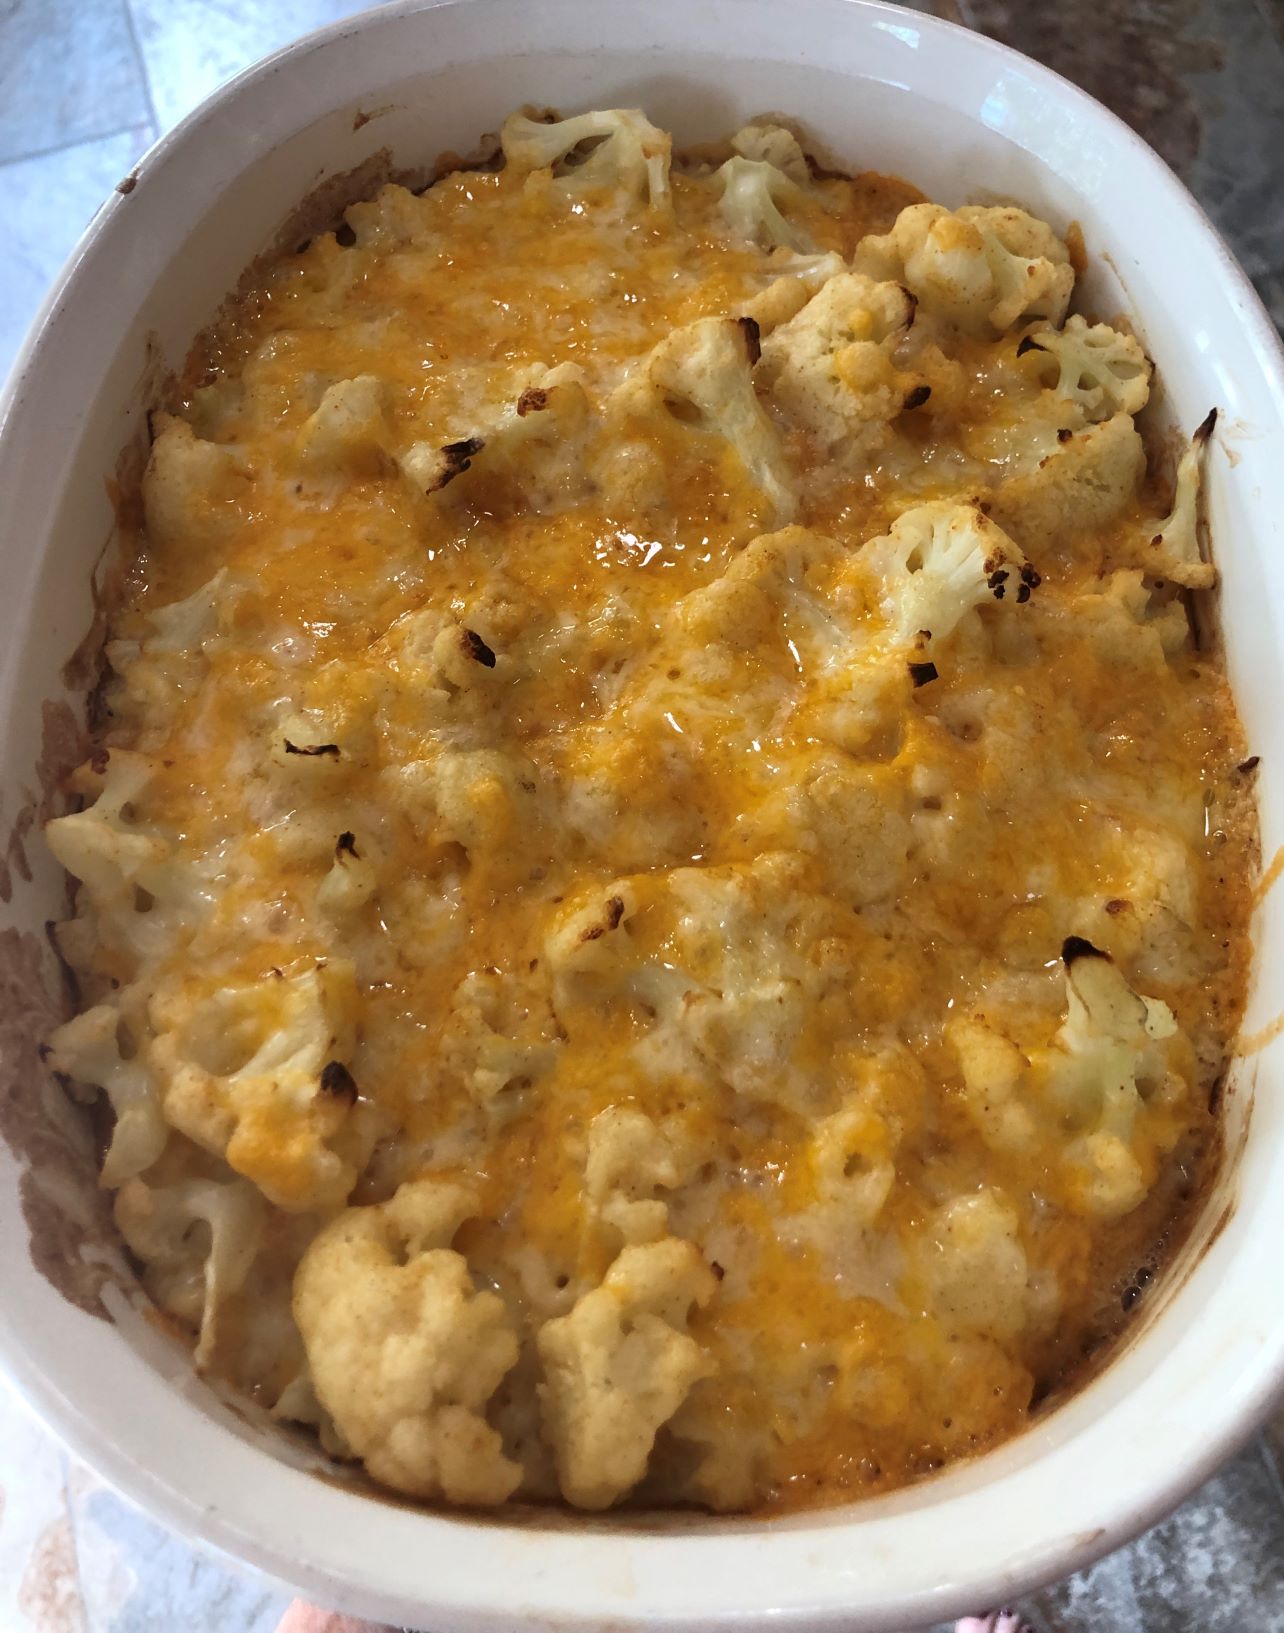
  10. Grease a round baking dish.  Pour cauliflower and sauce into the pan.
  11. Bake for 20-24 minutes.
  12. Remove from oven and sprinkle with cheese of your choice.
  13. Place back in oven until cheese is brown.
  14. Remove from the oven and serve.

Recipe from Elena Dragan on YouTube

Salads · Vegetables

Roasted Radish and Carrot Salad with Orange-Honey Whipped Goat Cheese

Roasted Vegetables are divine and when I saw this recipe, I had to try it! It’s very tasty and the orange flavor was perfect when served immediately. It would be a special side dish for the Thanksgiving table this year! Megan and I were chatting about the recipe and decided next time we will try roasting carrots, onion and fennel. Mix it up!

Note: I saved leftovers for the next day and the goat cheese mixture was very strong with orange flavor. Perhaps a sprinkle of orange zest on the top only, would be enough.

Roasted Radish and Carrot Salad with Orange-Honey Whipped Goat Cheese

INGREDIENTS:
  • 1 lb. carrots, peeled and chopped into 1.5 inch pieces
  • 1 lb. radishes, trimmed and halved
  • 1 small red onion, halved, then thickly sliced
  • 2 T. olive oil
  • 1/2 T. sugar
  • 1 tsp. dried oregano
  • 3/4 tsp. salt
  • 1/2 tsp. black pepper
  • 3 T. fresh parsley (or 1 T. dried parsley)

Topping:

  • 2 oz. goat cheese
  • 3/4 cup Greek yogurt, full fat
  • 2 sprigs fresh thyme (or 1/2 tsp. dried thyme)
  • 1/2 tsp. salt
  • .1/2 of orange zest
  • 2 tsp. honey

Garnishes:

  • 2 T. fresh parsley (or 1-2 tsp. dried parsley)
  • 1/4 c. pecans, roasted & chopped
  • sprinkle of orange zest
  • honey drizzle
DIRECTIONS:
  1. Preheat oven to 425 degrees F.
  2. Add the carrots, radishes, onion, sugar, oregano, salt, pepper and parsley to a sheet pan or roasting pan. Toss to combine then place in the oven and roast for about 35-40 minutes until the veggies are tender.
  3. While the veggies roast, make the goat cheese. Add the goat cheese, yogurt, thyme, salt, pepper, orange zest and honey to a food processor, Process until smooth.
  4. When veggies are done, spread the whipped goat cheese onto a plate/platter. Top with the veggies. Garish with parsley, orange zest, pecans and honey drizzle.

Recipe from TikTok: StarInfiniteFood