The Kitchen is FINISHED!
This was a long process, but well worth the wait. I LOVE the open space and the flow of the kitchen, inspiring me to cook even more (good thing with all of the CSA fruits and vegetables I get each week).
Initially I was worried that I would lose storage by removing the cabinets over the peninsula, but found that I have plenty of storage with more efficient, pull-out drawers in the lower cabinets and taller cabinets as a result of popping the ceiling.
I had the good fortune of working with a wonderful contractor and his team and absolutely love the results!
KITCHEN BEFORE
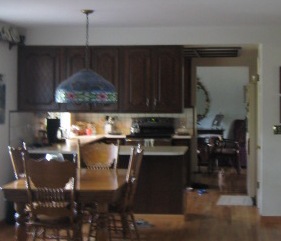
The photo above was taken in 2008 and shows how the cabinets over the peninsula blocked the view and light. You also have a peak into the formal dining room.
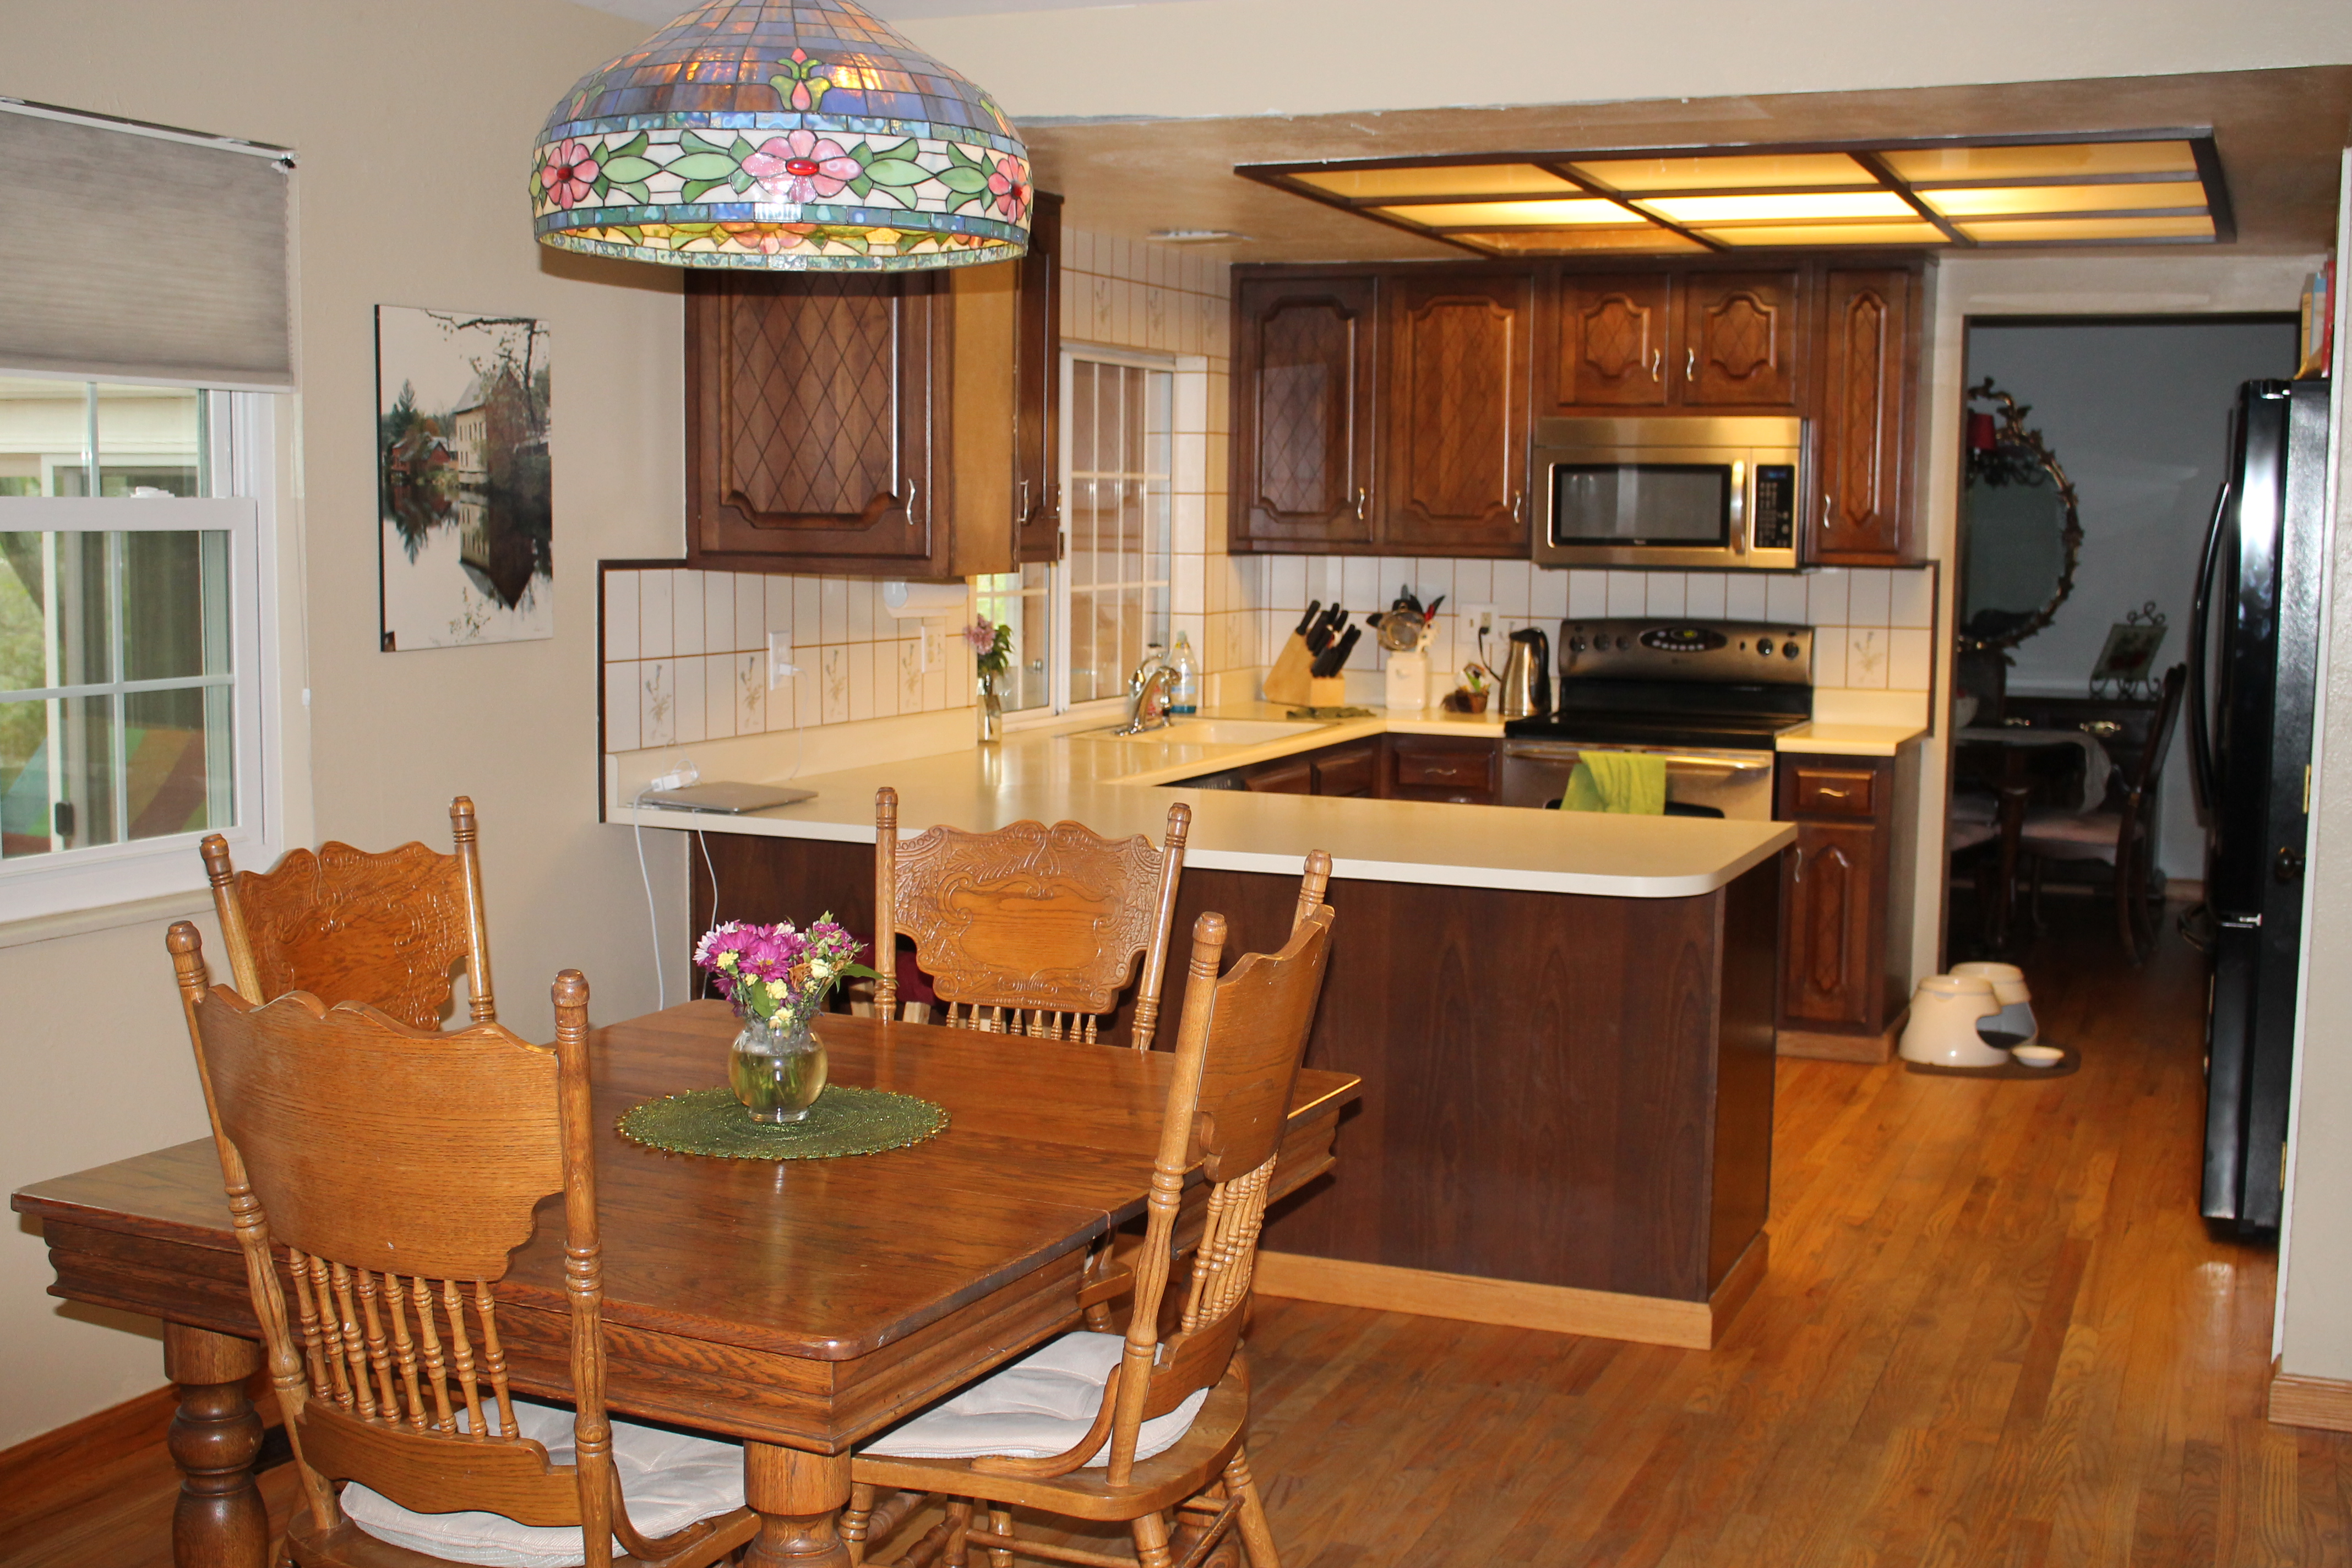
This photo was taken right before the kitchen demo began in May 2015. We had already removed the cabinets over the peninsula. which opened up the kitchen a great deal but not to the extent it would when we removed the wall into the dining room.
KITCHEN AFTER
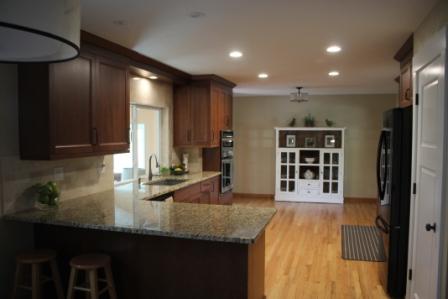
The open view into the kitchen is a dramatic change, opening up the house more than I could ever imagine.
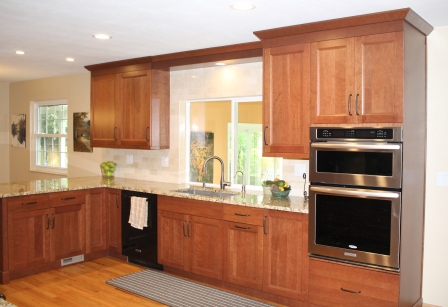
The kitchen sink remained in the same place under the window to the sun room and the backyard.
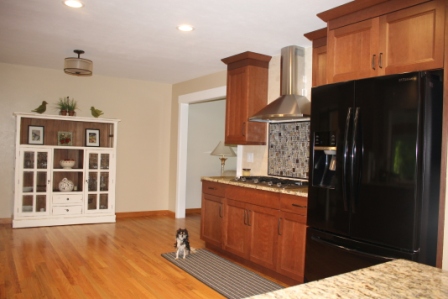
This photo is taken from the peninsula toward the cooktop and the opening to the formal living room. Lala the Chihuahua took advantage of the photo op!
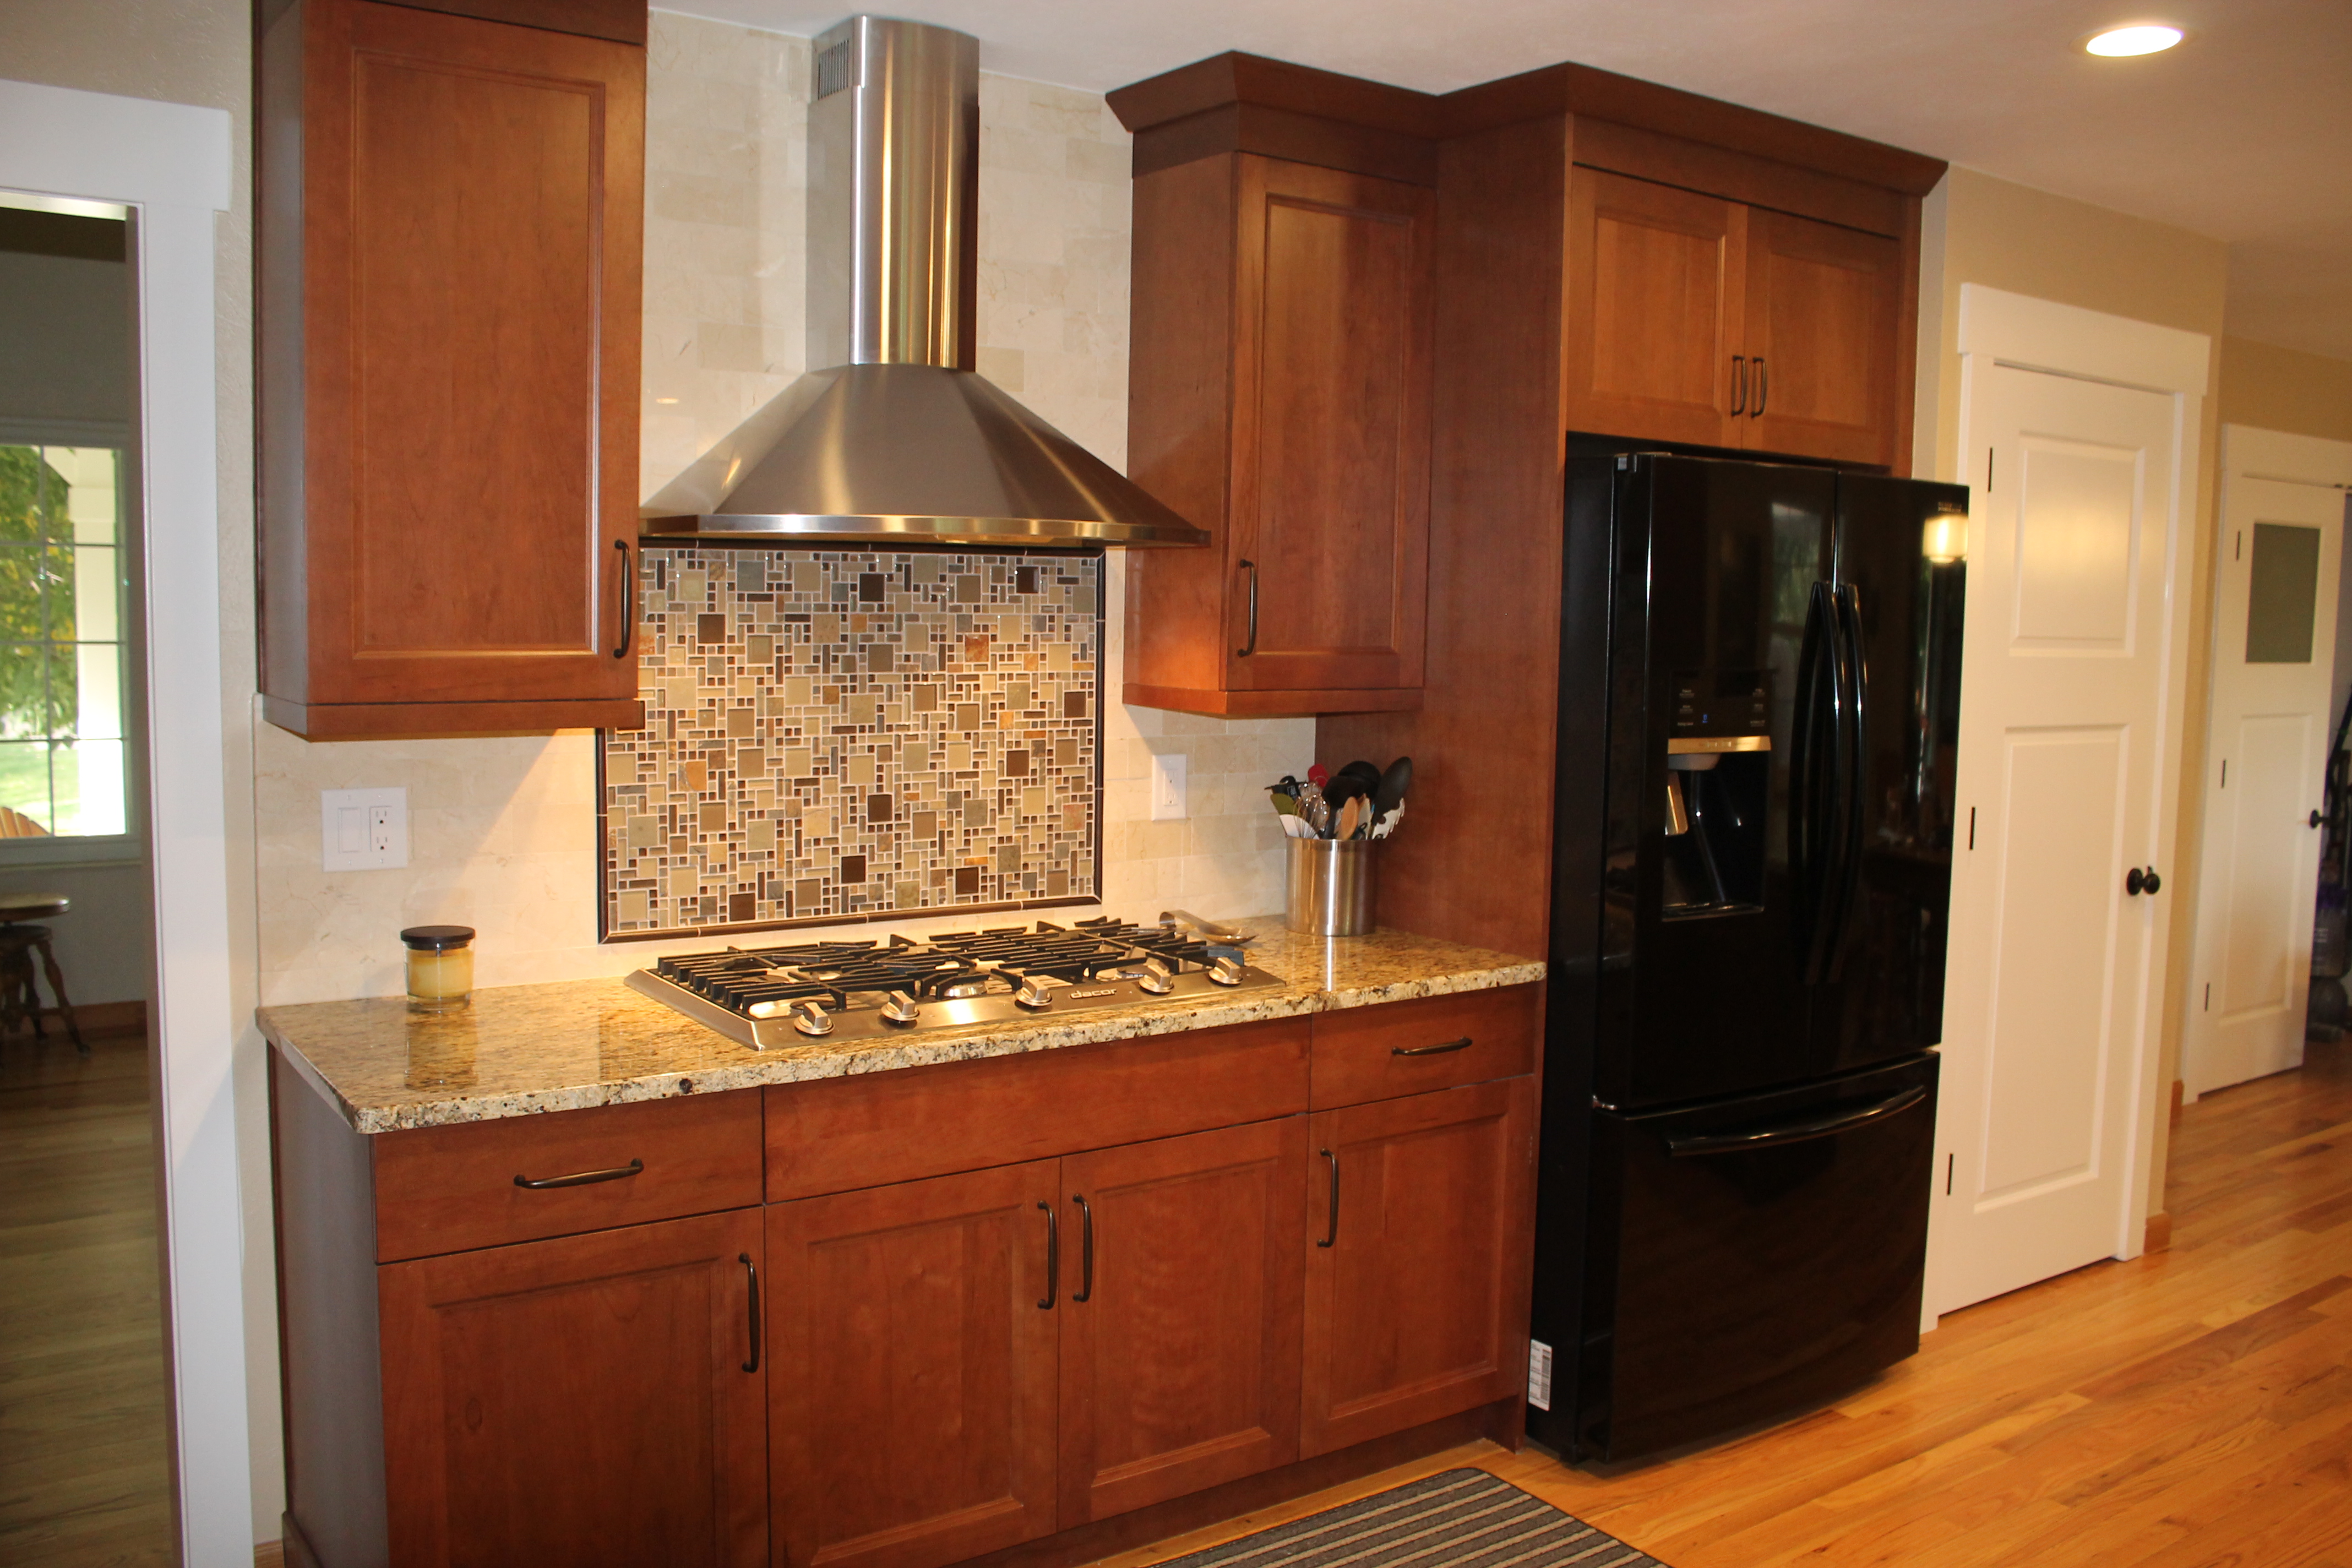
The cooktop moved from the former wall between the kitchen and dining room to the wall along with the refrigerator. We closed the opening into the formal living room about 12 inches to accommodate the cooktop and the extra cabinets. The change had no significant impact on the opening to the living room and provides for great flow in the kitchen.
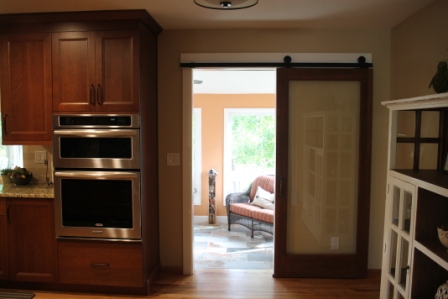
This photo shows the sliding barn door that we installed into the sun room. I LOVE this door and admit it is open 90% of the time. The sliding barn door is far more efficient that the previous, traditional door.
Fork-Lore Kitchen Remodel Past Posts:
https://fork-lore.com/2015/06/05/kitchen-remodel-what-led-up-to-this-decision/
https://fork-lore.com/2015/06/14/kitchen-memories/
https://fork-lore.com/2015/06/19/kitchen-remodel-here-we-go-no-wait/
https://fork-lore.com/2015/06/26/kitchen-is-on-the-uphill-slide/