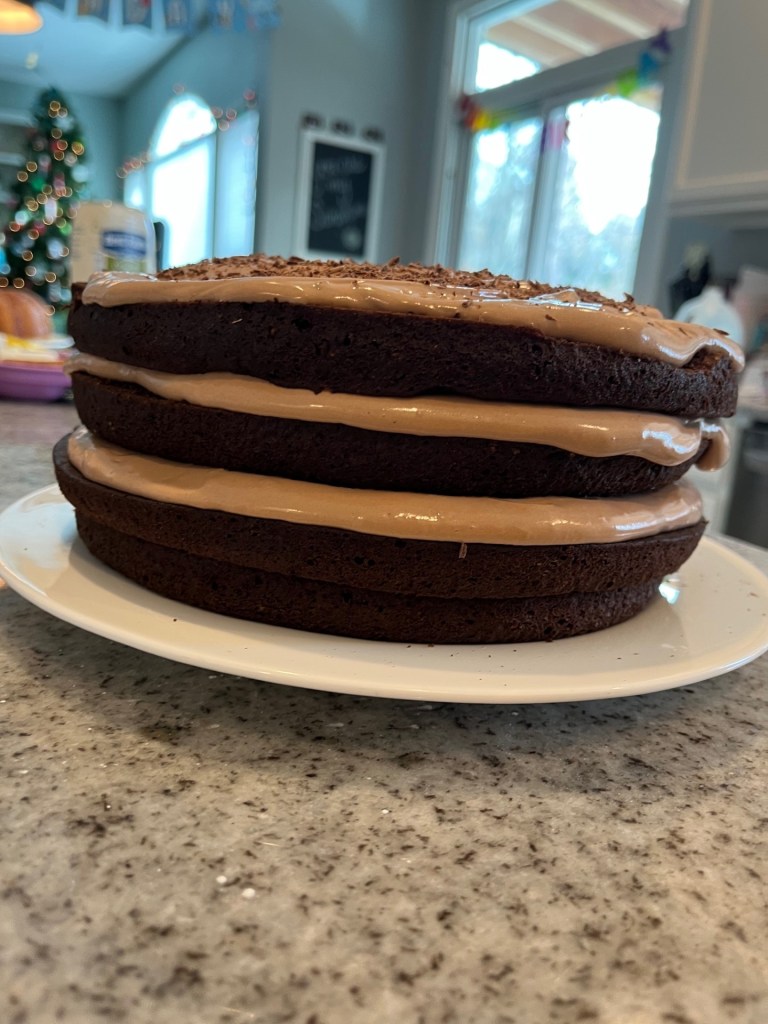
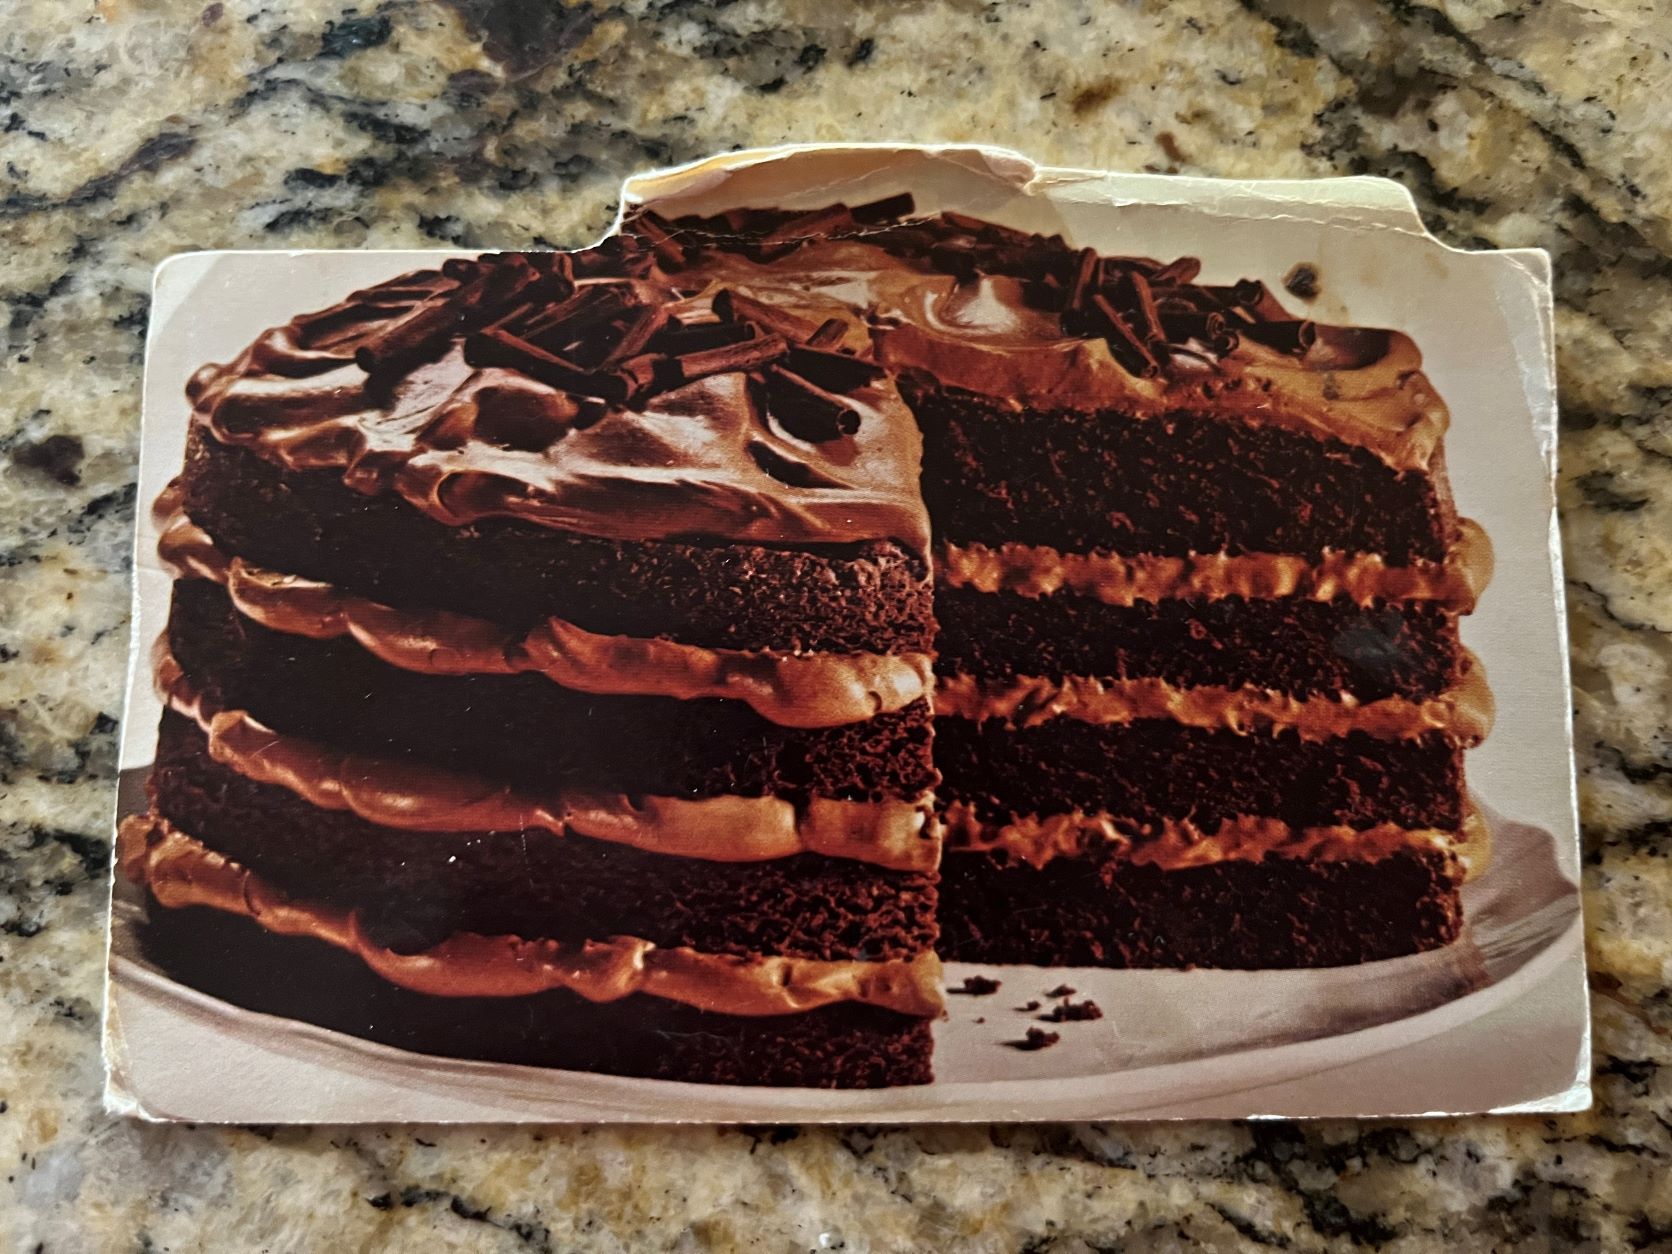
Bailey’s Cookies sounded like an amazing cookie and it was, in fact, very good. However, the Bailey’s Irish Cream was faint and left me wanting a stronger Bailey’s vs. chocolate flavor. However, I served them, ate them, and thought they were good. If I make these again, I definitely would like a stronger Bailey’s flavor. On the other hand, maybe a side of Bailey’s with the cookie would solve the problem. Cheers!
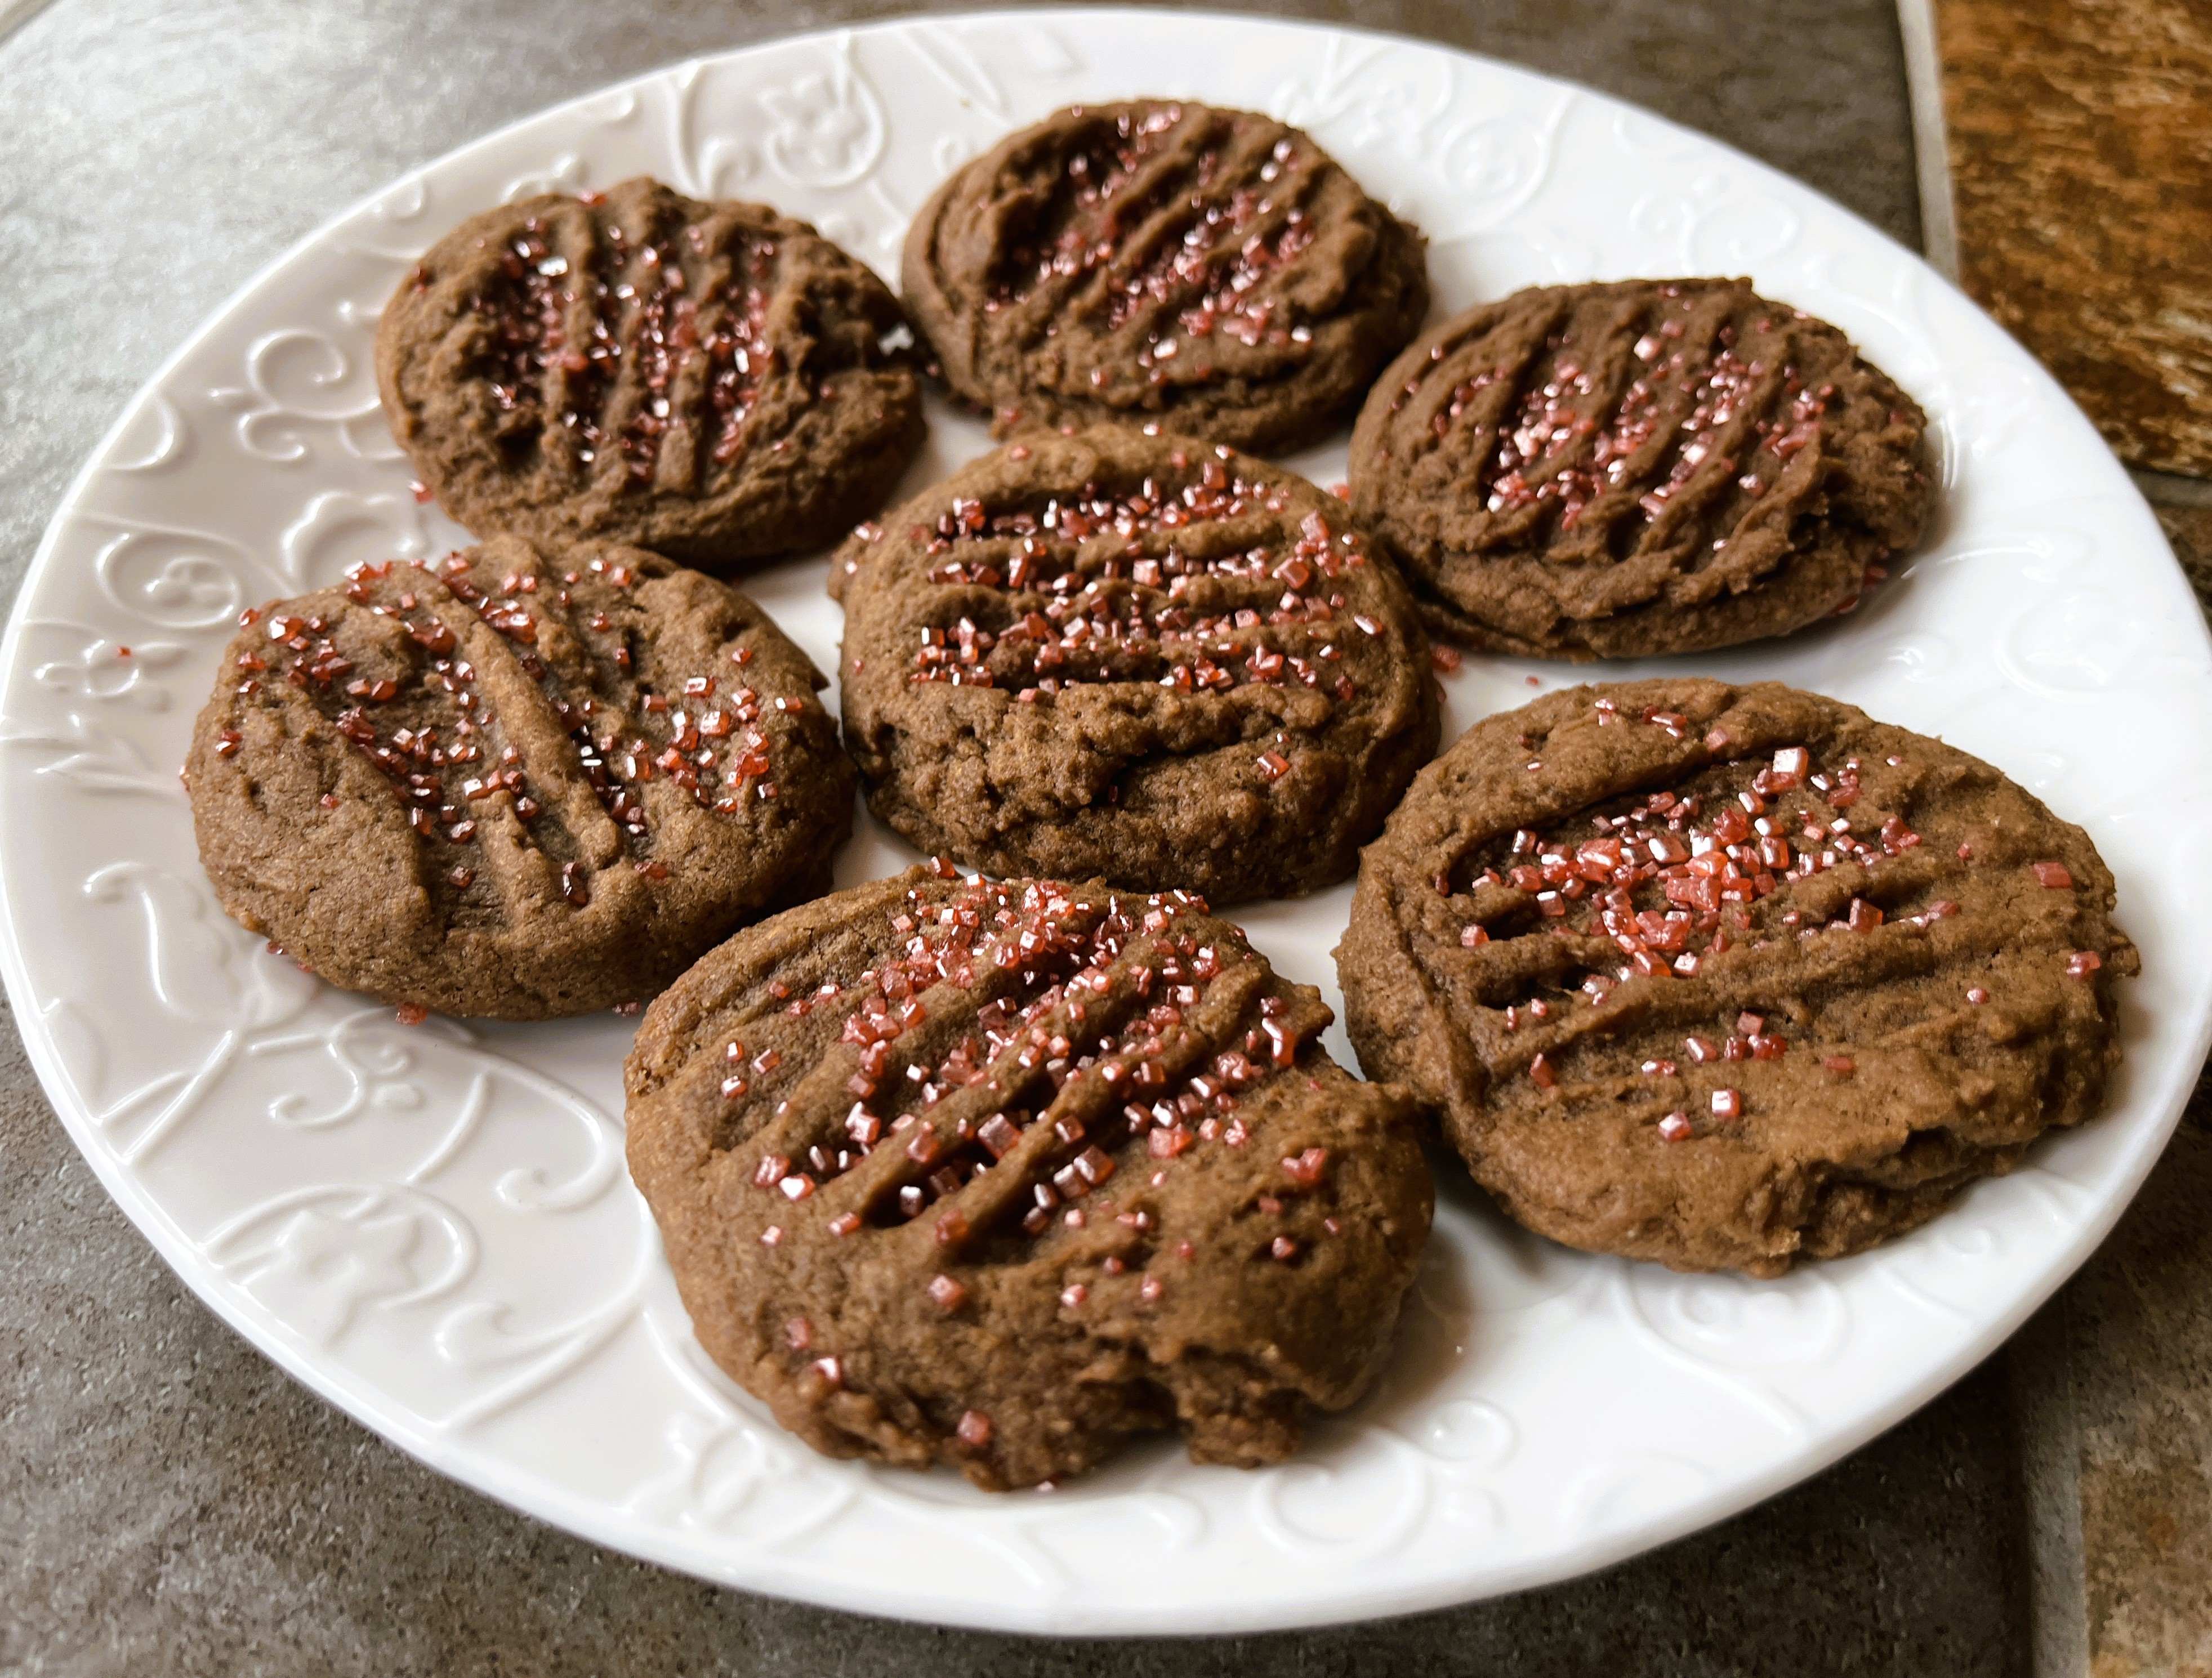
Bailey’s Cookies
INGREDIENTS:
- 1 cup softened butter
- 1/2 cup granulated sugar
- 1/2 cup brown sugar
- 1 egg
- 1 tsp. vanilla
- 1/4 cup Bailey’s Irish Cream
- 1 tsp. baking soda
- 1 tsp. cream of tarter
- 1/4 cup of cocoa powder
- 2 1/2 cups flour
DIRECTIONS:
- Preheat oven to 350 degrees fahrenheit. Prepare baking sheets with silicone sheets, parchment paper, or oil.
- Cream together softened butter and both sugars.
- Add egg, vanilla and Bailey’s. Mix until well combined.
- Add baking soda, cream of tarter, cocoa powder, and flour. Mix until well combined.
- Using a small cookie scoop, place 12 scoops on each cookie sheet. Press each down lightly with a fork. Optional: Sprinkle with crystalized sugar or sprinkles if desired.
- Bake for 6-7 minutes. Cool before transferring to a cooling rack.
Recipe from Mrs. Brown’s Kitchen