Appetizers · Garden · New Favorite · Sandwiches · Sauces · Vegan · Vegetarian

Cherry Tomato Jam

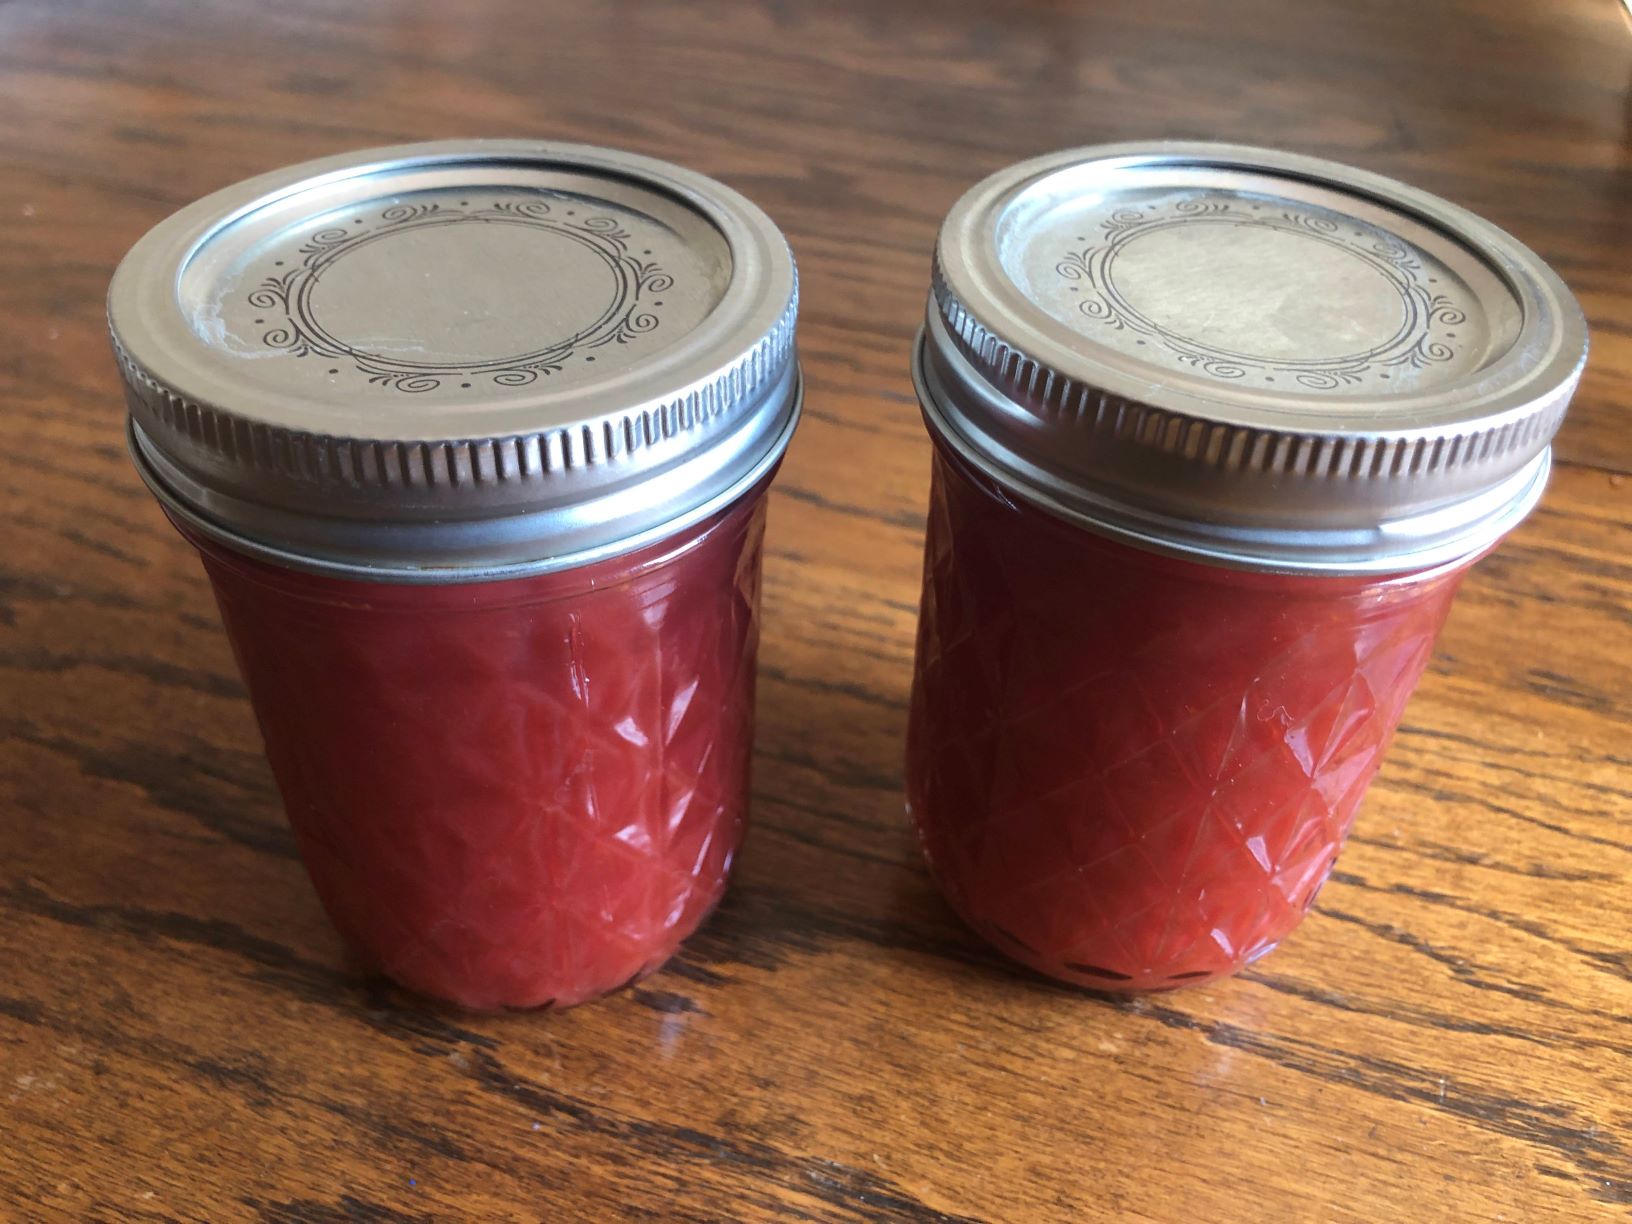
Sungold cherry tomatoes have become our family’s favorite tomatoes, eating them off the wine as a treat.  They are so sweet and incredibly delicious. Just perfect for Cherry Tomato Jam. 

Each year I seem to have an abundance of tomatoes, making salads with them, roasting them with peppers and garlic and much more.  Tomato Jam recipes were popping up this year and I decided to try it.  It’s so easy and delicious.  I haven’t tried to can it because it disappears from the frig long before the expiration date.  Serve it on a crusty bread or on top of a soft cheese.  I also made a Grilled Cheese with a schmeer of tomato jam.  YUMMO!
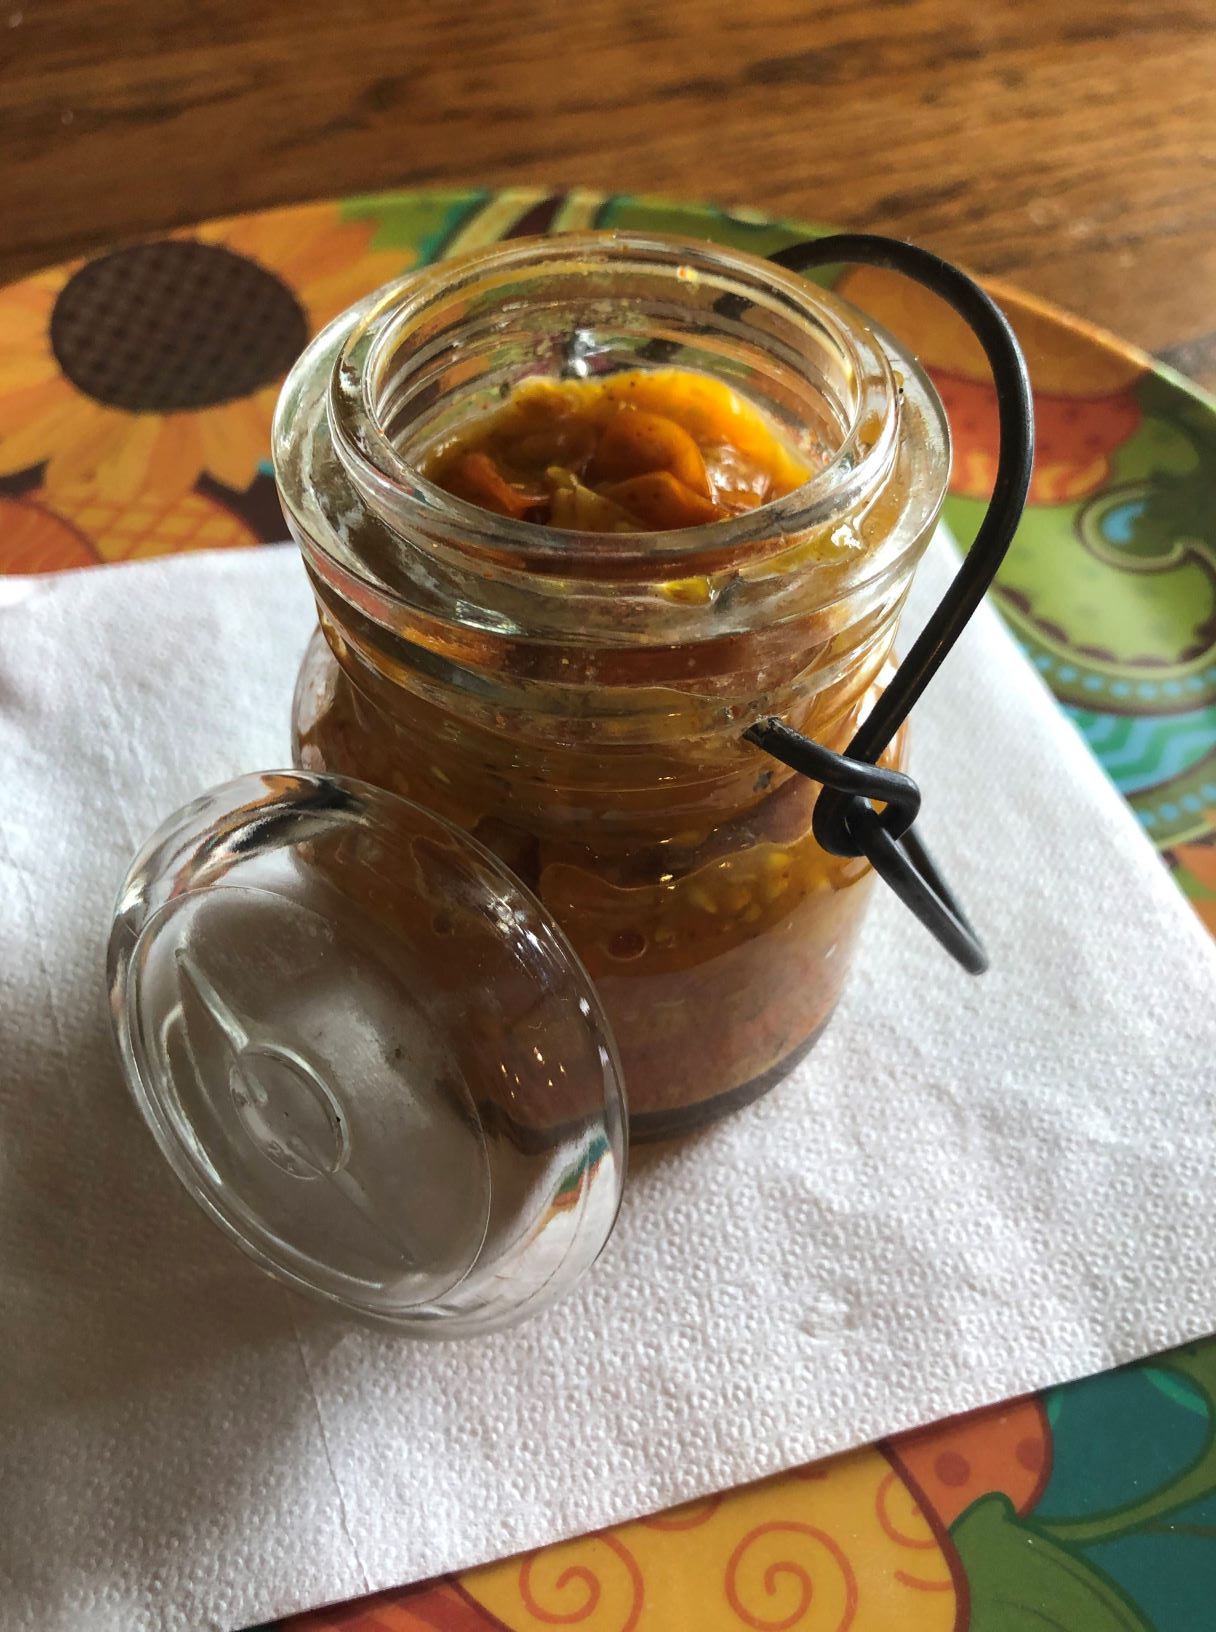
CHERRY TOMATO JAM

1 tablespoon olive oil
1 large shallot, chopped (about 1/3 cup)
3 cloves garlic
1 teaspoon chili powder
1 teaspoon smoked paprika
32 ounces (2 lbs.) cherry tomatoes (about 2 1/2 pints)
1/4 cup water
2 tablespoons red wine vinegar
2 tablespoons pure maple syrup
1 large spring thyme
1 teaspoon kosher salt
1/8 teaspoon freshly ground black pepper

  • Heat the olive oil in a large stainless steel or non-reactive pot over medium heat.  Add the shallot and garlic and sauté for 3-5 minutes until softened.
  • Add the chili powder and smoked paprika and sauté 30 seconds more.
  • Add the remaining ingredients and bring to a boil.  Reduce heat to medium low and simmer, stirring often, until the tomatoes burst and thicken, for about 10-15 minutes.  If at any time the pan becomes dry and the tomatoes begin to burn, add a tablespoon or two more of water and reduce the heat a bit more.
  • Remove from heat and season with additional salt and pepper, to taste.  Cool completely and store in an airtight container in the refrigerator for 10-14 days.


Breads · Breakfast · Garden · My Roots · Vegan · Vegetarian

Wild Plum Jam

Wild Plums are a new discovery for me. A few weeks ago,  I was on a walk with my granddaughter when we saw these pretty purple, red and yellow fruit growing in the open space.  I brought a few back to house and identified them.  Wild Plums!  My daughter and her family walked to open space to pick several pounds of fruit. We were cautiously optimistic and decided to make a trial batch from the few ripe plums.  We left the skins on for the trial. It was delicious but and we did not like the texture of the cooked skins.

A week later, the rest of the plums were ripe and we decided to make and can the jam, using a food strainer to remove the skins.  My Mom’s trusty food strainer did the trick!

Vintage Sieve and Pistle

The jam is pretty and tart.  I can’t wait to try it on  breakfast toast, pancakes, or perhaps with a mild cheese.

Finding these little gems caused interest in the history of the wild plum and how Native Americans and our ancestors may have used them.  Wild Plums appear to grow in many states. The Minnesota Conservation Volunteer published an interesting history.

WILD PLUM JAM

5 pounds Wild Plums
5 cups sugar (the original recipe called for 10 cups of sugar)
4.5 tablespoons lemon juice

  • Pit the plums and place them into a thick bottomed pot.
  • Add in the lemon juice and cook for a few minutes, until the plums begin to release their juices.
  • Add in sugar and stir.  Simmer, stirring often for about 10 minutes.1/2 to compensate for the naturally sweeter fruit.
  • When the jam thickens, pour the hot jam into a food sieve.  Press to remove the juice and pulp.  Discard the remaining skins.  Put back on heat to assure the jam returns to temperature.
  • Pour the hot jam into prepared canning jars.  At this point, the jam can either be stored in the refrigerator or processed for 10 minutes in a water bath canner.
  • After a 10 minute process, turn off the heat, wait 5 more minutes and then remove the jars from the canner.
  • Allow the jars to cool, and after 24 hours place any unsealed jars in the refrigerator and use within a few weeks.

Recipe adapted from Earthfoodandfire.com

Appetizers · Garden · New Favorite · Vegan · Vegetarian

Sweet Yellow Squash Pickles

Zucchini is normally the vegetable that you are drowning in by the end of summer.  This year it was yellow squash.  After making two batches of Lemon Yellow Summer Squash Bread and roasting pans of mixed garden vegetables, I moved on to a new recipe for Sweet Yellow Squash Pickles.  My Mother always made Bread & Butter Pickles and I loved them.  These are very similar and quite delicious.  A new favorite for my yellow squash harvest!

4 small yellow squash – cut in thin (1/4-inch slices or less); about 3 cups
1/2 cup thinly slices red onion
1 tablespoon kosher salt
1 cup sugar
3/4 cup white vinegar
1 teaspoon mustard seeds
1 teaspoon celery seeds
1 teaspoon dry mustard

  • In a large non-metal bowl, combine the squash and onion. Sprinkle salt over the vegetables and stir to combine. Cover and chill in the refrigerator for 1 hour. Then, drain the liquid from the vegetables.
  • In a medium saucepan, combine the sugar, vinegar, mustard seeds, celery seeds, and dry mustard. Bring to a boil and stir until the sugar is dissolved.
  • Add the squash and onion mixture and then return to boiling.
  • Remove from heat. Ladle the hot vegetables and liquid into sterilized canning jars.
  • At this point, the jars can be processed for long-term canning or covered and stored as-is in the refrigerator for up to one month.
  • Chill at least 24 hours before serving.

Recipe from Inspiredbycharm.com 

Appetizers · DIY · Family Favorites · Garden · Home · My Roots · Vegan · Vegetarian

Easy Dill Pickles

My Mother always grew a large garden and had a plentiful canning room in the basement with many types of pickles, tomatoes, corn, green beans, chicken, beef, peaches, pears, apples,  jams. jelly, and more.  What she didn’t can, she froze.  I fondly remember the annual family gathering to pick, husk, parboil, cut and pack sweet corn for the freezer.  How wonderful to enjoy this bounty during the long, cold Iowa winters.

This year I had a plentiful harvest of cucumbers. With the first hard freeze shortly after Labor Day,  I had to pick most the produce, including many cucumbers.  I made my Mom’s Easy Dill Pickle recipe and it didn’t disappoint. The addition of fresh garlic to the second batch will be a new twist!

EASY DILL PICKLES

Medium Cucumber, sliced into spears or slices
Fresh dill
White vinegar
Water
Salt
Alum
Optional:  Peeled cloves of garlic

  • Wash medium size cucumbers and pack in canning quart jars.  Add fresh dill to the top (stem and all).  Place 1/4 teaspoon alum in the top of each quart jar of cucumbers.
  • Boil canning lids and rings in a separate pot.
  • Mix 1 part vinegar to 3 parts water.  To each quart of liquid add 4 tablespoons salt. Heat liquid to boiling point.  Pour liquid, while hot, over pickles.
  • Immediately place lids and rings on each jar.Let stand until cool.  Check to assure lid has sealed. Let the pickles sit in the brine for a few days/weeks. Store in a cool place.
  • I’ve also made these pickles and just placed in the frig, skipping the canning process.
Family Favorites · Fish

Low Country Boil

Many years ago my husband’s family had a large family reunion on the North Carolina Beach.  Each family took turns cooking dinner.  My brother-in-law, Ron, and his wife, Cathy treated us to a Low Country Boil.  It was wonderful and something our family still loves.  While we are landlocked, we can still enjoy a good Low Country Boil.

LOW COUNTRY BOIL

5 quarts water
2 pounds Kielbasa or hot smoked link sausage, cut in 1″ pieces
4 pounds small new red potatoes
6 ears fresh sweet corn, husked and cleaned
4 pounds fresh shrimp in the shell
1 red onion
Old Bay Seafood seasoning
Cocktail Sauce

Optional:  Add fresh, cleaned mussels or crab at the same time as the shrimp.

  • Bring 5 quarts water and 1/4 cup Old Bay Seasoning to a rolling boil in a large covered stockpot.
  • Add potatoes and onion; bring to a boil and cook, uncovered, 10 minutes.
  • Add sausage and corn, and return to a boil. Cook 10 minutes or
    until potatoes are tender.
  • Add shrimp to stockpot; cook 3-4 minutes or until shrimp turn pink. Drain. Serve with Old Bay Seasoning and cocktail sauce.
  • Serve all on large serving platters. Dig in!
Desserts · Family Favorites

Peach Raspberry Cobbler

Palisade (Colorado) peaches are divine and something our family looks forward to each year.  Due to an early freeze, we weren’t sure we could purchase peaches.  A local high school band had a fundraiser with peaches and we purchased 3 boxes of the most beautiful peaches.

Palisade Peaches

This recipe for cobbler combines my favorite two fruits, raspberry and peach. My mouth waters just thinking about it.  Fresh fruit is the best but I have also made from frozen peaches with great results.

What will I do with the rest of the peaches?   Oh, wonderful peach salsa!

PEACH RASPBERRY COBBLER

8 medium sized peaches (about 2 lb. or 4 cups), ripe peeled and sliced
1 1/4 cups sugar
2 tablespoons lemon juice
1/2 teaspoon ground cinnamon
2 tablespoons cornstarch
2 cups raspberries, rinsed and drained
1 cup flour
1/2 cup butter, softened
1/4 teaspoon ground nutmeg

  • Preheat oven to 375 degrees. Grease a shallow 1.5 to 2 quart baking dish.
  • Mix together peaches, 1/2 cup sugar, lemon juice, cornstarch, and cinnamon. Pour into prepared baking dish.  Sprinkle raspberries over the peaches.
  • In a food processor or a bowl, mix together flour, 3/4 c. sugar, butter and nutmeg until it has the texture of coarse oatmeal.  Crumble over the fruit.
  • Bake until bubbling in the center and golden brown on top, about 45 -60 minutes.
  • Cool for at least 10 minutes.  Best served warm with vanilla ice cream.
Family · Family Favorites · Holidays · My Roots

Easter Memories

Easter 2020 will be like no other.  Most Americans will be home, distanced from family and friends.  Our family will be doing the same but plan to share food and get together on Zoom for a short visit.  Saturday we will be doing porch pickups of 1) homemade rolls, 2) Fresh Peach Cobbler…summertime favorite (using frozen peaches from last summer), and 3) Scotcheroos…Easter tradition.  We will each cook our own dinner and enjoy a bit of what the others have made.  It won’t be the same, but it will be an Easter to remember.

Today is the 26th day of self isolation and I am so blessed to be doing well, keeping in touch with family and friends and checking items off my ‘to-do’ list.  Cleaning closets and recalling memories is part of the experience.  While selecting books to read to my grandchildren, I found one of my childhood Easter books now very tattered but well loved.  One of my daughter’s remarked that the bunny’s red eye creeps her out…I never even thought about that!

The pictures and stories are charming and would spark my childhood imagination.  Here are a few pages:

IMG_5505IMG_1684IMG_4584IMG_8990

‘Helping One Another’ is something we need to do all of the time, but especially now.  ‘Jack In The Pulpit’ takes me back to springtime in Iowa and wandering the timbers with my Mother gathering Morel mushrooms and seeing Jack In The Pulpits, bluebells, Johnny Jump Ups, and many other wild flowers.

This week I also rediscovered my childhood bank, a bunny so sweet and tender. She was manufactured in the 1950s by Knickerbocker Plastics in North Hollywood, California.  My mother saved her for many years, but why have I stored in the basement all these years?  It’s time for her to shine her pretty little face again. IMG_8330

Memories are a wonderful thing…to be treasured and shared.

May your Easter be joyful…May your blessings be many.  Happy Easter!

Breakfast · Cakes · Family · Home

My Favorite Things … What’s Keeping Me Sane

Living through a Pandemic was certain not on my wish list but here we are. While I try to keep an upbeat attitude, my first inclination is go dark but I’ve learned that doesn’t accomplish a thing.

Keeping busy with things that interest me is key. I have a long list of ‘to-dos’ that I have been ignoring so … get on it, Cathy! There is yardwork and garden preparation, closets to be cleaned, Shutterfly books to finish, genealogy research to be done, etc. I try to accomplish a little of this each day but self-care and personal connection is most important.

This is day 13 of self isolation except for a very protected trip to get my allergy shot (extreme tree pollen allergies) and porch delivery of my Mom’s chicken and noodles to my girls and their families.

Each day the weather cooperates, I try to go on a long walk. Seeing neighbors outside playing with their children, sitting on their front porch or simply waving to neighbors warms my heart.  The two best experiences while walking were 1) encountering a family of dinosaurs with Mom and little daughter in full dinosaur costumes and Dad in a mask; 2) completing a chalk lava field drawn by a child on their sidewalk.  I love to see such creativity!

Talking with my girls and my grandchildren is saving me, too.  My grandchildren are ages 6, 4, 3 and 1.  The opportunity to read books, have dance parties, and just play via video chat is a wonderful capability that we all can enjoy.  Talking with friends, Virtual yoga with my Hot Flash yoga pals, virtual happy hour with our local winery, and family Zoom sessions also help to keep me connected.

I’ve not been to the store since Friday, March 13 but I have plenty to eat.  My Mother taught us to always have a full pantry and freezer and now is the time to use it!  To conserve on eggs, I’ve shifted my daily egg to a breakfast cake I’m loving with a dollop or yogurt!

Breakfast Cake

2 mashed bananas
1.4 cups oatmeal
2 beaten eggs
3 cups berries (fresh, frozen or canned/drained–even less works just fine)
1/2 teaspoon cinnamon (optional)

Mix together and placed in greased pan (about 8×10″) and bake at 350 degrees for 25 minutes. Cut in squares.

I heat a square of breakfast cake in the microwave for 20 seconds and then add a dollop of Greek Yogurt. So yummy!

This experience causes me to think back to the 1918 Spanish Flu Pandemic and the hardship of those times.  What did our ancestors do in quarantine, usually with a multitude of children and no chance of grocery delivery or the care of today’s modern medicine.  My Grandma Susie would be slaving over a hot wood cookestove in a very tiny house, with 4 little kids running underfoot.  To my knowledge, no one in our family died during that time but I do not know who may have contracted the disease, either.  

A friend shared with me that her Grandmother had written a journal during the time of the Spanish Flu and she has been reading it.  It prompted her to start a journal for her grandchildren.  What a great idea! I am not a journal kind of person, but this is such a unique time in our lives, that I think it is important to document what this experience has been like.  Perhaps we can actually learn from our mistakes in the future.

In closing let me thank everyone who is sacrificing their own safety to care for the people of the United States. You are our true heroes!

God Bless and Stay Well!

Breakfast · Cookies and Bars · Gluten Free · Health · New Favorite

Berry Oatmeal Breakfast Bars

These Berry Oatmeal Breakfast Bars are great for breakfast on-the-go or for a snack.  The bars are free of refined sugar and gluten.  The original blueberry recipe from Iowa Girl Eats is delicious (of course everything she makes is!).  My second batch was made with blueberries and raspberries…Yum!  I may try to substitute applesauce for the bananas on a future batch for family members that don’t like the taste of bananas.

Wouldn’t these be great to freeze and have on hand especially for busy Moms once the kids are back to school?

BERRY BREAKFAST OATMEAL BARS

  • 2.5 cups certified gluten-free old fashioned oats, divided (I actually just used the food processor on all of the oats)
  • 1 teaspoon cinnamon
  • 1/2 teaspoon baking powder
  • 1 cup milk
  • 1/2 cup mashed banana (about 2 small or 1 large banana)
  • 1/4 cup honey
  • 1/4 cup coconut oil, melted
  • 1 egg
  • 1 teaspoon vanilla
  • 1 heaping cup of berries
  1. Preheat oven to 350 degrees then spray an 8×8″ baking pan with nonstick spray and set aside.
  2. Add 1 cup old fashioned oats to food processor or blender and process until oats have turned into flour (Note:  I blended the entire 2.5 cups).  Set aside.  Alternatively you can use a scant cup of oat flour.
  3. Add milk, mashed banana, honey, coconut oil, egg, and vanilla to a large bowl then whisk to combine.  Add remaining 1.5 cups oats, oat flour, cinnamon, baking powder, and salt then stir to combine.  Fold in the berries then pour batter into greased baking pan.
  4. Bake for 35-40 minutes or until the edges are golden brown and the center has set.  Cool before slicing into bars and store in the refrigerator.  Alternatively, you can individually wrap the bars in Saran Wrap and freeze.

Recipe adapted slightly from: Iowa Girl Eats

Family · Garden · Home · Home

Our Robin Adventure

May 7,  I stepped onto my front porch and noticed a few unsightly weeds hanging from my front porch light.  I pulled them down and went about my day.  The next morning, lo and behold, there was a beautiful nest perched on top of the porch light.

I marveled at the intelligence of Mama and Papa Robin, selecting a nest site that was under the cover of the porch and warmed by the light 24x 7 because they built the nest over the light sensor!

On May 12, the eggs started to appear, first two, then a total of 5.  The Colorado May weather was unusually cold so Mama was on the nest most of the time.


Mama Robin lays her eggs May 12-15

Excitement was building as our family watched the Robin’s nest with great anticipation.  The grandkids were so excited to see photos and watch the wonder of nature.

Fifteen days later the eggs started to hatch, one by one.  To be able to see (never touch) these sweet babies up close was amazing.  The nest was too tall to actually look into the nest, iphone photos and video to the rescue (centering of the photos was often an issue).


Mama and Daddy Robin were consumed with feeding these hungry babies and they became very protective whenever we stepped out on the porch, swooping by and touching my hair to give warning.

Eleven days after the first hatch, two of the babies flew from the nest.

June 8: Two babies prepare to leave the nest

Mama was talking to them and away they went.  A few days later the last two babies also left the nest.  Their soaring abilities were very good and I hope they have learned to soar and be safe.

In the meantime, the grandkids are disappointed that the birds are gone, as am I.  Thank you, Mother Nature, for the great adventure and we hope we’ll have the opportunity again next year.

Below is a link to a short video of our Robin Adventure.