Potato Salad was a must-have side dish for every picnic and barbecue. My Mother made THE BEST potato salad ever and I can replicate it pretty well. There are no measurements, just a ‘pinch of this and a pinch of that’ type of preparation. When my Mother made it, she used onions from the garden and eggs from our farm.
My Potato Salad is pretty darn good, but you can never top what Mom could do!
POTATO SALAD
SALAD:
Boiled, peeled and cubed potatoes
Boiled, peeled and chopped eggs
chopped green onions (or sweet white onion)
celery seed (or chopped celery)
DRESSING:
mayonnaise
milk
prepared mustard
sugar
salt
Mix together potatoes, eggs, onions (and celery if desired). Sprinkle with celery seed.
In separate bowl, mix mayonnaise with enough milk to thin to consistency of salad dressing. Add sugar and salt to taste.
Refrigerate for several hours before serving. The flavor is best the next day.
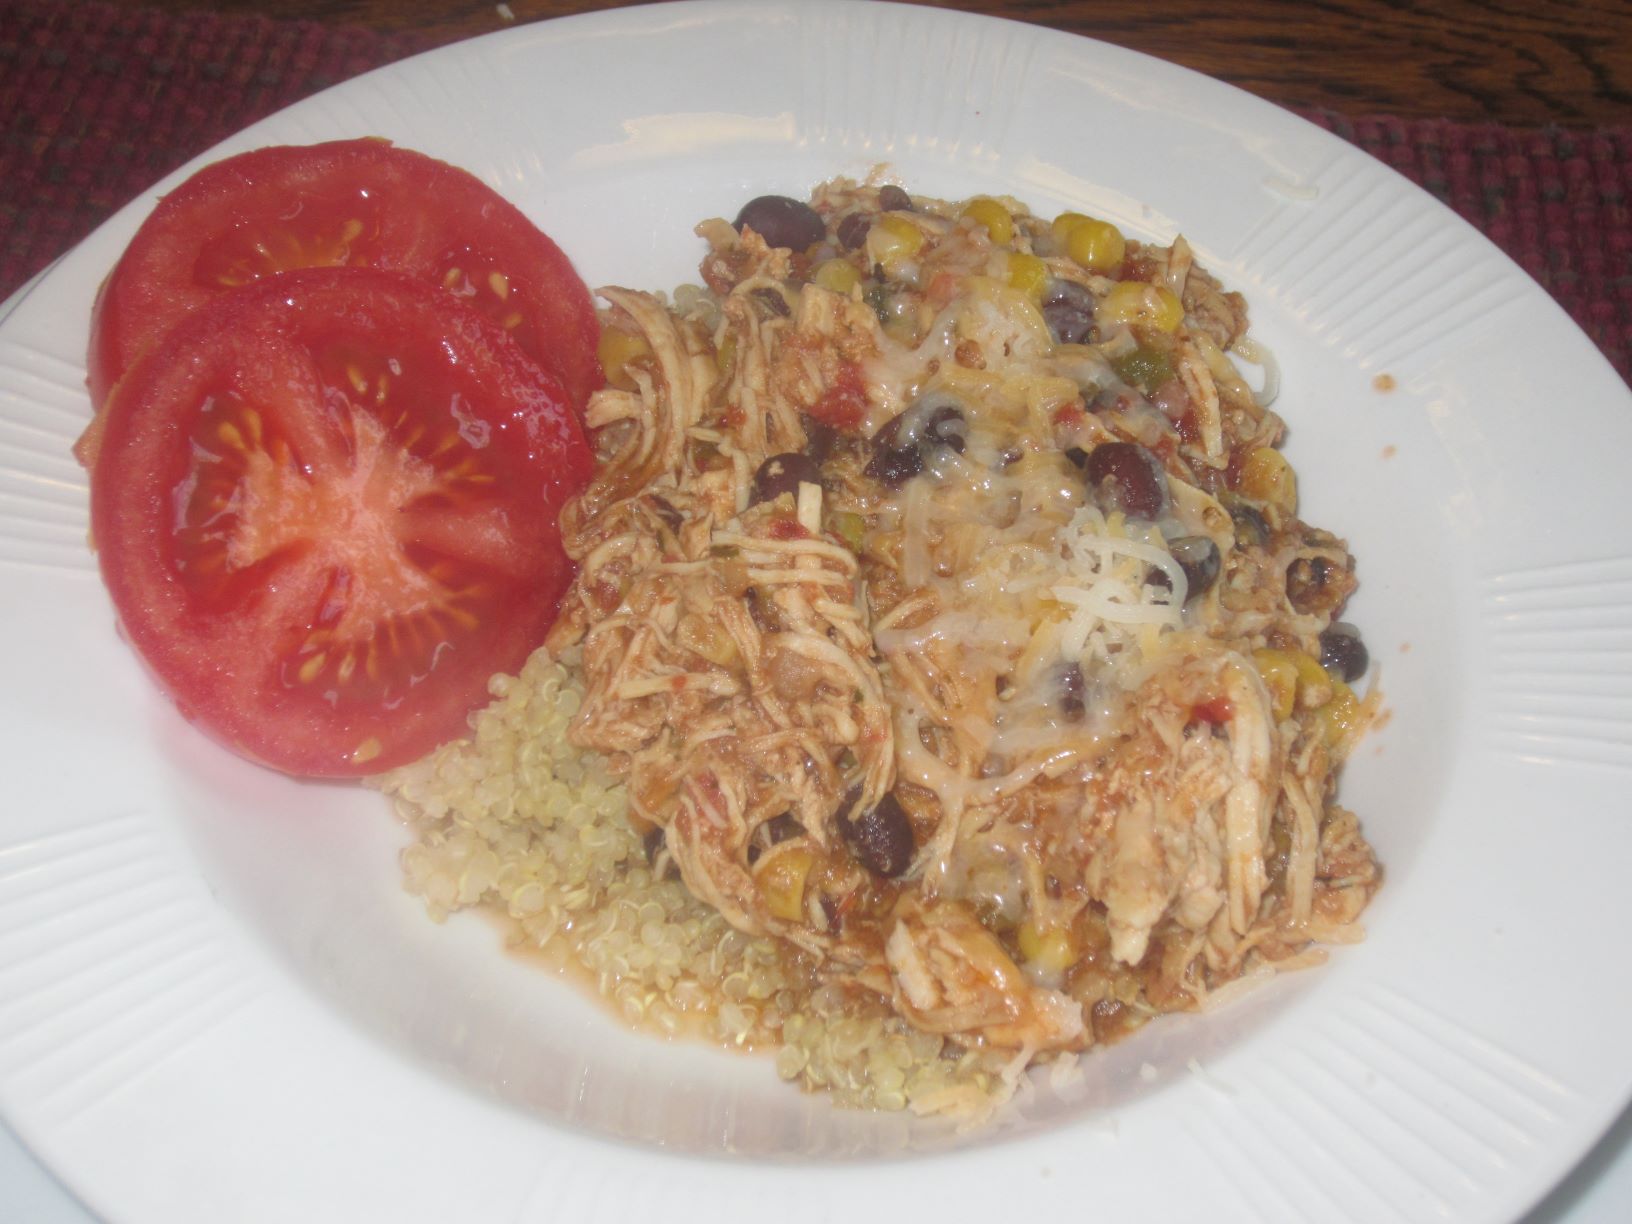
Salsa Chicken in the crockpot is a simple, hearty dish and perfect to serve for a crowd. You can easily modify the recipe to match your taste, adding more vegetables, hotter chiles, etc.
I’m trying to avoid simple carbs so I served over quinoa with sliced fresh tomatoes. It would be fun to serve the chicken in a buffet with a variety of serving options (outlined below) to allow the guest to make their own finished product.
SALSA CHICKEN IN THE CROCKPOT
2 pounds chicken breasts (if large, cut in half)
1 can whole kernel corn, drained
1 can black beans, drained
7 oz. can diced green chiles
16 ounce jar of salsa
1 teaspoon dried cilantro
salt and pepper
Place chicken breasts in bottom of crock pot and season with salt and pepper.
Add corn, beans, chiles and salsa. Sprinkle with cilantro.
Cover and cook on high for 5-6 hours or 8 hours on low.
About an hour before serving, shred the chicken in the crockpot and let simmer until ready to serve.
Serve with fresh tomatoes, avocado, sour cream, shredded cheese, or salsa as you like.
Serving options: Use as filling in burritos or tacos. Serve over quinoa, baked potato, rice or noodles.
My Dad, Archie, was one of the funniest men I ever knew. His sense of humor was direct, often dry, and accepted by all. He could say things to people that no one else could say and they would laugh heartily and love him dearly. Love of laughter is one of the great gifts my Father gave to me. I miss him.
When I was 12 years old my Father died as a result of a farming accident. From that day forward my life changed forever. He would never attend one of my high school sporting or music events…he wouldn’t walk me down the aisle…he wouldn’t get to hold my children in his arms and play with them. But he is always with me…always.
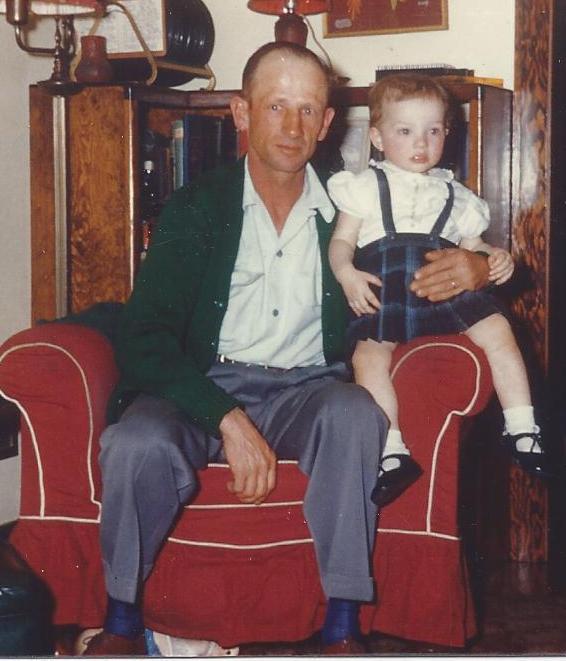
Photographs of my Father and I are near and dear to my heart because there are few. Taking a photograph ‘back in the day’ required film, developing, flash bulbs and they were treasured….not to mention that my Father was camera-shy.
Before my Mother died, she passed on photos my Uncle Mahlon ‘Sparky’ took when I was little. These are some of the most treasured photos of my childhood.
The sweater my Father is wearing in this picture, is one I wore through high school and still have in my Mother’s cedar chest (if you’re under 50, you probably don’t know what that is).
Dad, I know you’re listening, and know I love you and miss you! Heavenly hugs to you and to Mom.
Peanut Butter and Chocolate combined are a beautiful match and this recipe was a ‘must try’ from Iowa Girls Eats. I have to say that they are absolutely delicious even though my end result was not as attractive as I would have liked. I’m chalking that up to baking at altitude (or attitude!).
PEANUT BUTTER BROWNIES
For the Chocolate Sheet Cake:
1 cup butter
1 cup water
1/4 cup cocoa powder
2 cups flour
2 cups sugar
1 teaspoon baking soda
1/2 teaspoon salt
1/2 cup sour cream
For the Peanut Butter Icing:
3 cups powdered sugar
1/3 cup + 2 Tablespoons milk
6 Tablespoons butter, melted
1 teaspoon vanilla
3/4 cup peanut butter
Preheat oven to 350 degrees. Combine butter, water, and cocoa powder in a large saucepan then bring to a boil. Remove from heat then set aside to cool slightly.
Whisk together flour, sugar, baking soda, and salt in a large bowl then create a well in the center. Add cocoa mixture then whisk until smooth. Add sour cream then whisk until smooth.
Pour cake batter into a non-stick sprayed baking sheet (I used a 17×12) or jelly roll pan, then spread evenly.
Bake for 15-18 minutes, or until a toothpick inserted into the center comes out clean.
For the Peanut Butter Icing: Whisk together powdered sugar, milk, melted butter, and vanilla in a large bowl. Add peanut butter then whisk to combine. Microwave for 30 seconds then stir if too thick. Pour over warm cake then spread evenly. Allow to cool then slice and serve.
The past several weeks have been a little crazy for me. Not only was my first grandbaby expected but I was getting new vinyl siding. No more blue house for me…or as the kids called it…the smurf house. In the ’80s, country blue was big but honestly, it’s been out of style for a long time. The decision to paint/repair or to buy new siding was a big economic commitment. I finally made the decision…vinyl siding.
The kids were a little nostalgic about the change…no more smurf house! I was excited to see my house transformed. The results were amazing.
BEFORE…Smurf HouseAFTER…Is that my house?
You know the old saying that once you start fixing one thing it leads to a host of other needed improvements. I intended to paint the old garage door but after 15 minutes of scraping, I realized this door was not going to stay. My garage was always dark and a door with windows was on my wish list. Voila! Home Depot had the solution. Now when I walk into the garage, my first reaction is ‘I must have left the garage door open since it’s so light in here’ but realize the new door makes that much difference.
Every big job must have at least one issue and mine was the mailbox. So what does a new siding job have to do with a mailbox you ask? During a delivery of siding supplies, the workers knocked over my old mailbox. It was vintage (meaning ready to be replaced anyway), so another trip to Home Depot for a brand-spanking new white mailbox and post. The workers installed it for me while I was away at an appointment (bless their hearts!). Only problem…it was installed hanging about 6-8″ over the sidewalk. Needless to say, I didn’t want to be the owner of a mailbox that took out the neighborhood kids skating down the sidewalk.
Neighbor, Gary, to the rescue. He was kind enough the next day to move it back to the safe zone for our neighborhood. Now, I hope, I’m on the good side of the HOA and my neighbors.
This job now has me contemplating my next project…I think the smurf shed needs a transformation, too!
Tortilla roll-ups have been a favorite of mine since the early ’80s. It’s fun to experiment and add ingredients that appeal to your specific taste. Daughter, Megan, made these for Sarah’s baby shower earlier this spring, adding Iowa dried beef (not the canned stuff) to the delight of our guests.
A chilled tortilla roll-up would be a great summer snack or sandwich replacement.
SOUTHWESTERN ROLL UPS
5 large flour tortillas (we used spinach tortillas)
1 bunch green onions, chopped
4 ounces chopped green chiles, drained
8 ounces cream cheese, softened
8 ounces sour cream
1/2 pound Cheddar cheese, shredded
salt and pepper to taste
dried beef, corned beef, turkey (optional)
salsa, sour cream, guacamole
Combine green onions, green chiles, cream cheese, sour cream, cheddar cheese and salt and pepper with an electric mixer until combined. Spread mixture thinly and evenly over tortillas to within 1/8-inch of edge.
Place slices of dried beef, corned beef or turkey on top (optional).
Roll up and wrap each tortilla in plastic wrap. Refrigerate for a minimum of an hour or as long as overnight.
Immediately before serving, slice in 3/4 inch rounds and arrange on serving plate. Serve with salsa, guacamole and/or sour cream.
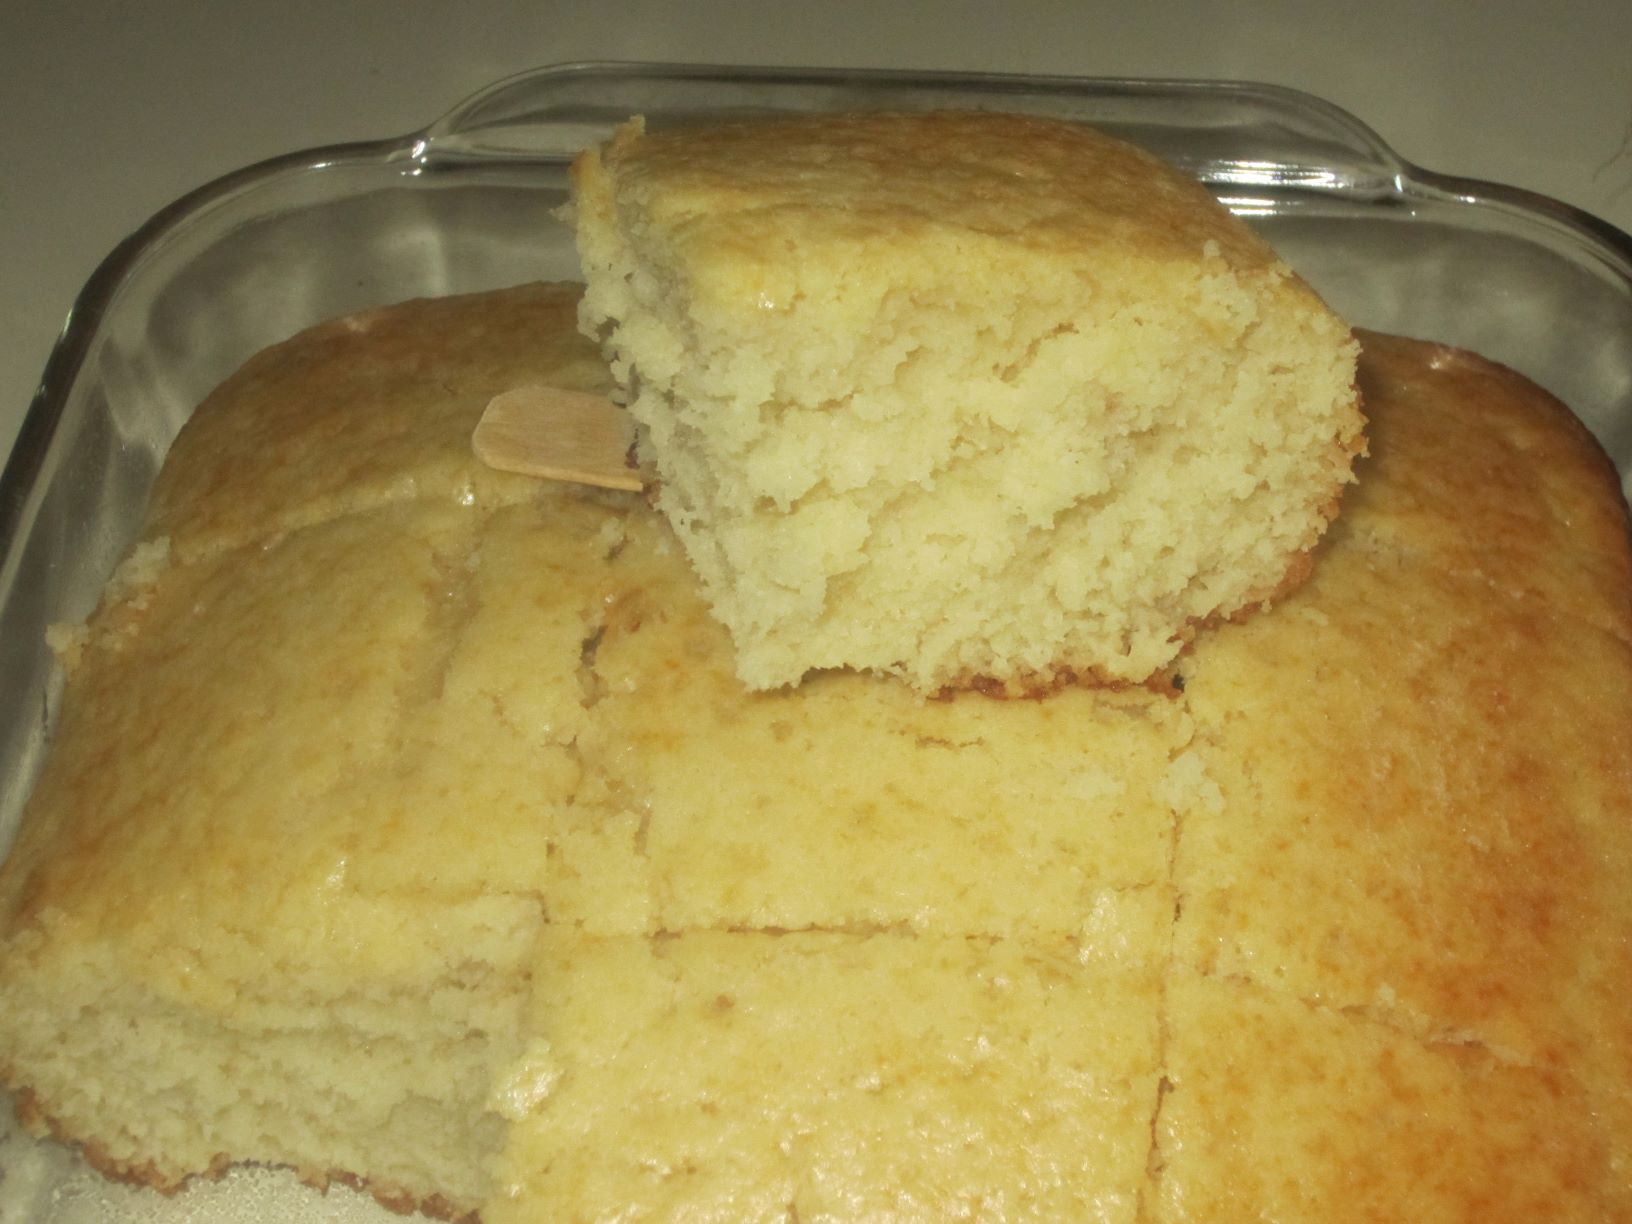
Strawberry season is here. Bring on the shortcake! This recipe is from an old Czech cookbook that I’ve cherished for years. The cake is yummy enough to eat by itself, but topped with fresh strawberries and whipped cream is to die for.
My girls love the cake more than the strawberries…I’m partial to the entire package. I have been know to drown the cake and berries in milk, something I picked up from some elderly Norwegian friends back in Iowa.
However you like it, try it. It’s strawberry time!
STRAWBERRY SHORTCAKE
2 eggs, beaten
1 cup sugar
1/2 cup butter
1 cup milk
2 teaspoons baking powder
2 cups flour
1/4 teaspoon salt
1 teaspoon vanilla
Preheat oven to 350 degrees. Mix all ingredients together and bake in 9×9″ baking pan for 45 minutes or until baked through.
Cut into squares and top with fresh sliced strawberries and whipped cream.
New recipes are such fun for me and I loved the idea of Spanakopita bites. Spanakopita is a favorite but would never have the patience to make the real deal. I had no idea that you could buy phyllo cups at the local grocery store but they make simple work of this yummy recipe.
The recipe is simple and the results are great. The bites can be served hot or at room temperature. Either way, you’ll enjoy!
SPANAKOPITA BITES
30 frozen phyllo cups (2-15 count packages)
1 Tablespoon extra virgin olive oil
1 small onion, minced
2 garlic cloves, minced
salt & pepper
10 oz. frozen spinach, thawed then squeezed dry
6 oz. crumbled feta cheese
1/4 cup chopped fresh parsley
pinch ground nutmeg
1 egg, whisked
Preheat oven to 350 degrees then place phyllo cups on 2 baking sheets and set aside.
Heat olive oil in a skillet over medium heat.
Add onion, season with salt and pepper, then sauté until translucent, about 5 minutes. Add garlic and sauté for 30 more seconds then transfer mixture to a large bowl and cool slightly.
Add spinach, feta cheese, parsley, nutmeg, and egg then stir to combine.
Spoon mixture into phyllo cups then bake for 12-15 minutes, or until cups are golden brown around the edges.
I love a hearty breakfast from time to time and this casserole is a favorite. It combines all of the things I like…sausage, eggs, potatoes and, of course, cheese. The casserole is easy to make and can be refrigerated for up to 24 hours before baking making easy work of brunch/breakfast preparation.
Serve with fresh fruit, perhaps a pastry and good cup of hot coffee!
FARMER’S BREAKFAST CASSEROLE
6 cups frozen shredded hash browns 1.5 cups shredded Jalapeno Monterey Jack cheese 2 cups cooked breakfast sausage (or ham) 1/2 cup green onions, sliced 8 eggs, beaten 3 cups milk 1/4 teaspoon salt 1/4 teaspoon pepper
Preheat oven to 350 degrees.
Grease a 4 quart baking dish. Evenly arrange the potatoes in the bottom of the dish. Sprinkle the cheese, sausage and green onions on top.
In a separate bowl, combine the eggs, milk, salt and pepper. Pour the egg mixture over the potato mixture.
Bake uncovered for 50-55 minutes. Let stand for 5 minutes before slicing and serving.
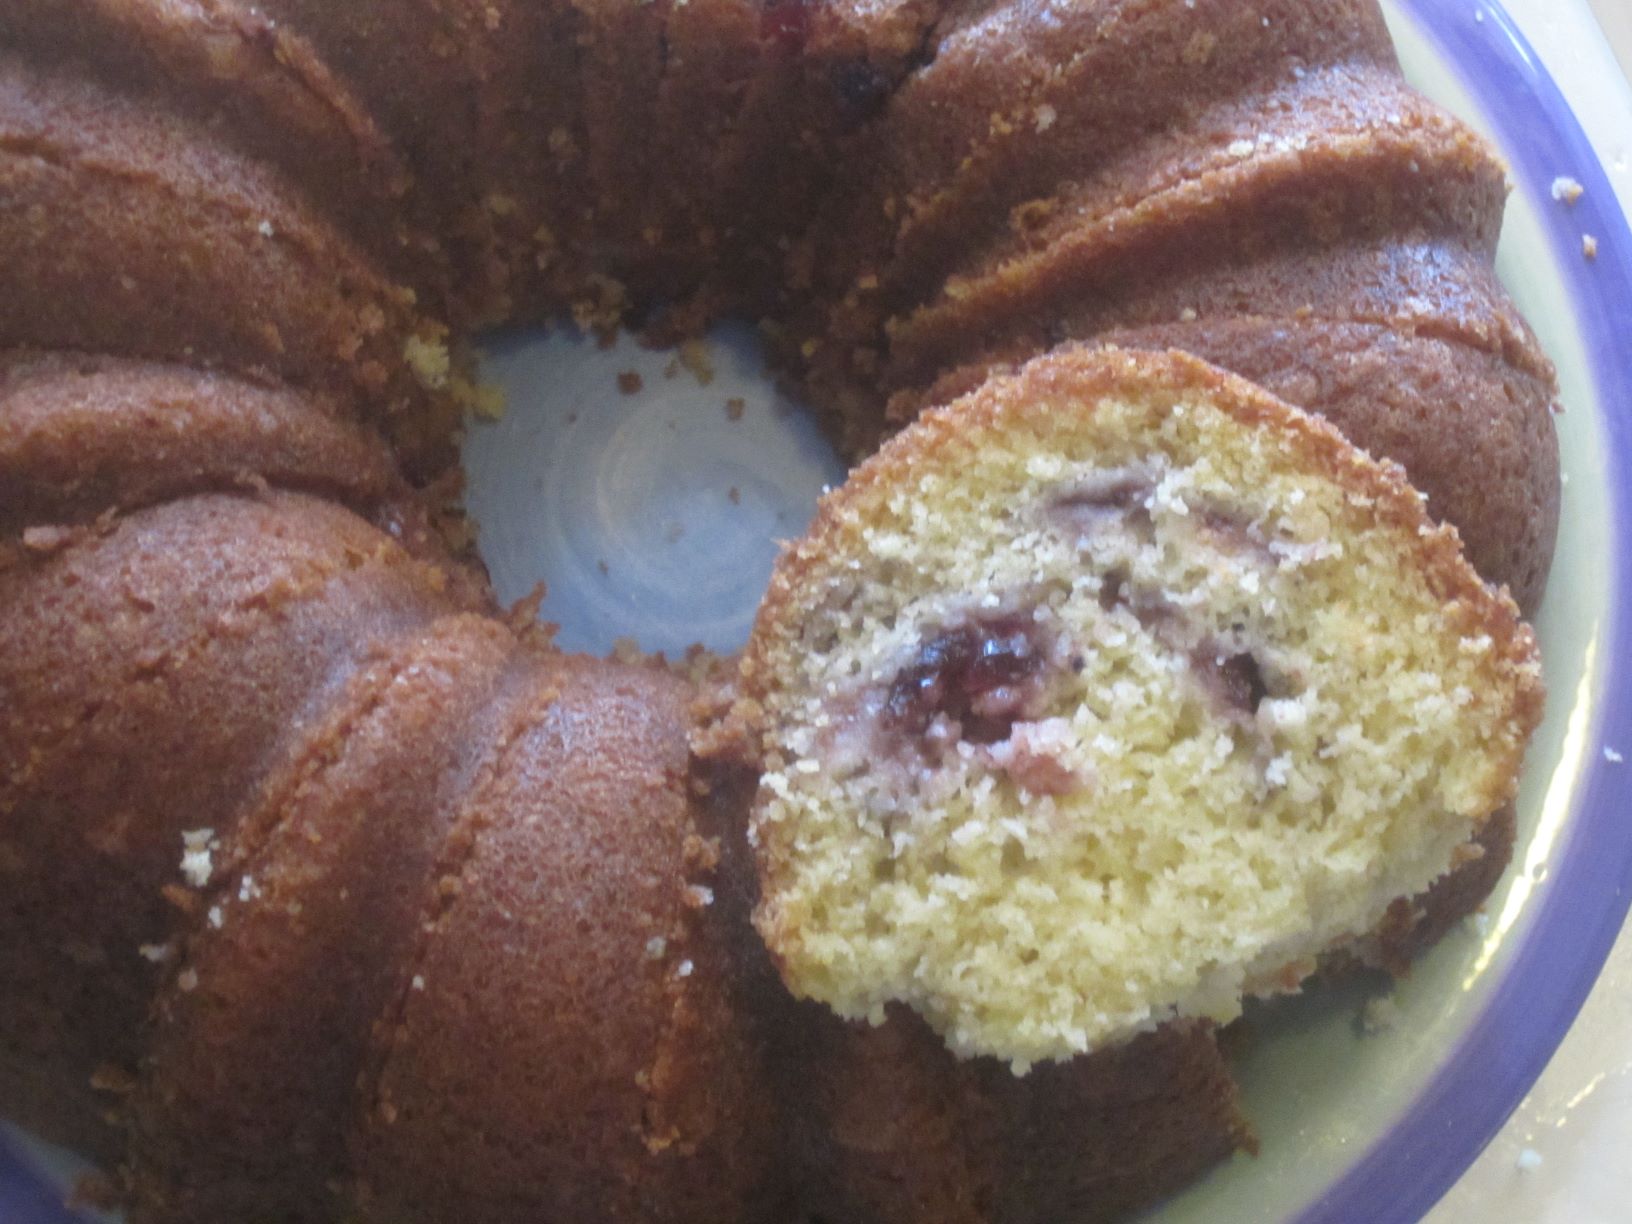
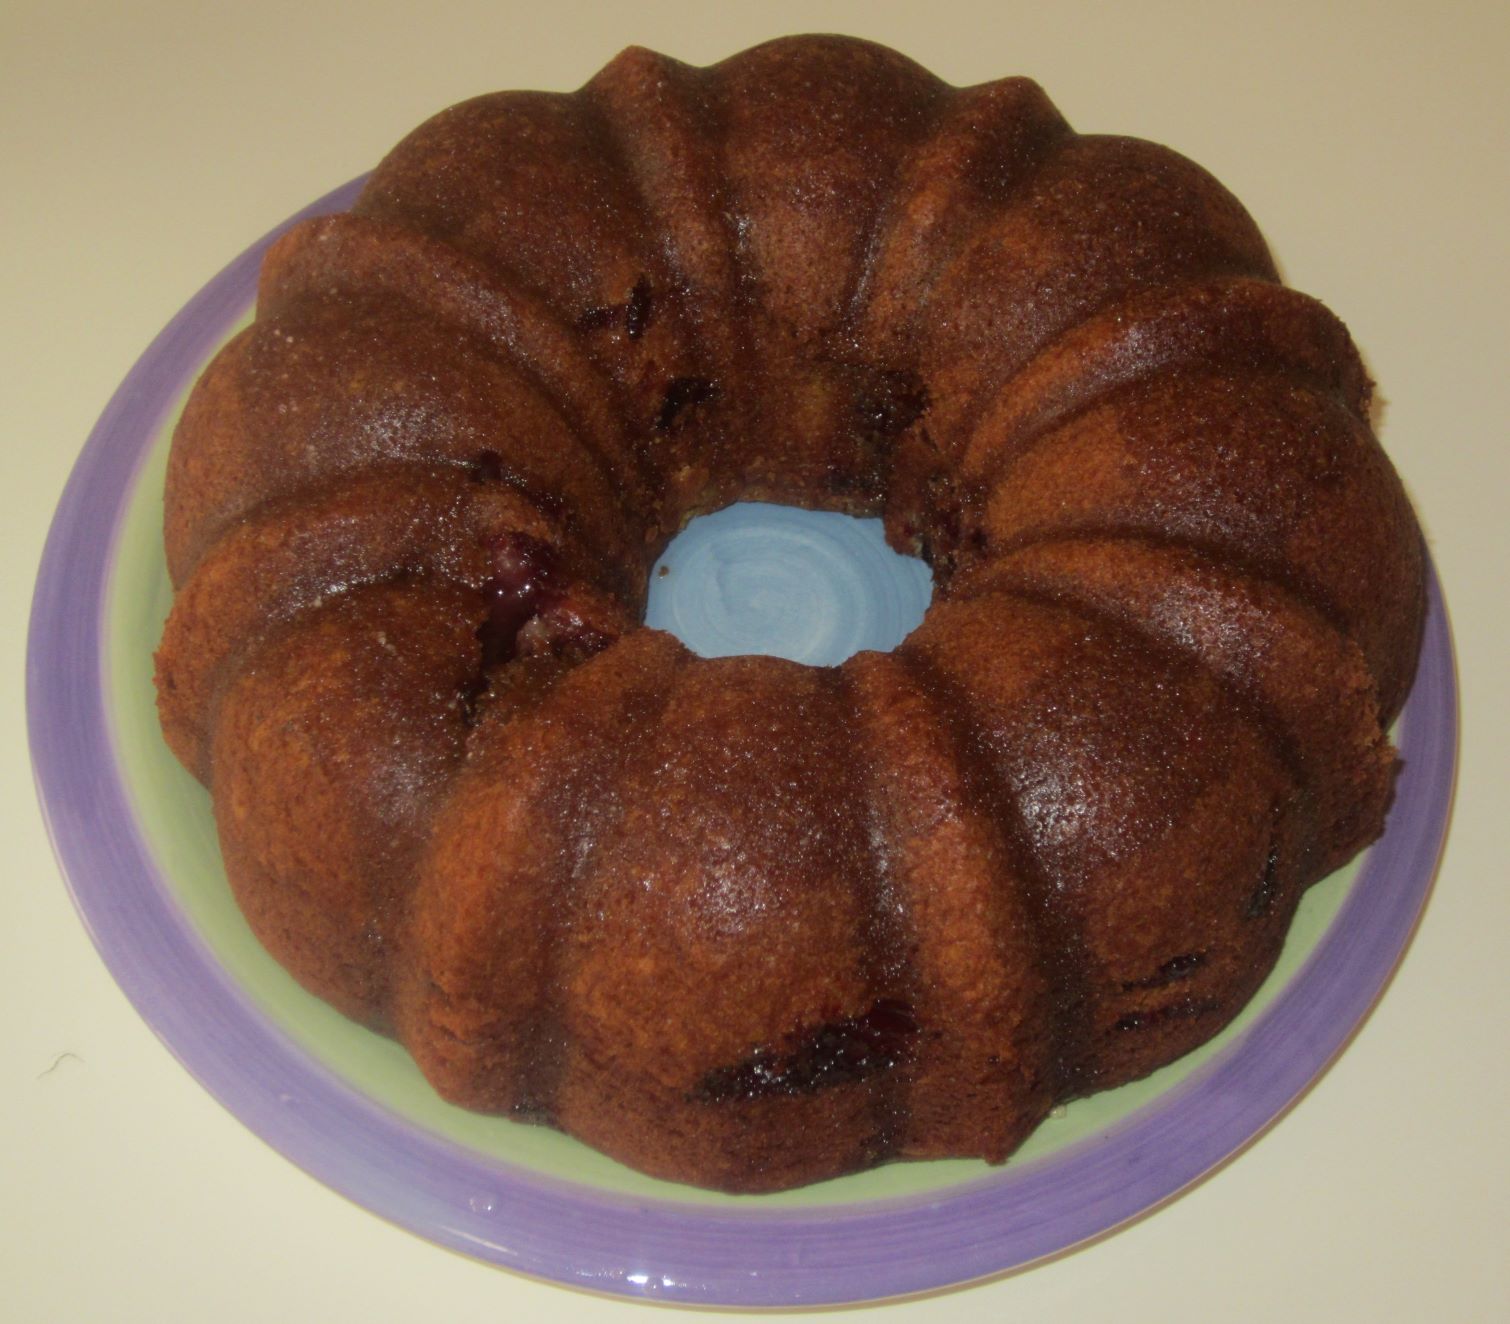
Cranberry Coffee Cake is a new recipe that my sister-in-law, Donna, shared with me several weeks ago. The Mother’s Day weekend coffee/tea was a great time to try it. The cake is so moist and the extra treat of cranberry is so good. I chose to go without nuts this time but the glaze was a wonderful touch.
This coffee cake is wonderful anytime of year but could be a wonderful addition to your holiday go-to-recipes.
CRANBERRY COFFEE CAKE
1 cup butter or margarine, softened
1 cup sugar
2 eggs
2 cups flour
1 teaspoon baking powder
1 teaspoon baking soda
1/2 teaspoon salt
1 cup (8 ounces) sour cream
1 teaspoon almond extract
1 can (16 ounces) whole-berry cranberry sauce
1/2 cup chopped walnuts (optional)
GLAZE:
1/3 cup confectioners’ sugar
5 teaspoons warm water
1/2 teaspoon almond extract
Preheat oven to 350 degrees.
In a mixing bowl, cream butter and sugar. Add eggs; mix well.
Combine flour, baking powder, baking soda and salt; add to creamed mixture alternately with sour cream. Add extract.
Spoon a third of the batter into a tube or bundt pan. Top with a third of the cranberry sauce.
Repeat layers twice. Sprinkle with walnuts (optional).
Bake for 55-60 minutes until a toothpick inserted hear the center comes out clean.
Allow cake to cool and transfer to serving plate.
Optional: Combine glaze ingredients and drizzle over cake.